DIY Custom Onesies
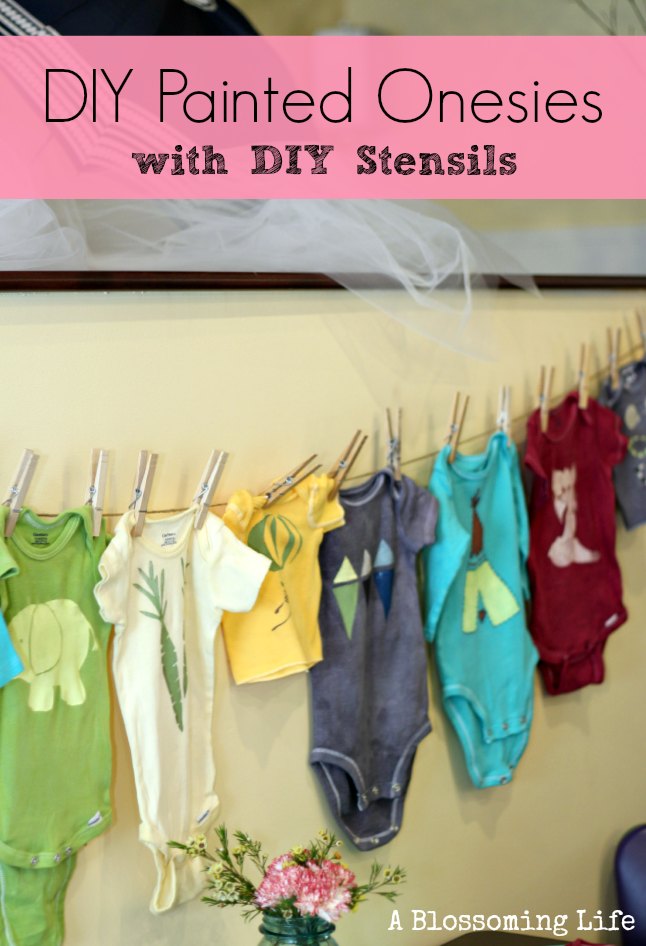
This weekend was Jordan’s (aka my best friend) baby shower! She is one of the most creative and wonderful people you will ever meet. It’s the little things, like godliness, super fun personality, and the 25 cent teal polka dot reusable napkins she got me, that makes me love her oh so much. She’s also one of the people who is good at pretty much everything! So getting ready for her baby shower was a little intimidating. Luckily with the help of her, our friend Mayra, and Jordan’s momma, everything came together great.
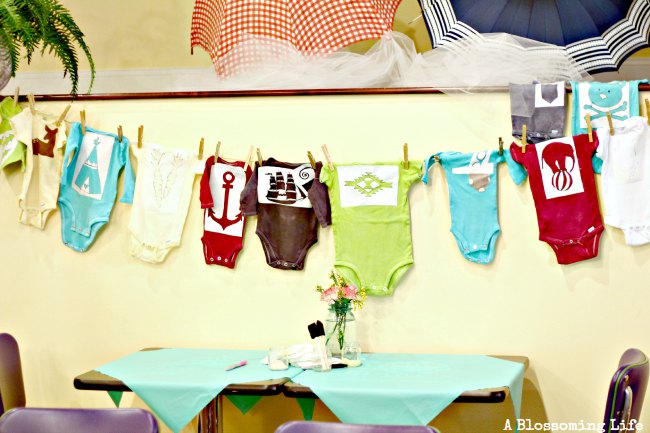
One of the best and most awesome projects we did at the shower was create these amazing DIY onesies for everyone at the party to paint. If you’ve ever been to a baby shower were you paint e with puffy paints, stencils, etc, you may know that some people are not very uhhhh… creative and the onesies can come out looking not so pretty. Well Jordan wanted to use these onesies so we wanted to make she they were adorable! Jordan found a really cute idea on Pinterest to use freezer paper. OMG people this has blown my mind! Now all I can think of is what project I want to do next!
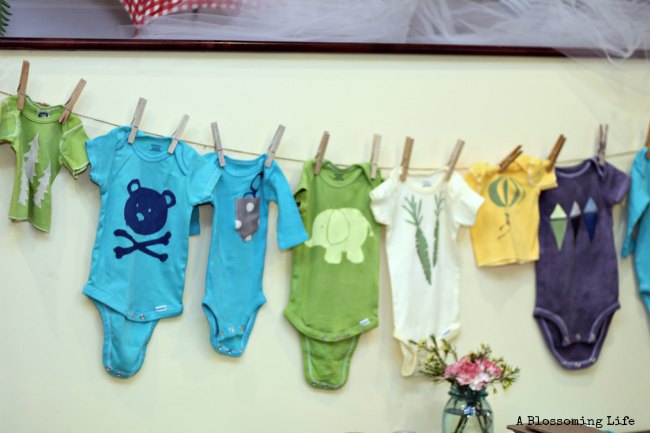
This project ended up being really frugal! We purchased (mostly Jordan) 20 onesies from area thrift stores and then she dyed them various colors. We also split this project up so we each did 10 onesies to bring to the shower.
DIY Custom Painted Onesies
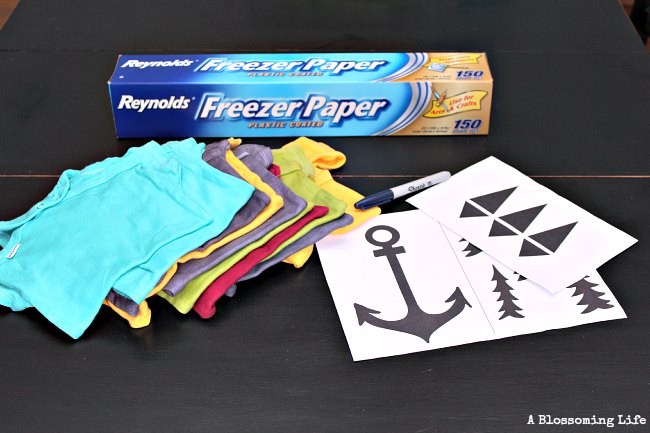
Materials:
- Onesies
- Freezer paper
- Paper
- Sharpie marker
- Xacto Blade

- Iron
- Fabric paint (or craft paint with fabric medium)
- Foam paint brushes
Directions:
Step 1: Wash and dry your onesies. You can die them before if you would like and then wash
Step 2: Find fun images to create your stencil and print onto paper. I used images from picmonkey and clip art from Microsoft Word.
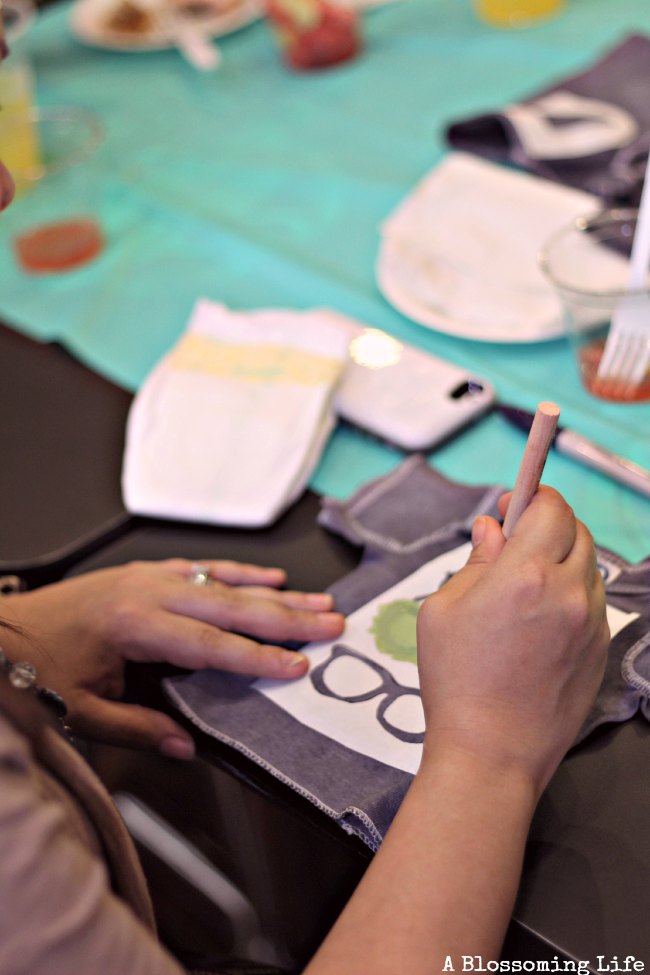
Step 3: Lay freezer paper, shiny side down, onto the printed paper and trace around your picture with a sharpie.
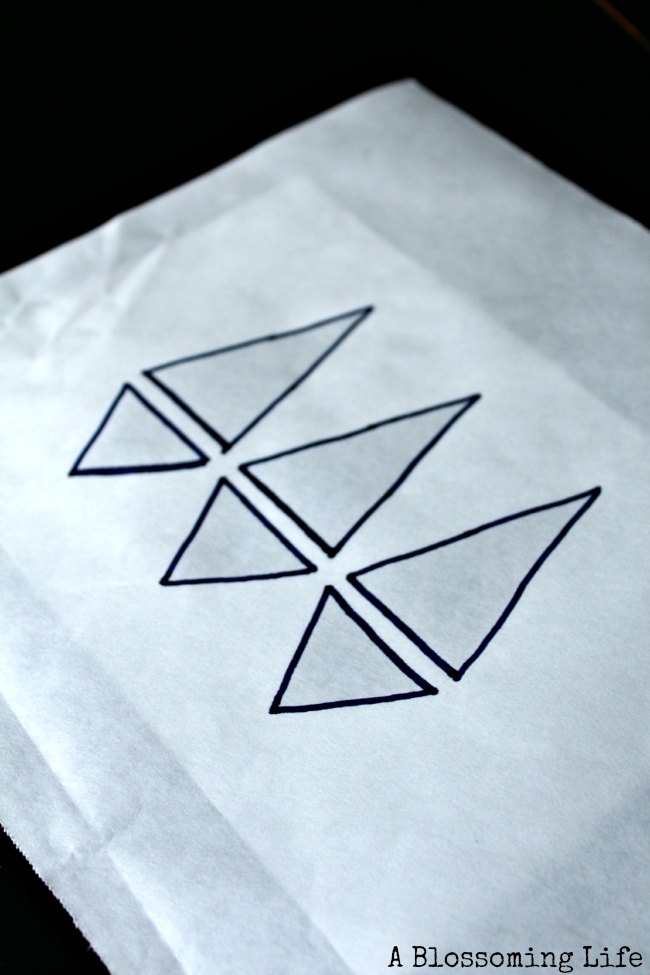
Step 4: Using an exacto blade, carefully cut out your stencil following the lines. Place something like cardboard or thick plastic behind freezer paper so you don’t ruin your table.
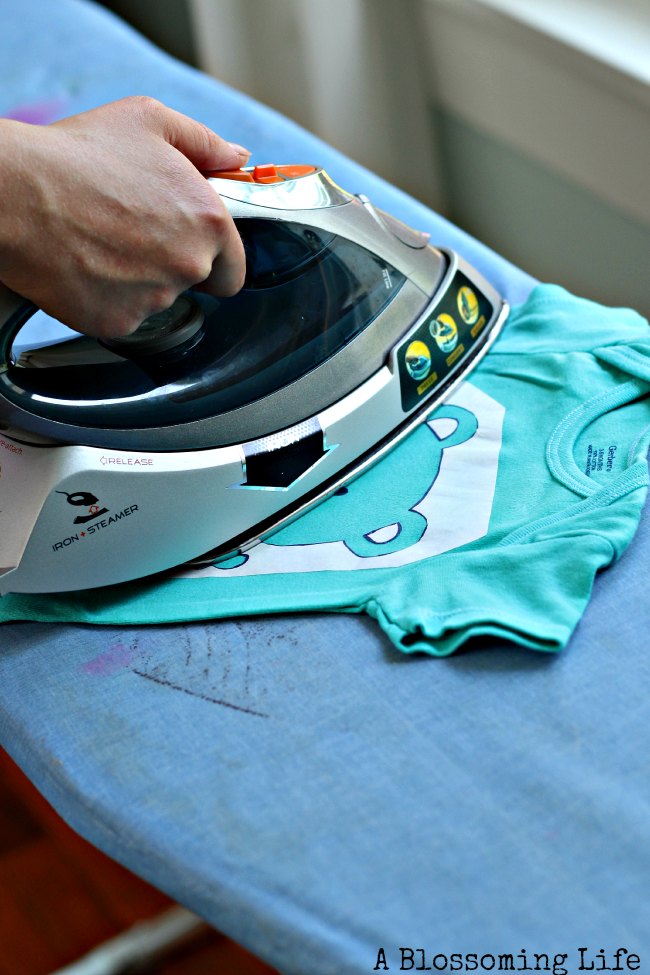
Step 5: Place you stencil shiny side down onto your onesie and iron on your stencil until it has adhered to the fabric. It takes 5-10 seconds for it stick.
Step 6: Paint, paint, paint, and allow to dry.
Step 7: Peel off the freezer paper and reveal your amazing paint job.
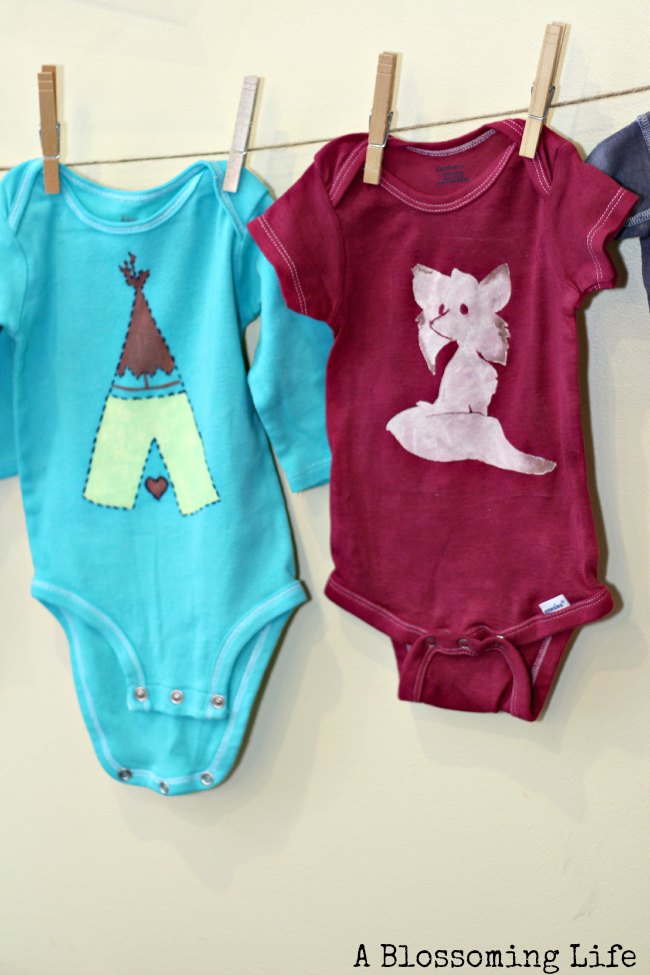
I love how these turned out! Especially the fox and the bear and cross bones. Stay tuned… I will be sharing more about Jordan’s shower later this week. Big thank you to the momma to be for coming up with this great idea and being such an amazing friend. I can’t wait for that little one to come!
I used acrylic paint with fabric medium.. mixed 2 parts paint to 1 part fabric medium… allowed to dry for 2 days.. heat set….. but my image cracked…. any suggestions ??? did on onsies 🙁 so sad it cracked !!! should I mix paint/ fabric medium 1:1 ???
I have tried this with onesies and the paint cracks when it is stretched. How do I prevent that?
Are you using fabric paint or acrylic paint with textile medium?