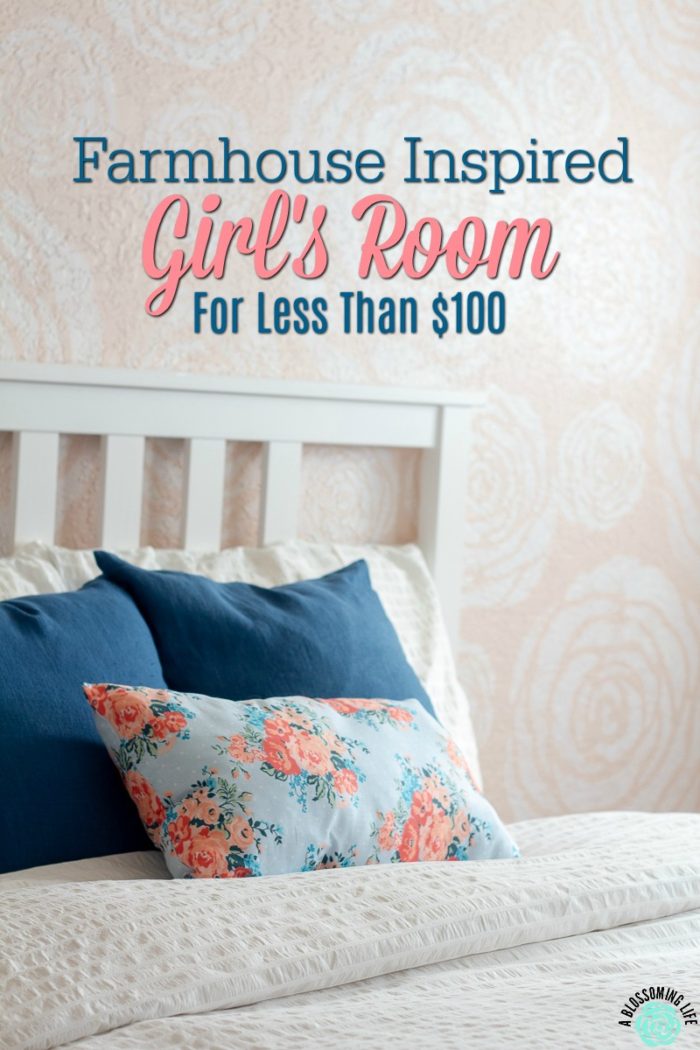
DIY Stenciled Flowers Wall – Farmhouse Girl’s Room Reveal
Come check out this beautiful girl’s farmhouse room transformation and learn how to stencil a focal wall. The stenciled flowers make this room and give it such an impact. You’ll never believe much this project costs! I’ll give you a hint… not much.
This post is sponsored by Cutting Edge Stencils and contains affiliate links. All opinions are 100% my own.
Grab the tissues. Somehow, my baby girl is turning the big 3! And we thought the best way to celebrate was to make her a big girl room with a big girl bed.
Partly because she is old enough now, and partly because we wanted to finally start putting brother in the crib. Which may lead to brother sleeping in his own room, which may lead to me sleeping better at night. One can hope. Clearly this is partially a selfish makeover haha.
When asking August what she wanted in her big girl room, she stated she wanted to paint the walls royal blue (sorry, not happening girly) and she wanted flowers… but not butterflies.
We agreed to incorporating some blue and flowers in her room. I can only imagine what her room would look like if we gave her full design control. And I’m just not that cool to allow her all that kind of creative freedom.
But stenciled flowers I can do!
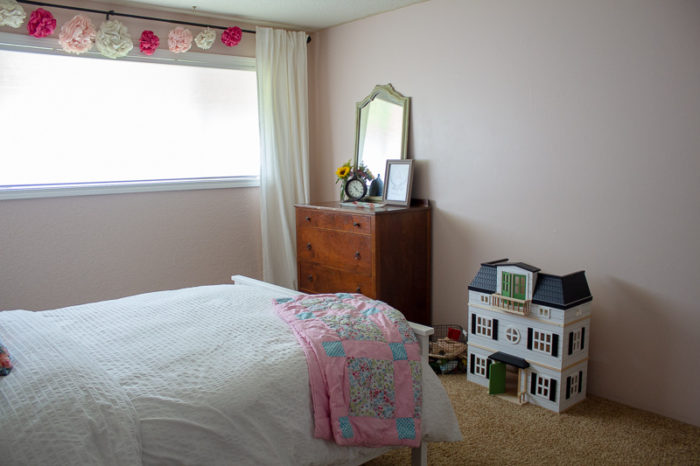
Ok lets check out how ugly the room was before the makeover.
Bedroom Before…
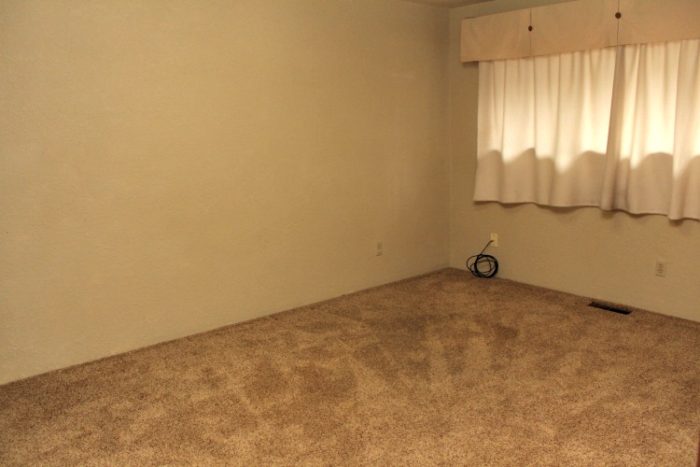
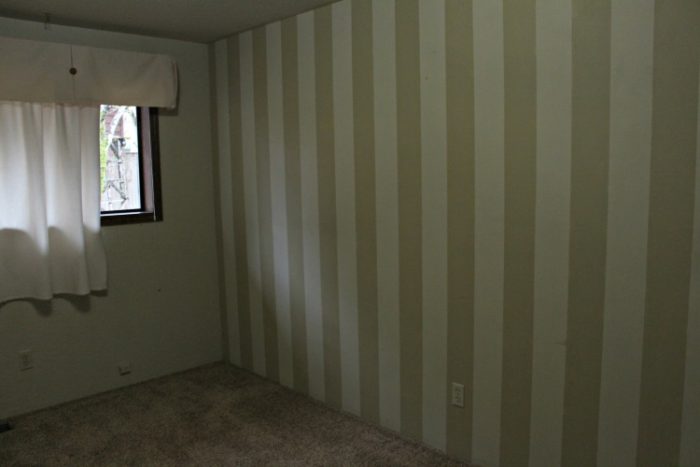
Her room was pretty bad. Bad paint colors, and then they had this brown and beige striped wall. It was pretty ugly. All the closets, doors, and trim were stained dark brown.
Fun fact… apparently here in western Oregon, during the 70’s, the ceiling heights were made lower than the average 8ft ceilings. So having that plus dark paint, dark trim, and dark carpets really made the rooms feel smaller.
Also, there were nasty curtains made from felt that was covered in cat hair.
While I’m not a huge fan of the gold carpet that runs through half our house, we don’t have the budget to fix it, so we have to work our color scheme around it. Even though I would love to paint the walls a pretty greige or grey, the gold carpet won’t allow it.
How We Updated The Room:
Step 1: Painted The Trim And Doors
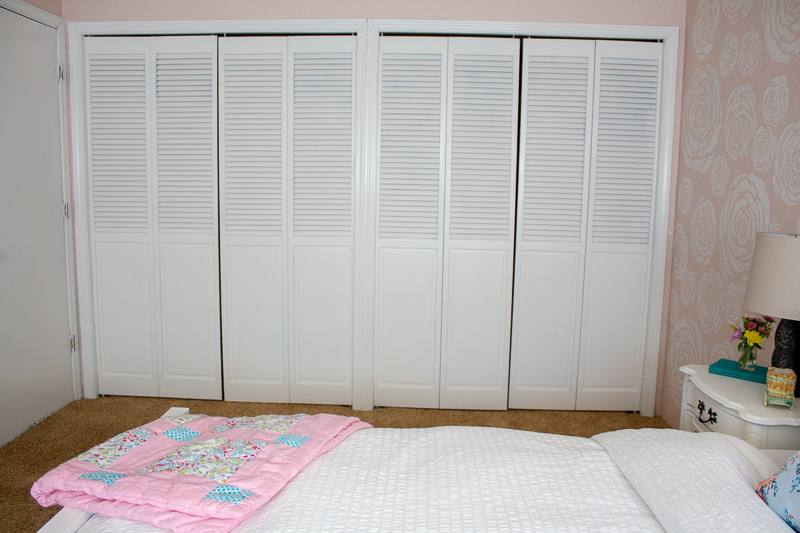
We sanded and painted all the trim and closet doors white (I wish I would’ve gotten a before picture of the closets. So just imagine they are dark wood.)
Step 2: Painted Walls
The walls got a pretty antique pink color. Since one wall is completely covered with closet doors and another wall has a giant window, it allowed us to put a soft, yet bolder, color on the wall.
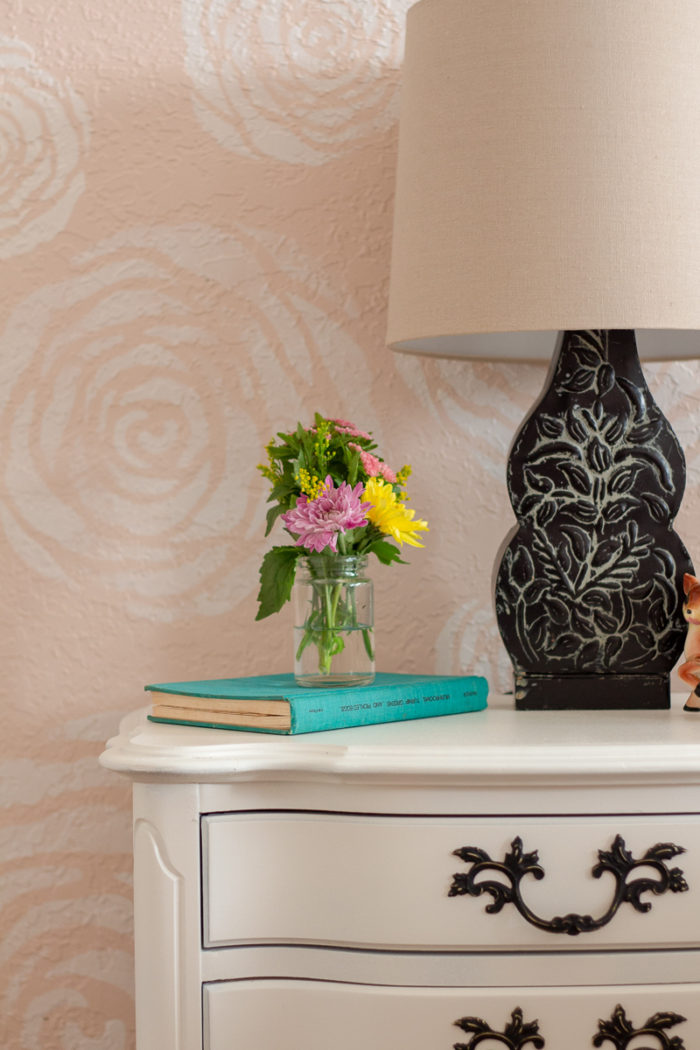
Step 3: Stenciled Flowers
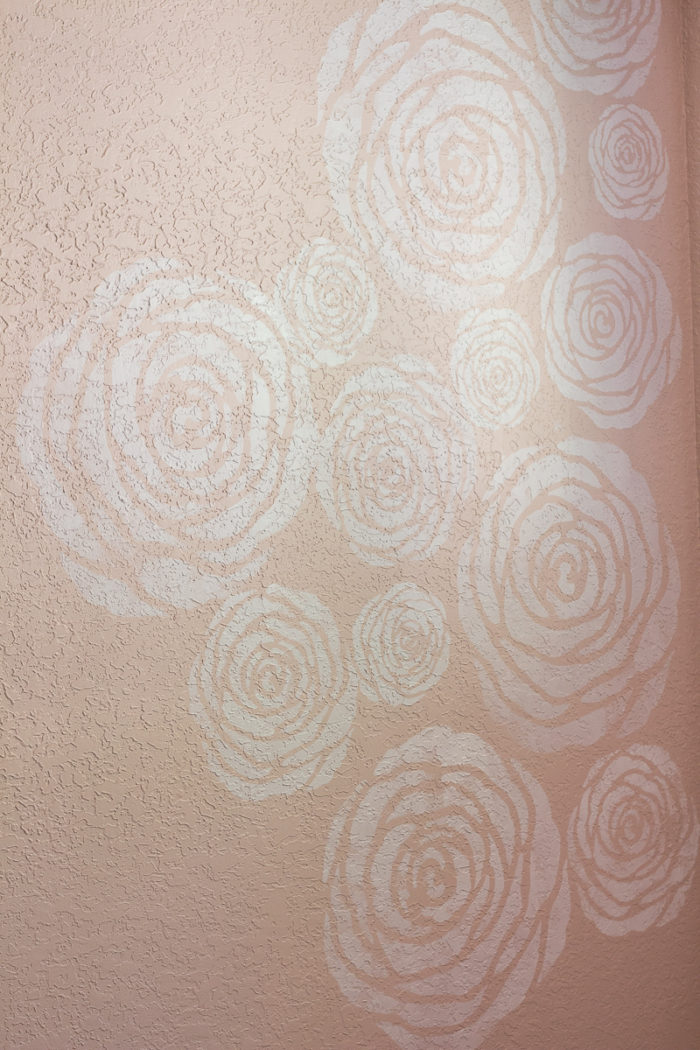
Then the fun part. We stenciled flowers all over the focal wall with these adorable Rose Wall Stencil from Cutting Edge Stencils – we used the x-small, small, and medium-sized Rose stencils.
How To Create a Rose Stenciled Flower Wall
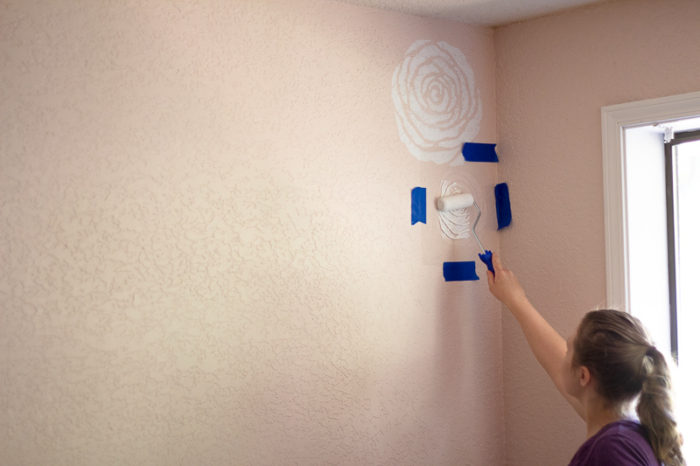
- Take the stencil and placed it on the wall, securing it with painter’s tape.
- Our walls have some texture, so I made sure to really rub the painter’s tape on, securing the stencil.
- If your stencil requires it to be level and even with the next stencil, make sure to use a stencil level.
- Cutting Edge Stencils has this great Stencil Essentials Kit, giving you everything you need to create crisp, clean stencils.
- One thing I loved about using the rose stencil is it didn’t have to be absolutely perfect and you didn’t need to line everything up just right. So it went super quick.
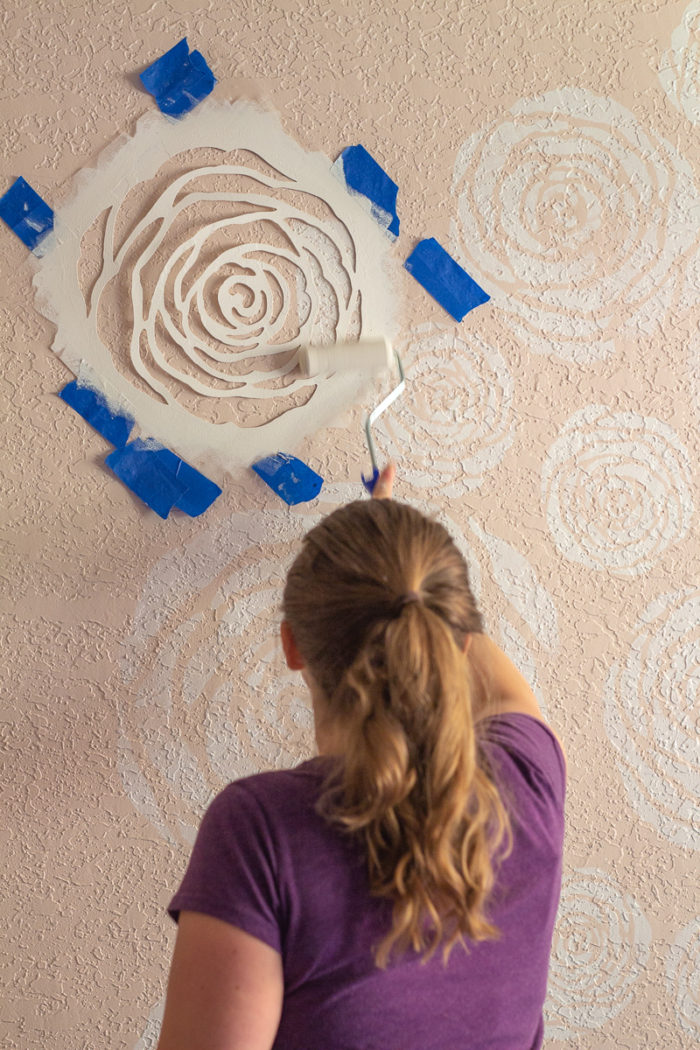
- Apply paint to a foam roller, wiping off the excess on a paper towel, and then rolling paint with low to medium pressure onto the stencil.
- Too much pressure can make the stencil bleed underneath.

- Too much pressure can make the stencil bleed underneath.
- Once the stencil has been completely painted, remove the stencil from the wall slowly and move to the next area and continue to repeat the process until you’ve achieved the look you wanted.
- Step back and look at the beautiful wall you stenciled.
Tips For Stenciling – DIY Stenciled Flowers
- If the back of the stencil starts to collect paint and you’re not getting crisp lines anymore, it is time to clean your stencil.
- Don’t worry too much if you make a mistake, you can wipe off the freshly painted stencil with a baby wipe or wet cloth. Allow it to dry and try again.
- Need to stop and take a break? Just wrap the paint tray and roller with some plastic wrap to keep the paint and roller fresh.
- For other great stenciling tips, check out Cutting Edge Stencils how-to video page.
The rose flower stencils were easy to use and completely transformed the wall, really making it the focal point. I got the whole wall done in a little over a nap time (that’s how moms tell time, you know). I just love the depth and dimension it has given this room.
We tried to keep much of this project a secret from August. After I finished the stencil wall, she somehow snuck in. She was so excited and kept exclaiming, “Mom, thank you! My room is so beautiful. I love the flowers!!!”
Love DIY projects? Check out some of our favorites:
- How To Paint Trim The Proper Way or check out theYouTube video.
- DIY Blanket Ladder – Simple Home Decor Project
- How To Build A Fireplace Mantel – Easy DIY
- Quick and Inexpensive Farmhouse Entryway Refresh
- Budget Kitchen Renovation Reveal: Modern Farmhouse Kitchen
- Make Your Own Minimal Spring Wreath
Decorating The Farmhouse Inspired Big Girl Room
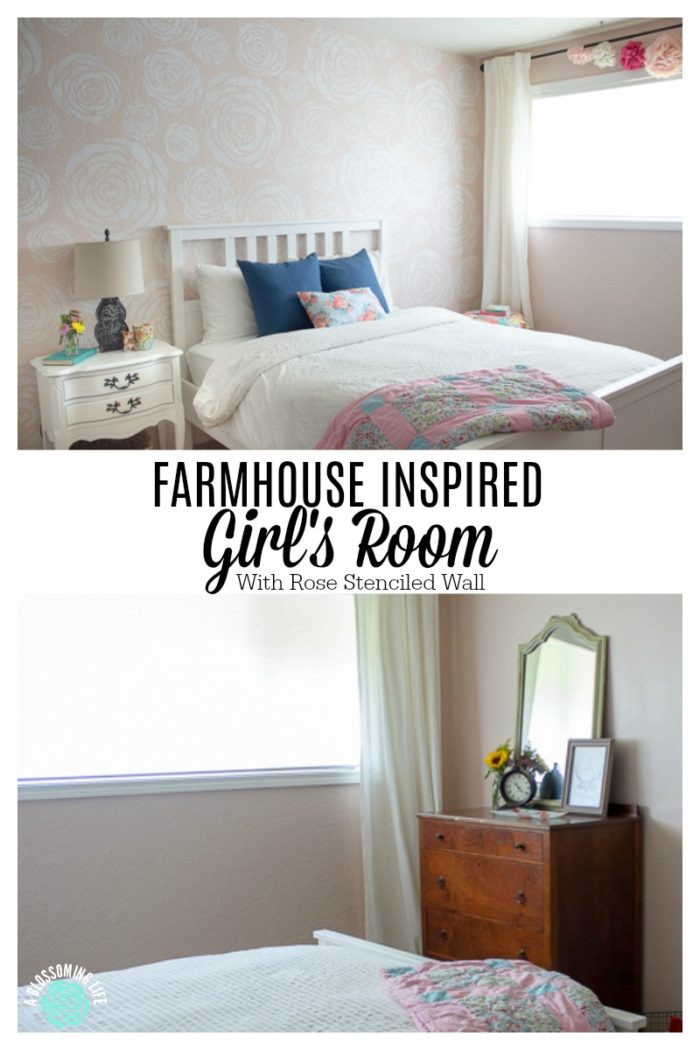
After… Stenciled flowers make the room
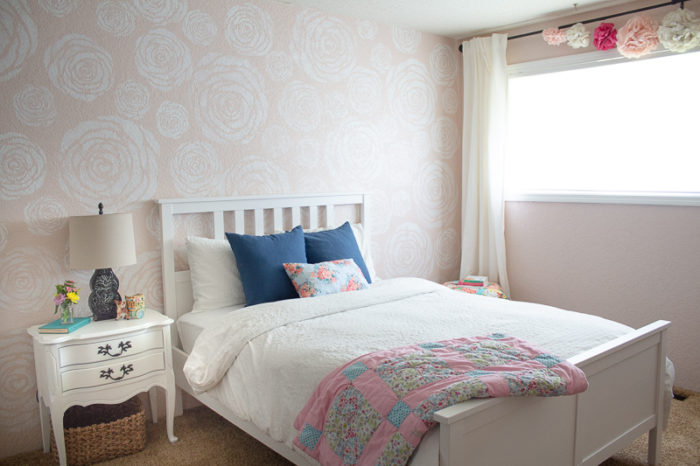
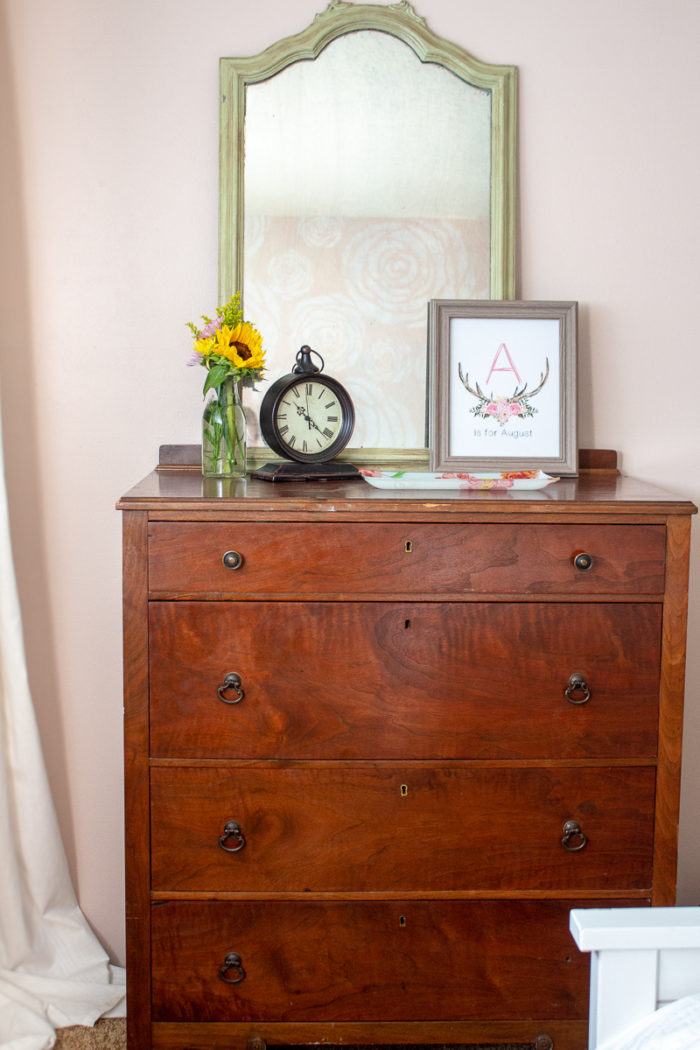
We placed the new-to-her big girl bed (she would call it Grandma’s bed, as it has been the bed my mom sleeps in when she comes to visit) in front of the focal wall, added some new bedding, refinished a nightstand, and placed some decor.
It’s amazing what a huge difference the stenciled flowers on a focal wall makes! I love the impact, and this room wouldn’t be the same without it. It is definitely a show stopper.

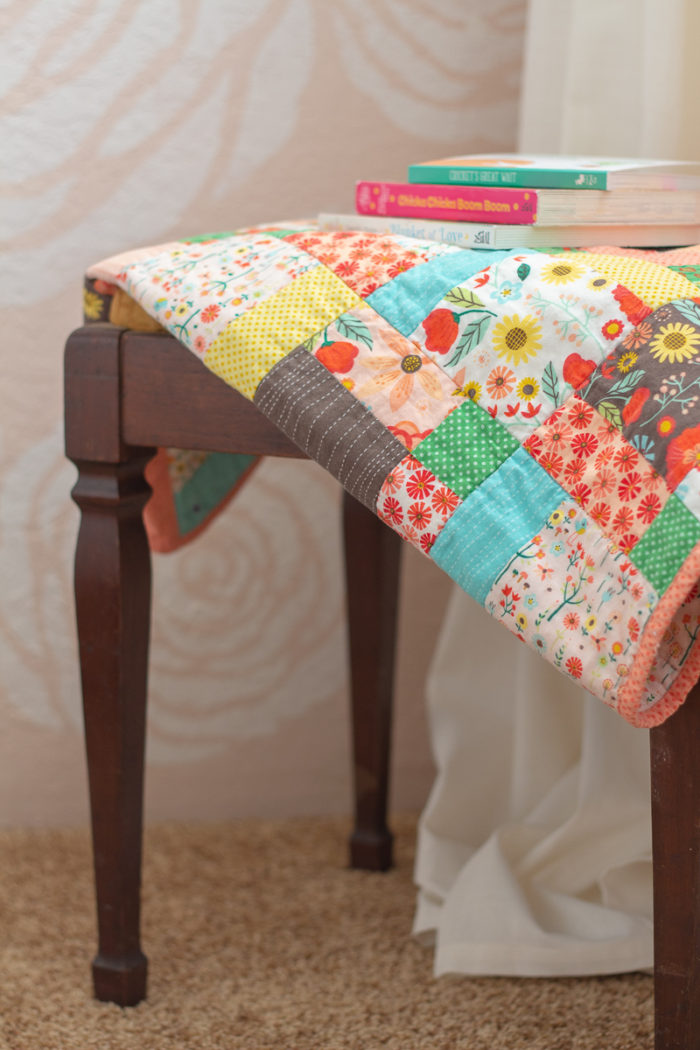
Our total budget for everything was way under $100. It is safe to say you can completely transform a room on a very tight budget. Many of the items used were things we already had on hand (big surprise, right?) – like the nightstand, bed, curtains, decor, vintage mirror from my great-grandmother, handmade quilts, and paper flowers. Some things just needed some freshening up. We also purchased a few things on sale – including the paint and some fabric!
What do you think? Have you tried using stencils to transform a room?
Thank you Cutting Edge Stencils for sponsoring my daughter’s bedroom makeover. She loves
it.
This post was updated September 2019
Wow! What an amazing decorating job. I love it so much!!!!!
Thank you Susan! That means so much 😍!
It’s gorgeous and I bet she loves it too.
Thank you so much Jenny! Yes she sure does. Keeps thanking me, it’s so sweet.
You really did a great job turning that dark dreary room into a bright colorful environment. If you didn’t show the before and after pictures I wouldn’t even that’s the same room you started with.