How To Mill Flour At Home
This post may contain affiliate links. Read disclosure policy.
Learn how to mill your own flour at home with this step-by-step guide. Here you will learn the benefits of using manual and electric grain mills, tips for choosing the right mill, and how to get the freshest flour for your baking needs.
Milling your own flour can be a satisfying and rewarding process. It allows you to have complete control over the freshness and quality of the flour you use in your recipes.
Freshly milled flour retains more nutrients, flavor, and texture than store-bought flour. It can also save you money. Wheat berries, if stored properly, can last up to 30 years! Plus, recipes made with fresh milled flour are delicious. Try my favorite whole wheat sourdough sandwich bread and whole wheat sourdough pizza crust.
This post will guide you through the process of milling grains at home, explain the benefits of freshly milled flour, and help you choose the right wheat berries and mill for your kitchen.
What is Freshly Milled Flour?
Freshly milled flour is made by grinding whole grains, such as wheat berries, directly before use. Unlike store-bought flour, which may sit on shelves for weeks or months, freshly milled flour is produced from grains that are ground on demand.
This process helps preserve the natural oils, vitamins, and minerals that are often lost during commercial milling.
Benefits of Freshly Milled Flour
Higher nutritional value: Freshly milled flour retains the bran, germ, and endosperm, which means it contains more fiber, vitamins (especially B-vitamins), minerals (such as iron and magnesium), and antioxidants than store-bought flour.
Better flavor: Milling flour yourself ensures that you get the best taste from your grains. Freshly ground flour has a rich, nutty flavor that improves the overall taste of your baked goods.
Improved freshness: Fresh flour doesn’t sit on store shelves for weeks, which helps it maintain a higher level of natural enzymes and proteins. This means better results in baking, especially when it comes to homemade bread.
Customization: Milling your own flour allows you to adjust the coarseness or fineness of the flour to suit your specific recipe. Whether you’re baking a rustic loaf or delicate pastries, you can control the texture of your flour. You can also choose the type of wheat berries you want to use to make fresh ground flour. This could be hard or soft wheat or more ancient grains like einkorn, spelt, kamut, etc.
Freshly Milled Flour vs. Store-Bought Flour
The key difference between homemade flour and store-bought flour is the retention of nutrients. Most store-bought flour is refined, meaning that the bran and germ are removed during processing.
This process strips the flour of much of its fiber, protein, and essential vitamins. In addition, the flour is often bleached and treated, which can affect both its nutritional profile and flavor.
Store-bought flour may also have additives to prolong shelf life, whereas freshly milled flour is free from these preservatives and is often used within a few days to preserve its nutritional integrity.
While wheat berries last years if stored properly, the one downside is that once those grains are milled, they only last a few days at room temperature, up to a week in the fridge, and a few weeks in the freezer.
I typically use my fresh-milled grains right away and only mill what I need at that time.
Types of Wheat Berries for Different Breads
Save This Recipe
The type of wheat berries you choose depends on the type of bread you are making. There are several varieties of wheat, each suited for specific kinds of baked goods.
- Hard Red Wheat: This variety has a high protein content (about 13-15%) and a strong, hearty flavor. It is ideal for making bread, particularly artisan-style loaves, pizza dough, and whole wheat bread.
- Hard White Wheat: Similar to hard red wheat, but with a milder flavor and lighter color, hard white wheat is perfect for breads, rolls, and some pasta recipes. It’s a good alternative if you prefer a less intense flavor and a smoother texture compared to hard red wheat. This is my preferred wheat berry to use for breads.
- Soft White Wheat: This wheat has a lower protein content (9-11%) and is ideal for making delicate baked goods such as cakes, muffins, pastries, and cookies. Soft white wheat produces a more tender crumb due to its lower gluten content.
- Spelt: Spelt is an ancient grain that can be used as an alternative to modern wheat. It has a mild, slightly sweet flavor and is perfect for making bread, pancakes, and other baked goods. It’s a great choice if you want to try something different.
- There are other ancient grains like einkorn or kamut. These types of grains are a little more challenging to work with as the gluten structure is different. They require more accommodations in recipes.
Mill Options for Home Milling
Check out all my home milling recommendations here.
There are a few types of mills available for home milling, each with different features and benefits.
- Manual mills: These mills are hand-operated, meaning you need to turn a crank to grind the wheat. Manual mills are more affordable and portable but require more effort and time. They are ideal if you want to grind small amounts of flour at a time or if you’re seeking a more traditional experience.
- Electric mills: Electric mills are much faster and can process larger quantities of grain. These mills are more convenient for people who plan to mill flour regularly or in larger batches. They also offer adjustable settings for fine-tuning the coarseness of the flour. Electric mills are more expensive than manual mills but offer greater efficiency.
- Stone mills: Stone mills use a pair of stones to crush and grind the grains into flour. These mills are available in both manual and electric versions. Stone mills tend to produce a more authentic, rustic texture and flavor, which many bakers prefer.
- Impact mills: These mills use high-speed rotating blades to crush grains. They are generally faster than stone mills and produce finer, powder-like flour. While impact mills are less traditional, they are highly efficient for everyday use.
If you want to look at specific models, you can find the best grain mills post here.
Where to Buy Wheat Berries
Wheat berries can be found in health food stores, specialty grocers, and online retailers. Many bulk food stores also carry wheat berries in large quantities. Here are some options for sourcing wheat berries:
- Health food stores: Many local health food stores carry wheat berries in their bulk sections. These stores often offer organic options, as well.
- Online retailers: You can find them at a variety of places like Amazon, Azure Standard (my favorite for the selection, and also the best prices, hands down), Central Milling, Mockmill, Sunrise Flour Mill, etc. You can select from organic or heirloom varieties depending on your preference. Buying bulk grains from these retailers will give you the best price. Just make sure you have ample storage space.
- Farmers’ markets: Some farmers’ markets may provide local sources for wheat, and purchasing from local growers can support sustainable farming practices.
Step-by-Step Process for Milling Grains into Flour
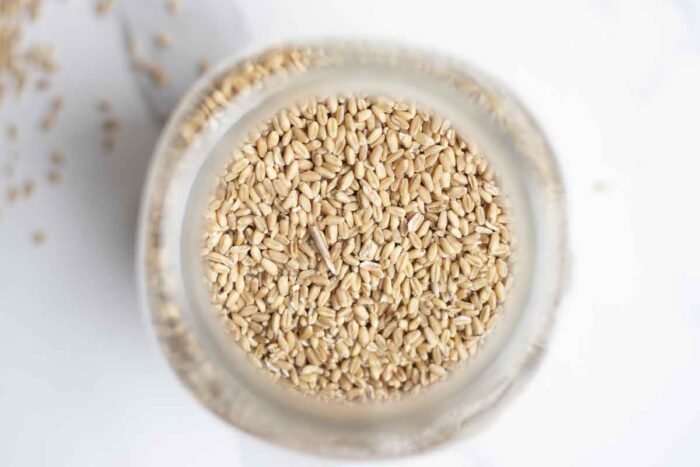
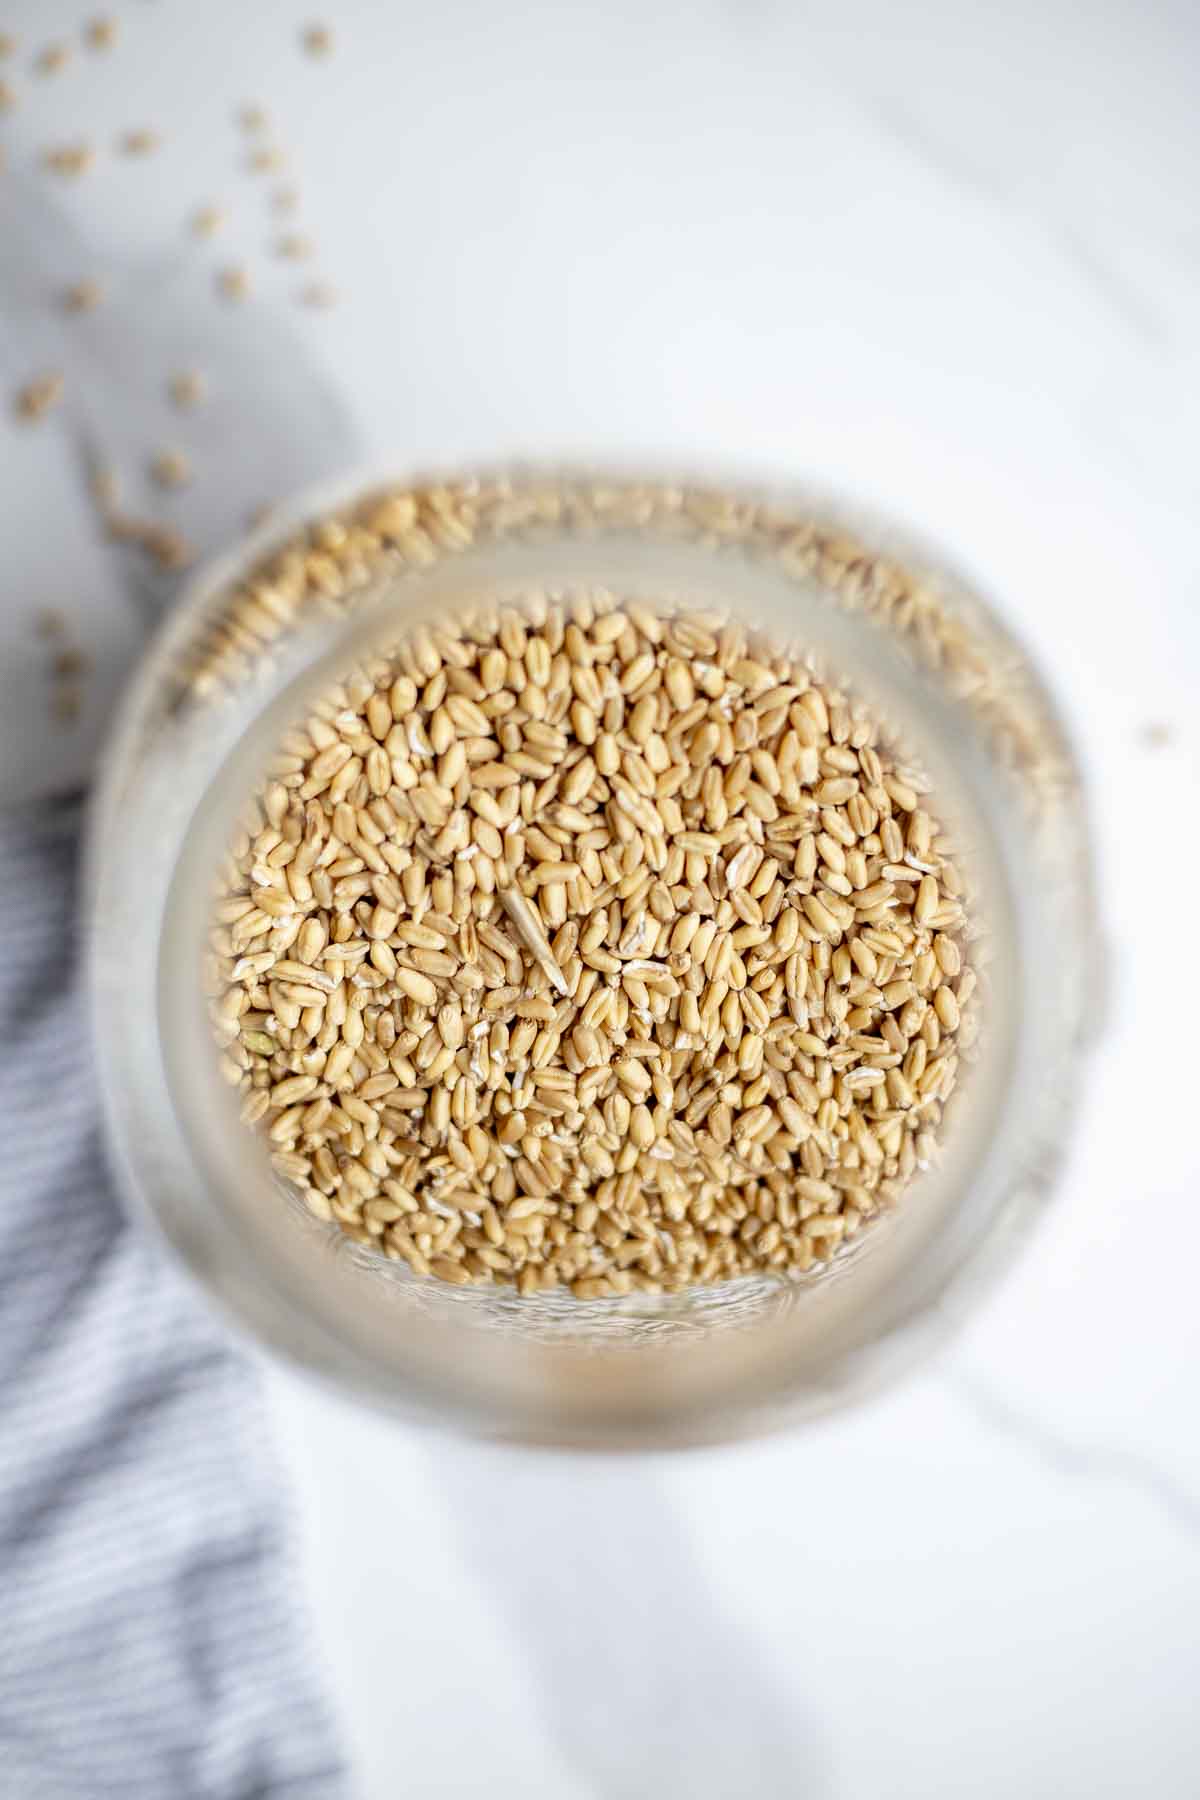
Step 1: Choose Your Wheat Berries. Select the type of wheat berries that suit your recipe: hard wheat for bread (I prefer hard white wheat berries, but hard red will also work), soft white wheat for cakes, biscuits, muffins, etc. Measure the quantity of wheat berries you need. Typically one cup of wheat berries will yield about 1 1/3 cups of flour. You can also measure by weight, in which 100 grams of wheat berries equals 100 grams of flour.

Step 2: Set up your mill. Next, set up the mill according to the manufacturer’s instructions. Adjust the mill to your desired flour coarseness (fine, medium, or coarse).
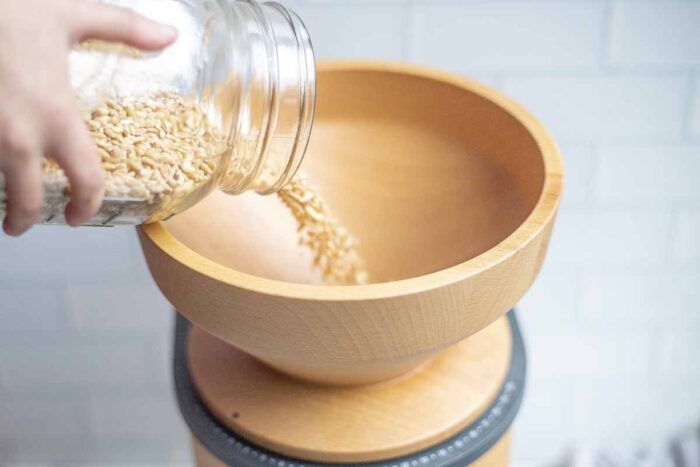
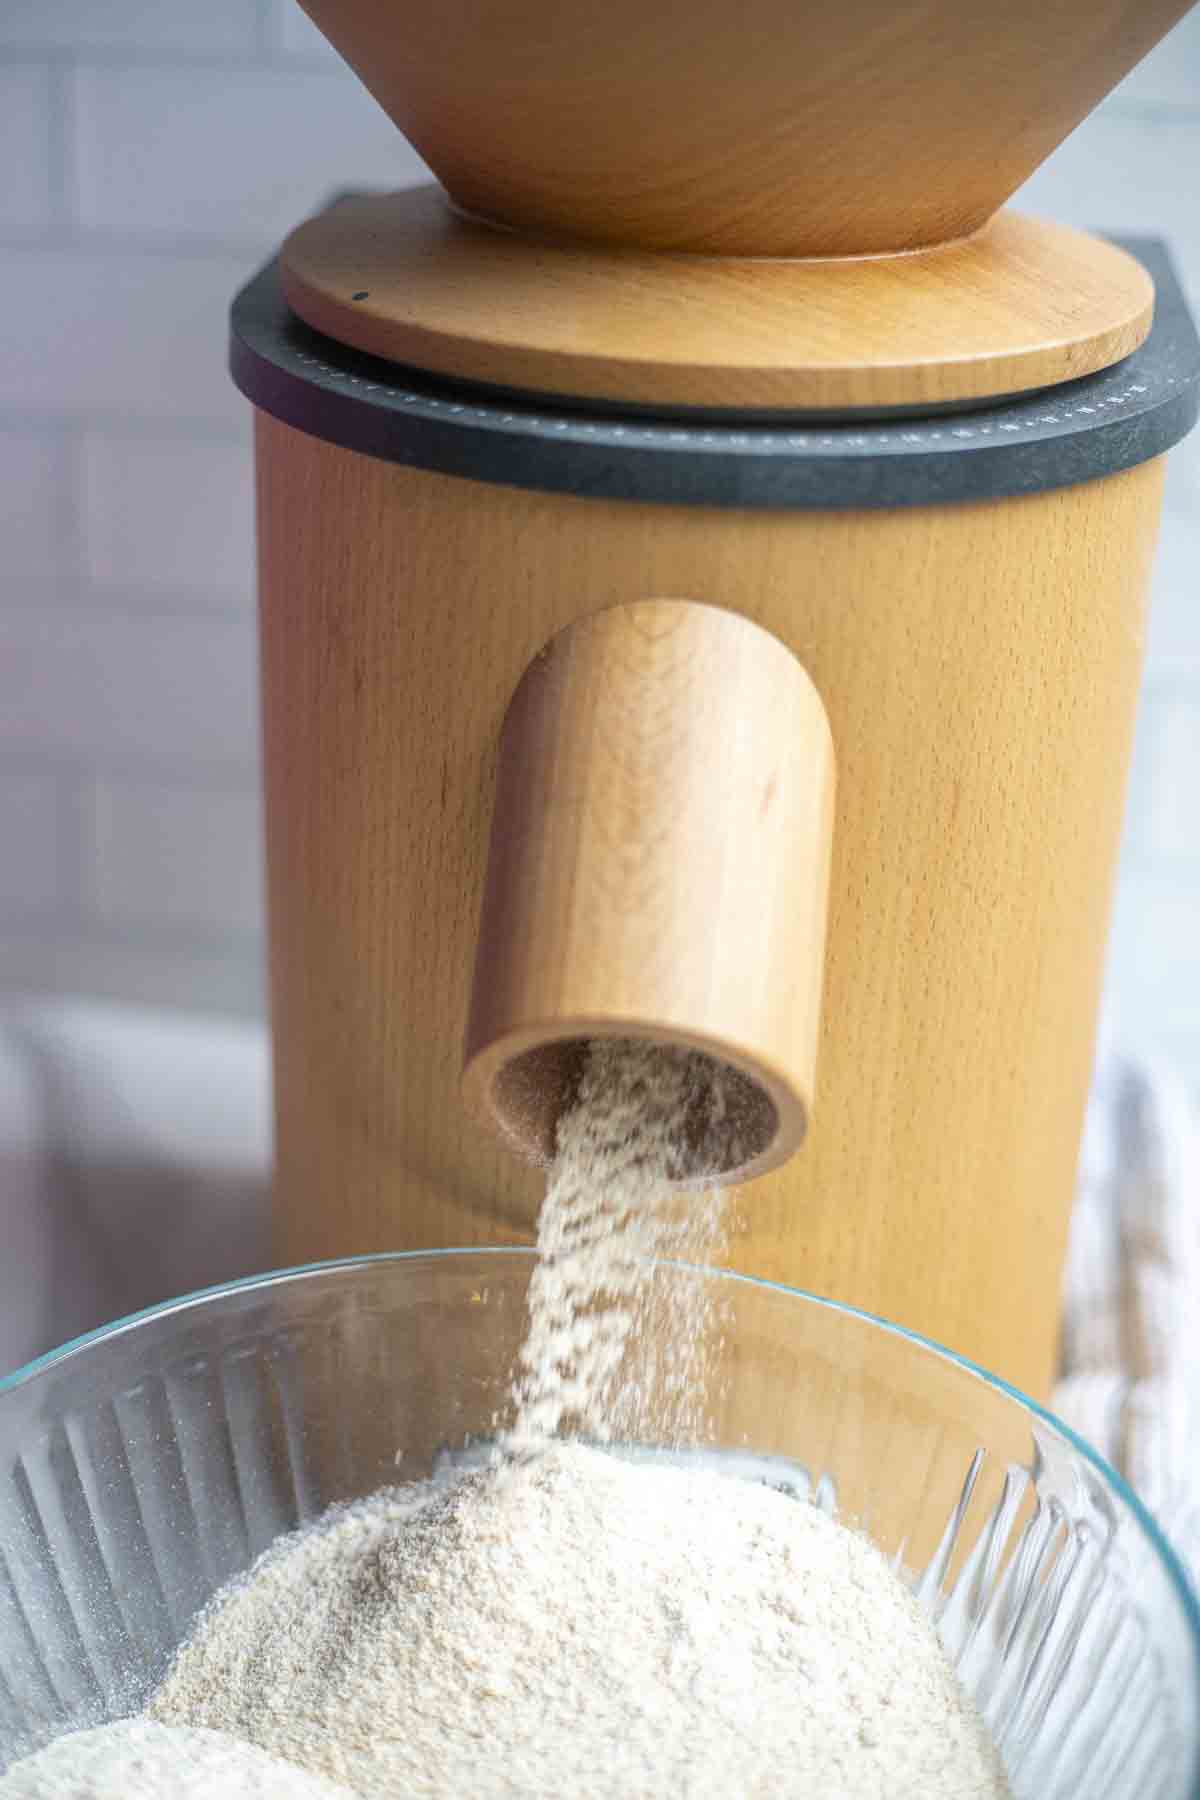
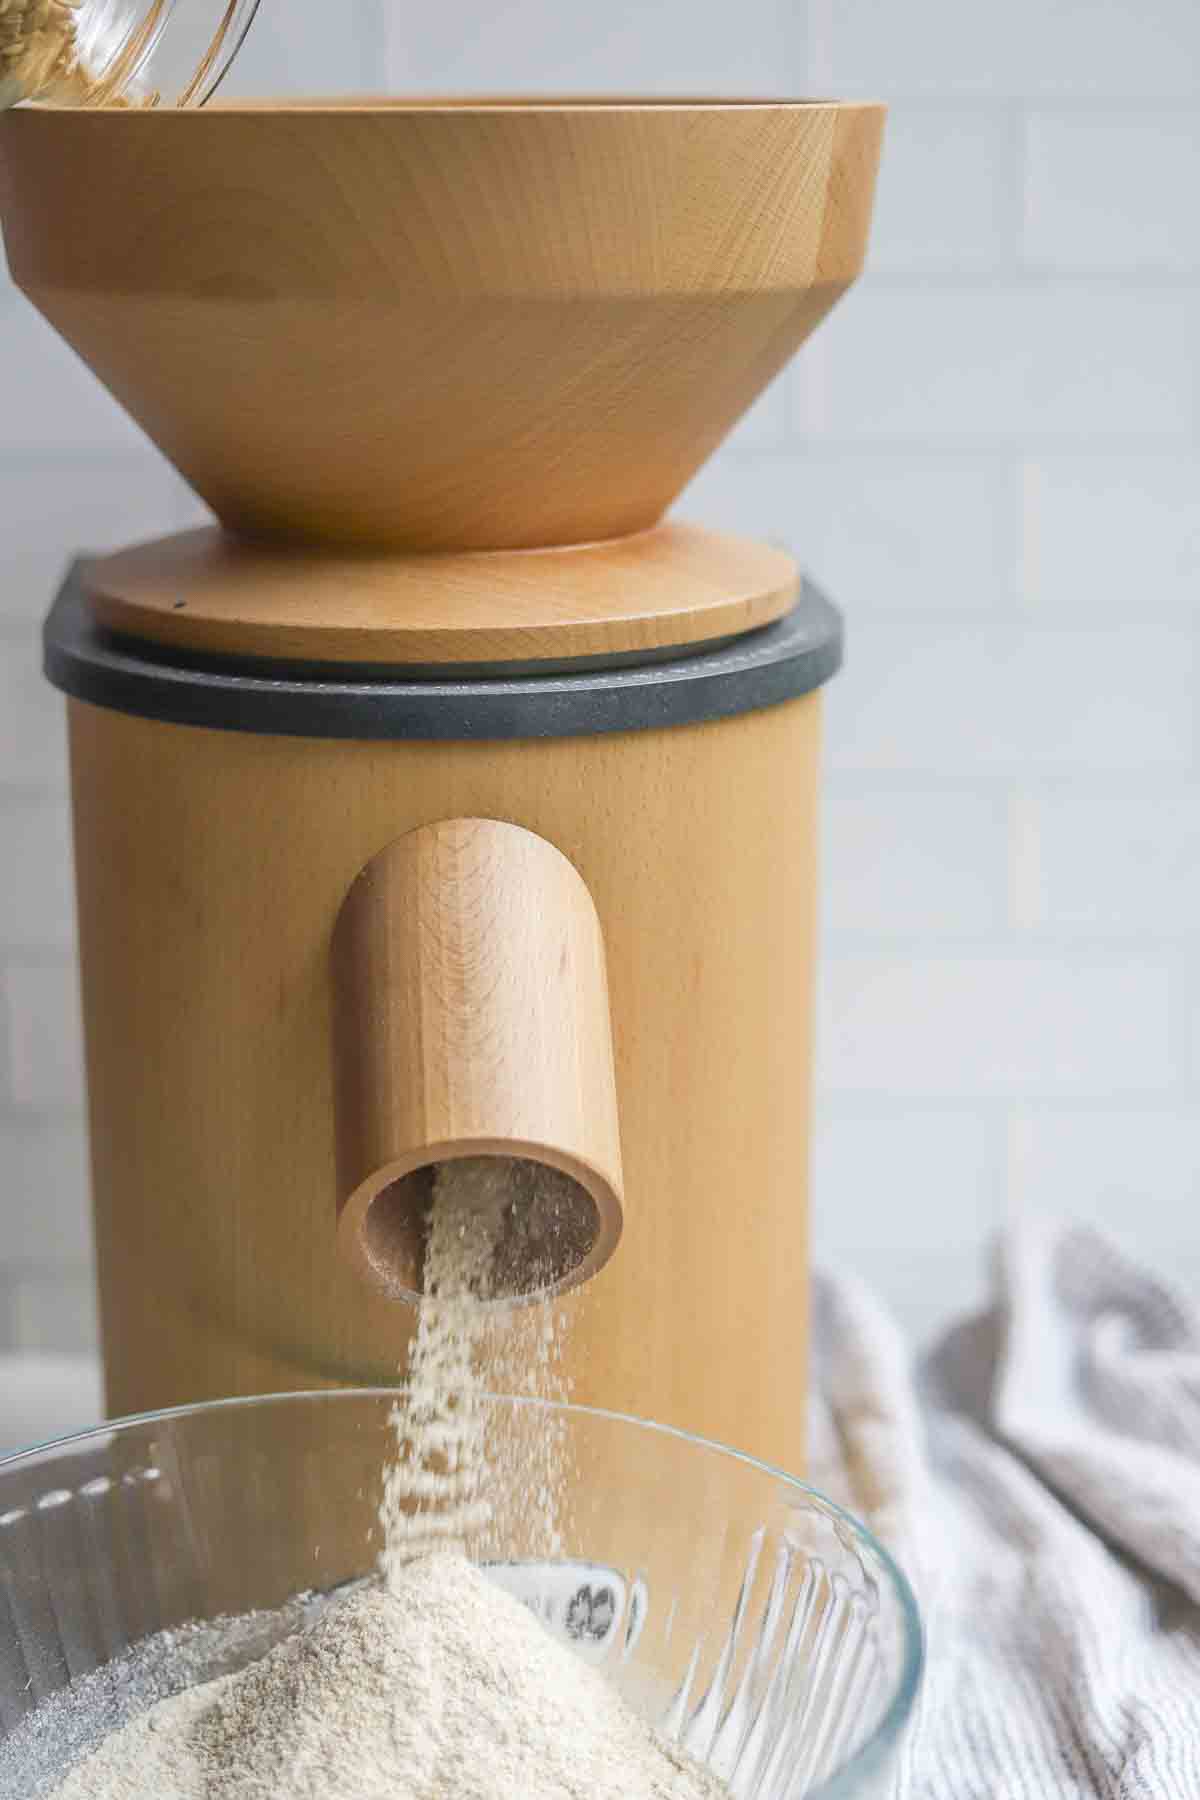
Step 3: Mill the Grains. Feed the wheat berries into the mill’s hopper. For manual grain mills, begin cranking the handle to feed the berries into the grinding mechanism. For electric mills, follow the instructions and allow it to grind the grains into flour. For my Mockmill mill, turn on the machine before adding the wheat berries. Other mills may be different.
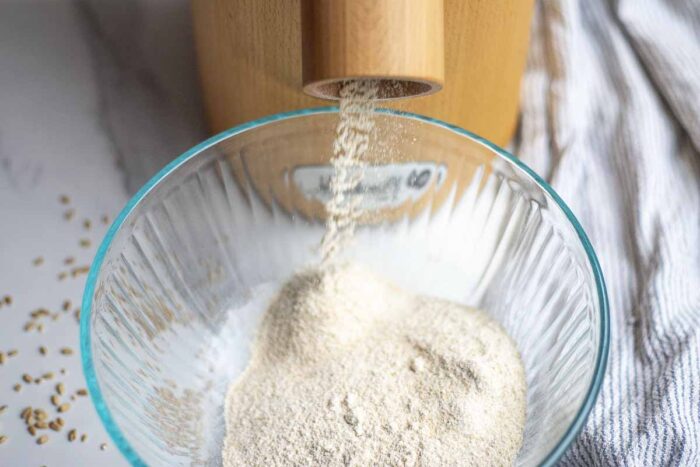
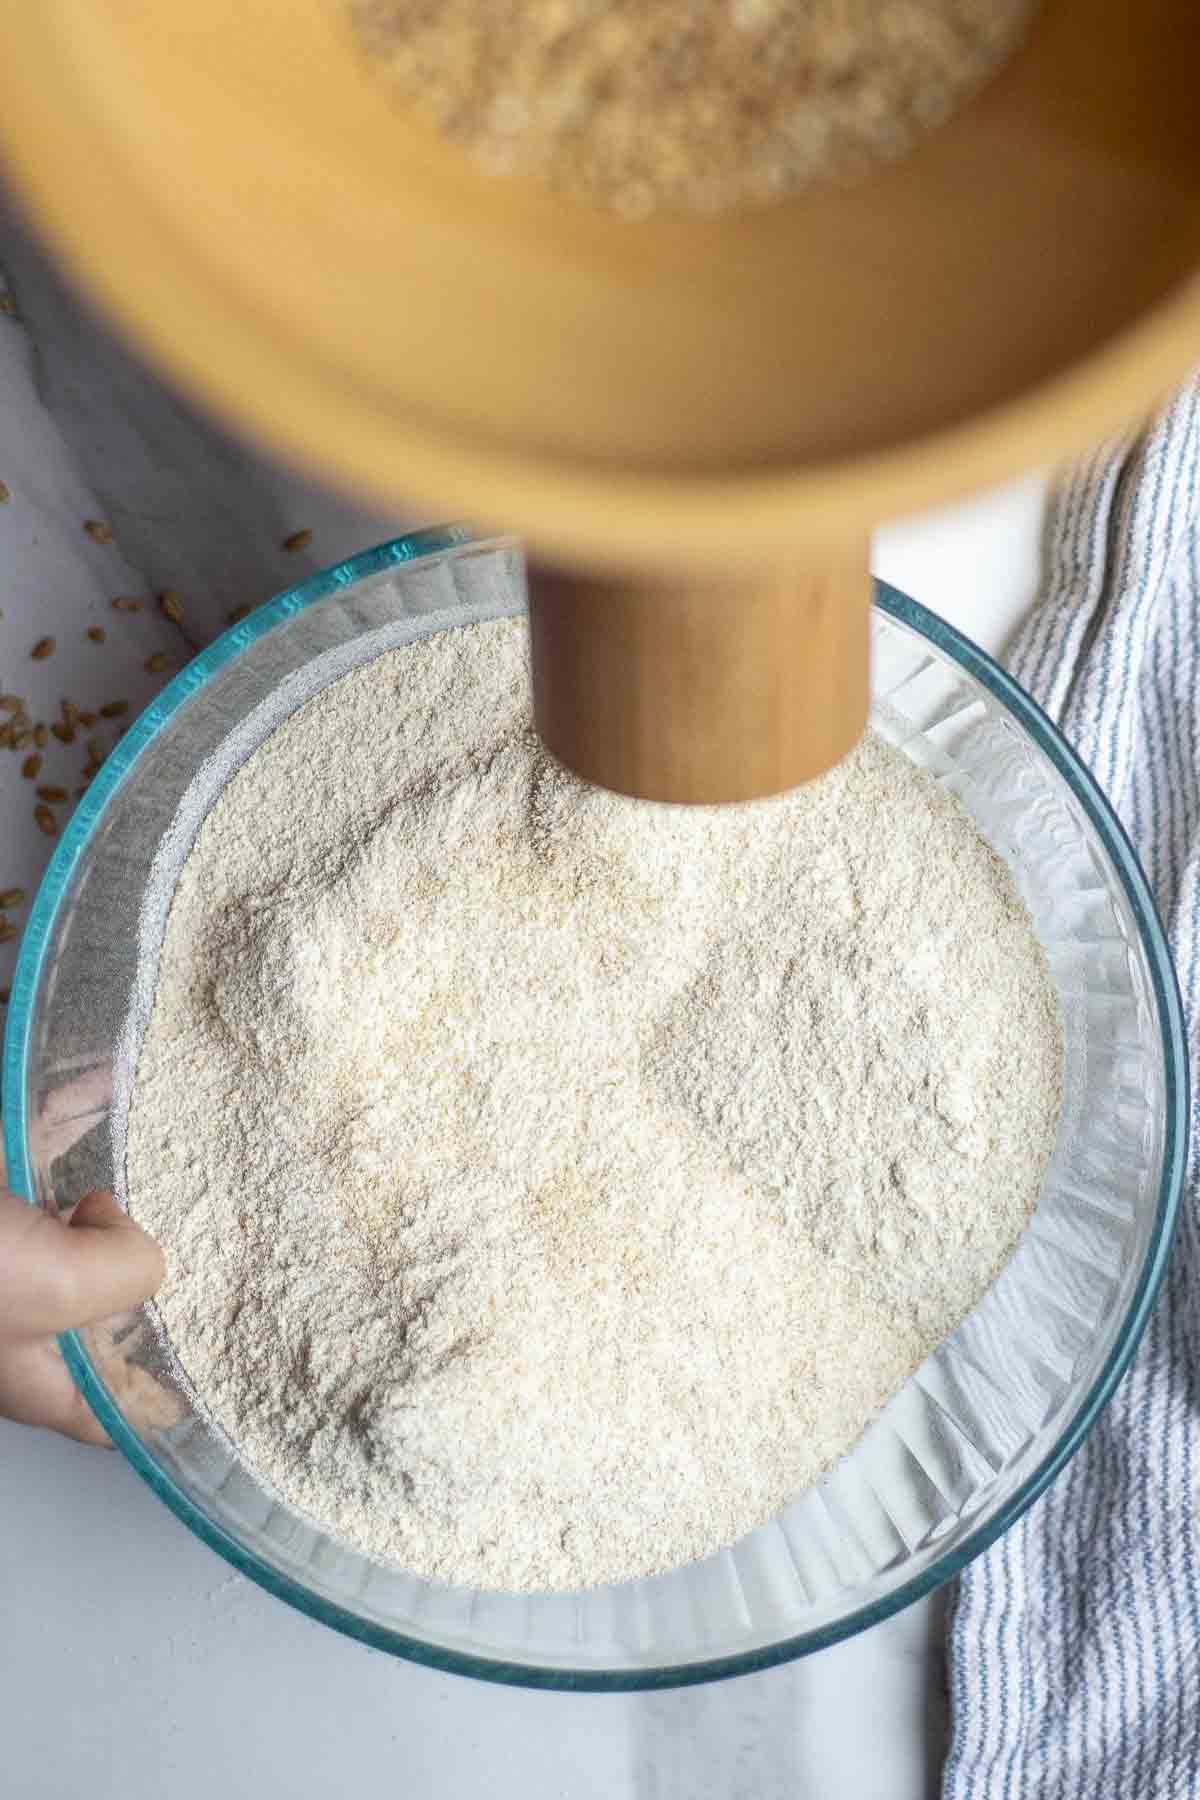
Step 4: Collect the Flour. Once the wheat berries have been milled, collect the flour in a clean bowl or container. If you have milled a large batch, you can store the flour in an airtight container to preserve its freshness.
Step 5: Bake or Store. Use fresh-milled flour immediately for baking or store it in an airtight container in a cool, dry place. Freshly milled flour is best used within a few days for optimal flavor and nutrient retention.
Optional: If you desire finer flour, you can sift it through a fine mesh strainer to remove any larger particles or bran. This step is optional (one that I do not do), as many bakers prefer to use whole-grain flour with the bran (outer layer) intact.
What You Cannot Mill in a Grain Mill
While grain mills are excellent for grinding a variety of grains, they are not suitable for milling everything. Most grain mills, whether manual or electric, are designed specifically for dry, hard grains like wheat, oats, barley, rice, and rye.
Some mills can mill corn, while others do not recommend it. Additionally, grain mills should not be used for grinding wet or oily ingredients like nuts, seeds, coffee beans, or spices with high oil content, as these can cause the millstones to become gummed up or the motor to overheat.
Most mills will also not recommend grinding herbs or other things like sugar. Always check the manufacturer’s guidelines to ensure you’re using the mill within its recommended limits.
FAQ:
Absolutely. When you mill your own grains, you are getting the freshest, most nutrient-dense ingredients out there. Whole grains are packed with vitamins, minerals, and fiber that can be lost during the commercial milling process.
By grinding whole wheat flour on demand, you retain more of these nutrients, which is especially beneficial for those wanting a whole-food diet. Also, milling your own flour gives you more control over the quality and type of grains you use. You can also experiment with different varieties of wheat or even try different types of grains like spelt, rye, or quinoa, to meet your dietary needs.
Freshly milled flours require more liquid compared to regular store-bought flours. You most likely will need to add extra liquid when baking. The texture will also be a bit different than flour purchased in the grocery stores. Fresh-milled flour tends to produce a tighter crumb, but far more flavor.
Substitute freshly milled flours one for one, but increase the liquid slightly. I usually just do this based on look, feel, texture, etc. There is a learning curve, and it takes a little trial and error to get the hang of it.
You may be able to mill grains with a high-powered blender. This will depend on the model you have, so check the manufacturer’s recommendation. I had a friend who tried to use an older Vitamix, and she found that it took a long time, didn’t have consistent results, and overall wasn’t worth the effort. A newer model may have better results.
No, you should not wash grains before milling, especially if you are planning to store them. They should be completely dry before putting them through your mill.