Quick Pickled Green Beans
This post may contain affiliate links. Read disclosure policy.
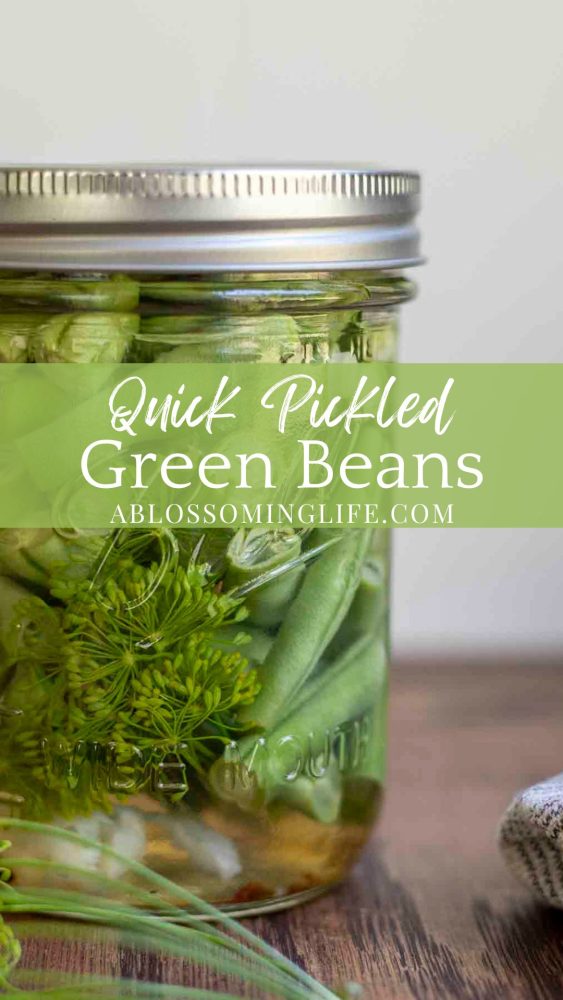
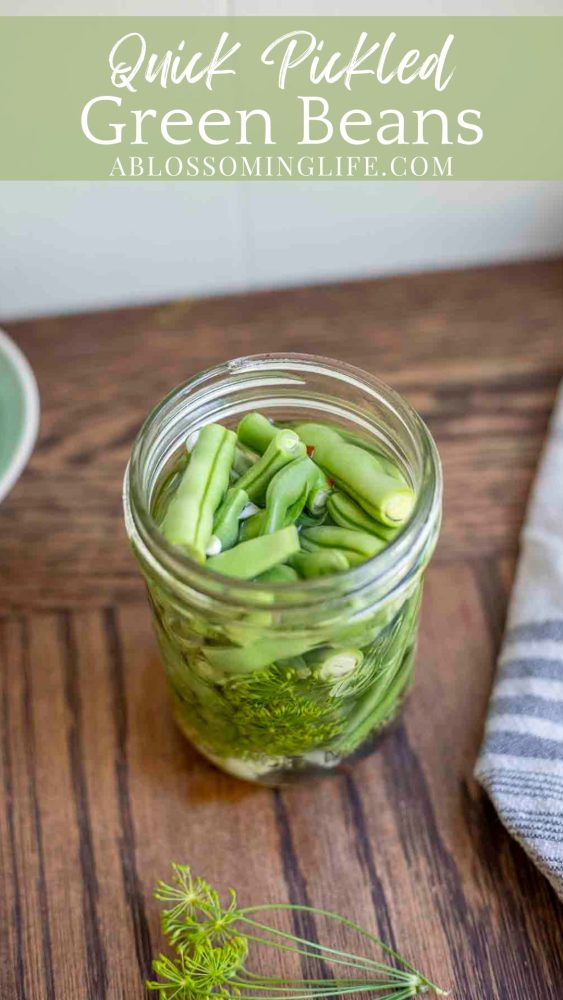
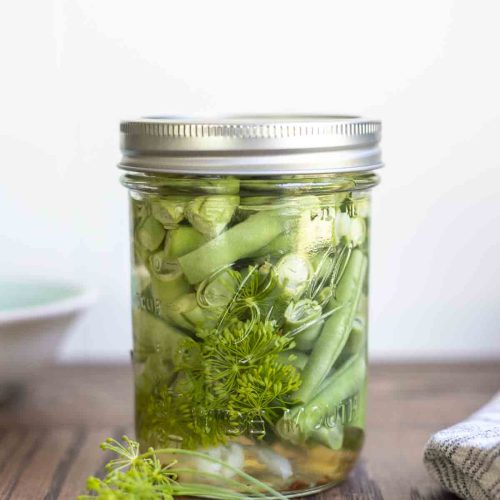
Learn how to make the best quick pickled green beans recipe. Crunchy and tangy, all the best part of pickles but made with beans.
This recipe actually started out as an accident. I was canning some pickled dilly beans when I found myself with some leftover brine and a bunch of green bean nubs from cutting my beans to fit the jars.
I didn’t want them to go to waste, so I threw them into a jar with some smashed garlic cloves, leftover fresh dill from the garden, and a sprinkle of red chili peppers, topped with brine and placed them in the fridge.
They turned out amazing! My daughter asked if we could turn all of our beans into quick pickled beans.
Unfortunately for her, the answer is no. I grew way too many beans to turn every single one into this yummy snack. But with the extra green beans, I will certainly do it.
Since she likes them so much, I will do my best to make as much as we can while we still have them fresh.
Why Pickled Green Beans?
If you’re wondering why pickled green beans are the perfect addition to your charcuterie board, the answer lies in their ability to enhance both the flavor profile and overall experience of your cheese and meat platter. They are tangy, crunchy, a little surprising, and super delicious.
Why you will love this recipe:
Great way to preserve green beans just a little longer. Pickling green beans preserves their freshness, allowing you to enjoy them after more than just a few days in the fridge.
Healthy: These make a wonderful healthy snack that my kids love to munch on.
Delicious: They taste a lot like traditional dill pickles with more crunch. When I made my first batch, my daughter complained and said “I don’t like dilly beans!” I had her try one anyway and she was in love. Great addition to a charcuterie board or a simple side dish. The kids and I love making snack lunch, and these make a great addition.
Tips for Perfectly Pickled Green Beans
- Selecting fresh and high-quality green beans is vital. Look for beans that are vibrant in color, firm to the touch, and free from any blemishes or signs of wilting. Fresh beans will not only taste better but will also maintain their crunchiness during the pickling process.
- Next, it’s crucial to properly prepare your green beans before pickling. Trim off the ends of each bean and ensure they are all roughly the same size. This uniformity will help with both the appearance and texture of your pickled green beans.
- Another tip to keep in mind is the importance of patience. While they are called “quick pickles,” allowing your green beans to sit in the brine for at least 24 hours (ok at least one hour) before indulging will ensure they develop a delightful tangy flavor.
- Remember to store them in the refrigerator during this time to maintain their freshness.
The links in this post contain affiliate links and I will receive a small commission if you make a purchase after clicking on my link. See the full disclosure here.
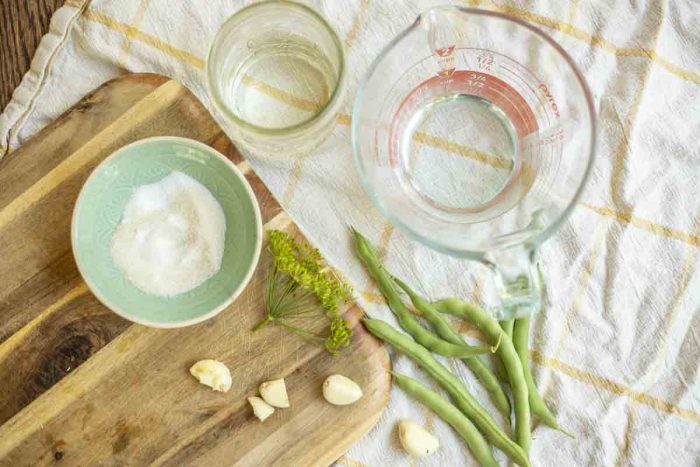
Ingredients you will need:
Water: I like to use filtered water. Find my favorite filter here.
Vinegar: White vinegar or apple cider vinegar will work.
Carrots: Small or large carrots will work.
Garlic cloves
Dill: Fresh sprigs of dill or dill seed will work. This is technically an optional ingredient. All you really need to make this is vinegar, water, and salt. Everything else is optional.
Salt: Choose sea salt, kosher salt or Himalayan salt.
Sugar: While this is optional, I think it adds a nice touch of sweetness that helps cut the acidity a bit.
Other spices: You get to experiment here. You can leave the recipe as it is or add more spices like mustard seed, peppercorns, red chili peppers for a little kick.
Tools:
Glass jar. I like using mason jars since I have an abundance.
Colander
Saucepan
Cutting board
How to Pickle Green Beans
To start, gather your ingredients. You’ll need fresh green beans, vinegar (white or apple cider vinegar works well), water, salt, sugar, garlic cloves, and spices of your choice.
Popular options include dill seeds, mustard seeds, red pepper flakes, or black peppercorns. Feel free to experiment and customize the flavor to your liking.
Save This Recipe
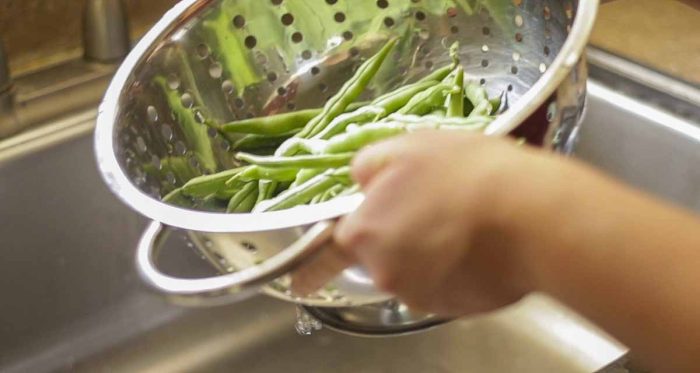
Wash green beans in a colander.
Ensure your jars are clean. Wash with hot soapy water.
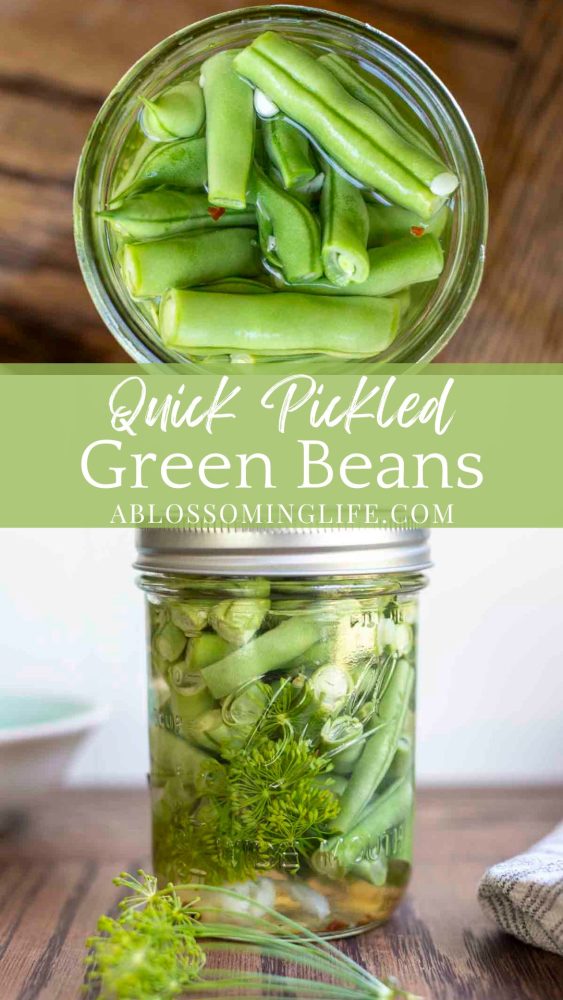
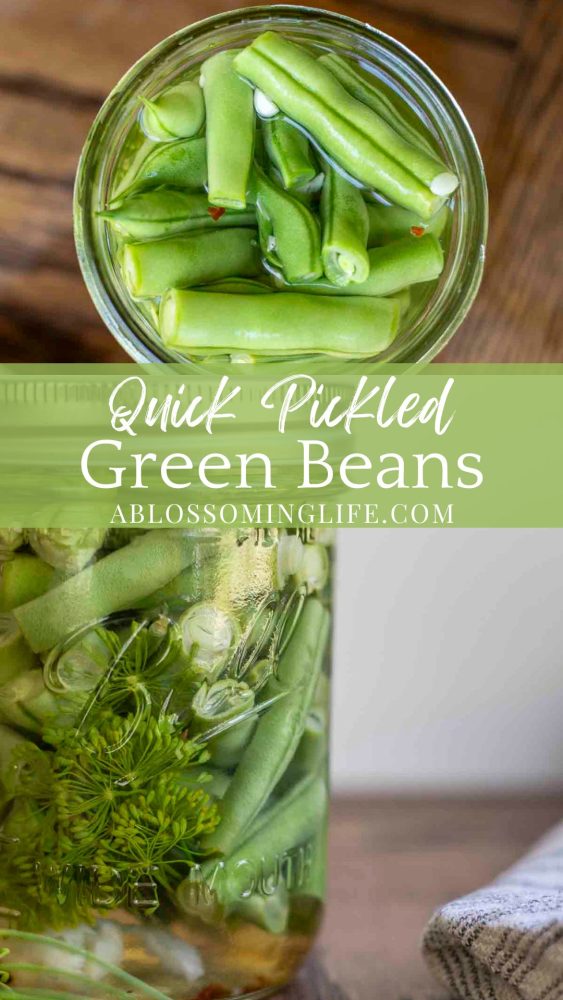
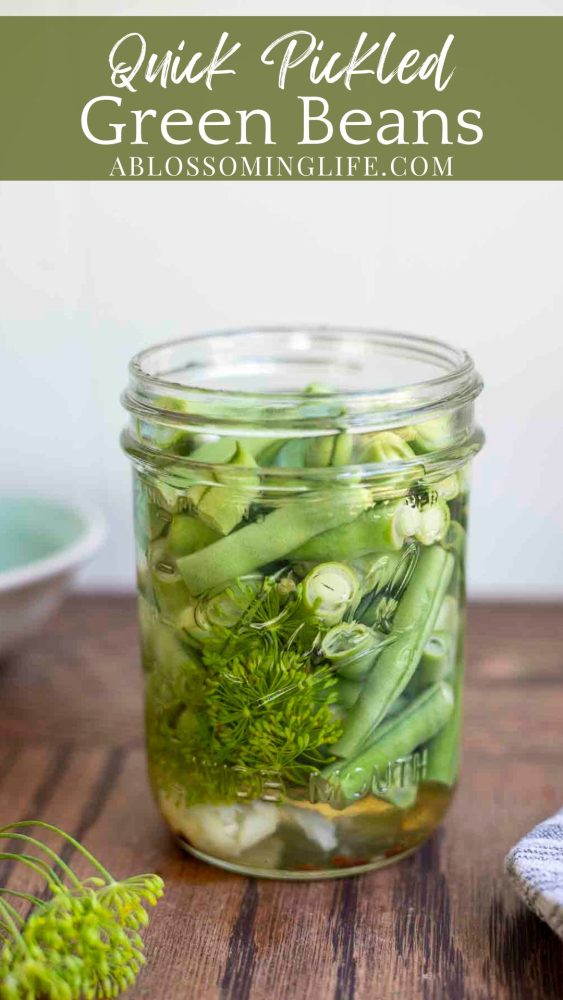
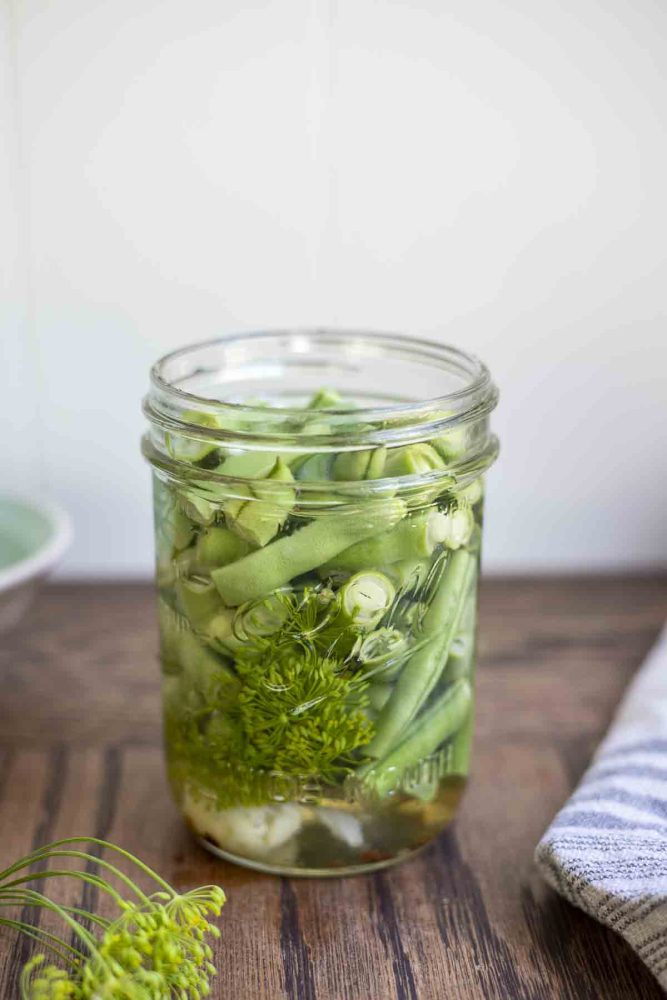
To each jar add garlic and desired spices. I like to add them to the bottom so the beans can help keep them down.
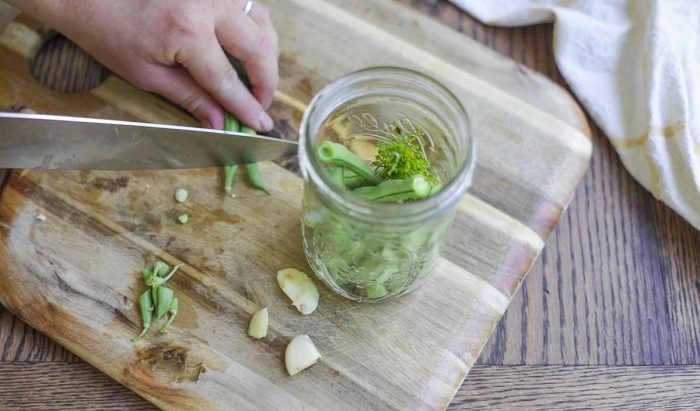
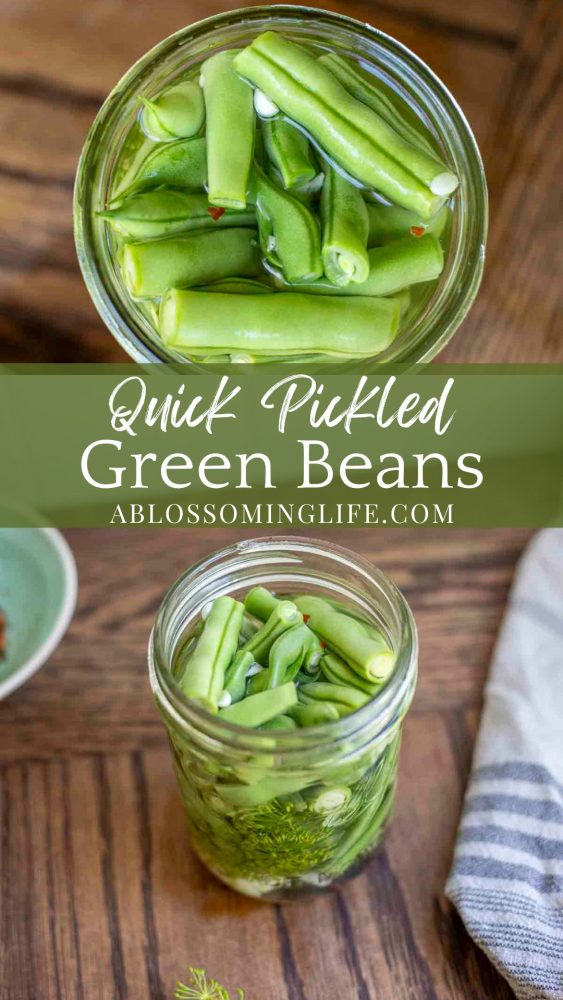
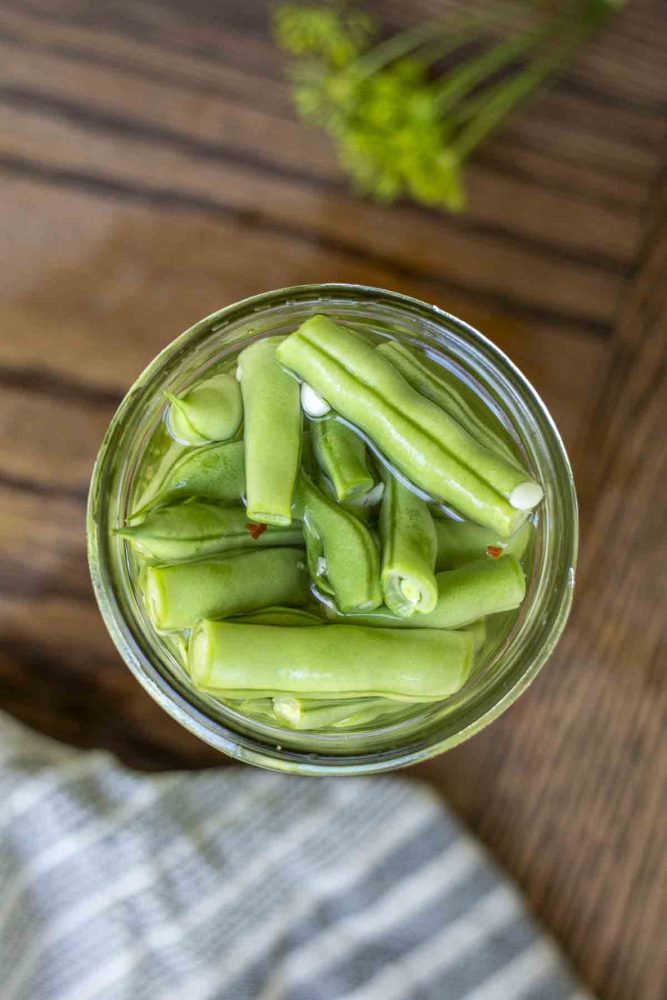
Next, prepare your green beans by trimming off the ends. It’s up to you whether you prefer them whole or cut into shorter lengths. Keep in mind that if you choose to cut them, they will fit better into your jars and make for easier snacking later on.
If you are wanting to blanch the beans, boil a large pot of water and prepare a bowl of ice water.
Once the water has come to a roaring boil, blanch the beans for 30 seconds to a minute and then place in the ice bath.
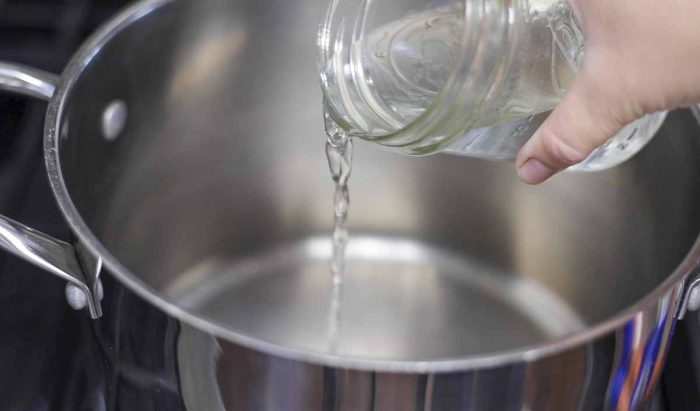
Now, it’s time to make the brine. In a medium saucepan, combine equal parts vinegar and water, along with salt and sugar.
Bring the brine to a boil, stirring until the salt and sugar are fully dissolved. If you have blanched the beans, allow to cool until about room temperature before pouring over the beans.
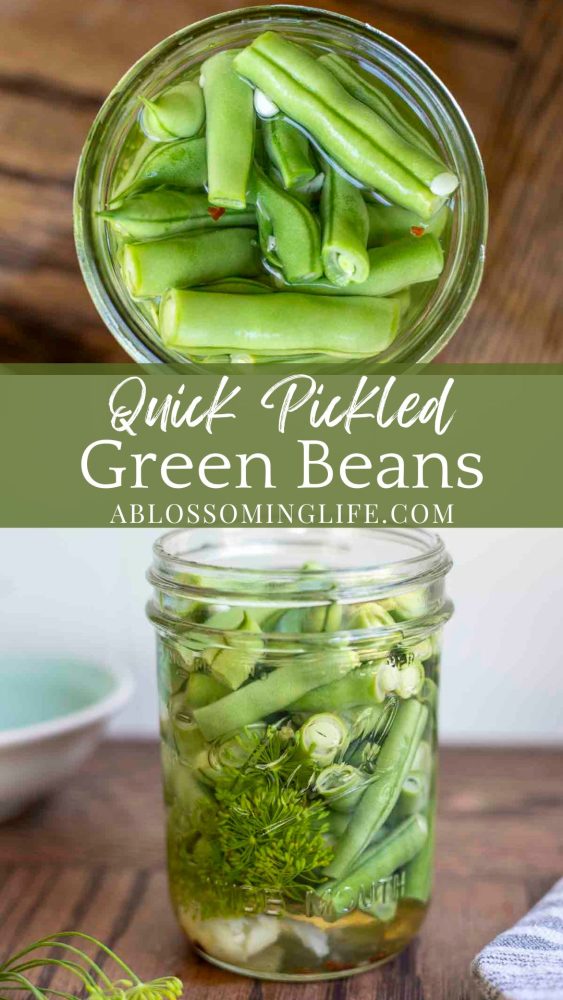
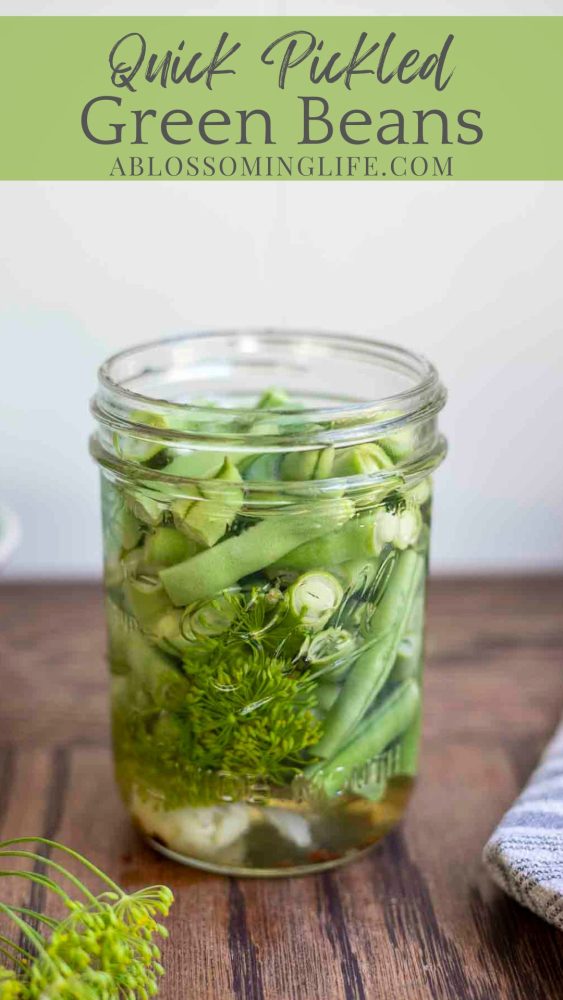
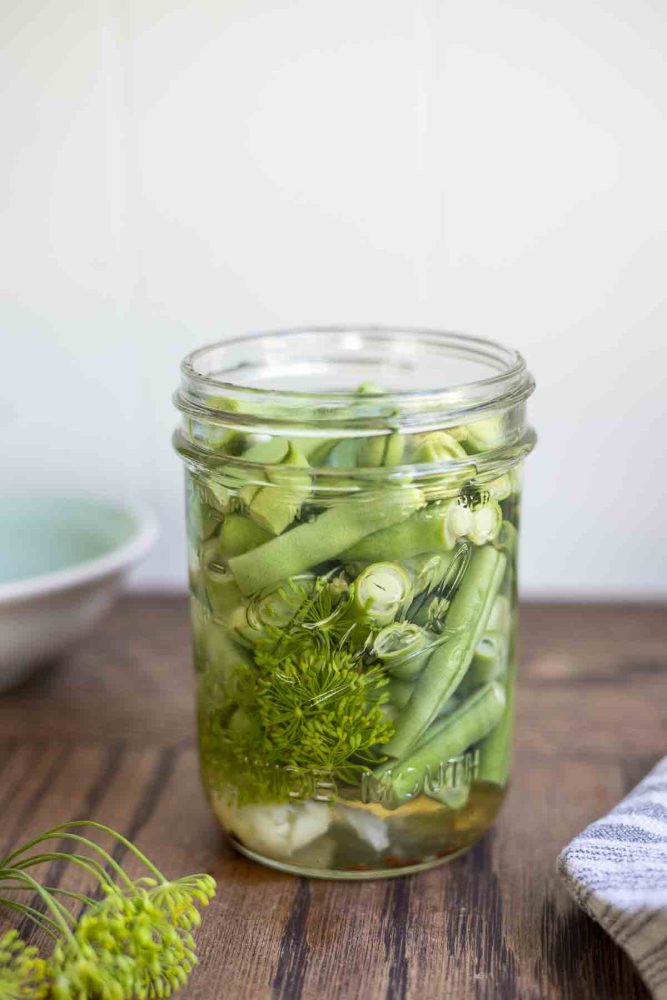
Add the trimmed green beans. Fill them to about half an inch below the rim, leaving enough headspace for the brine to cover the beans completely.
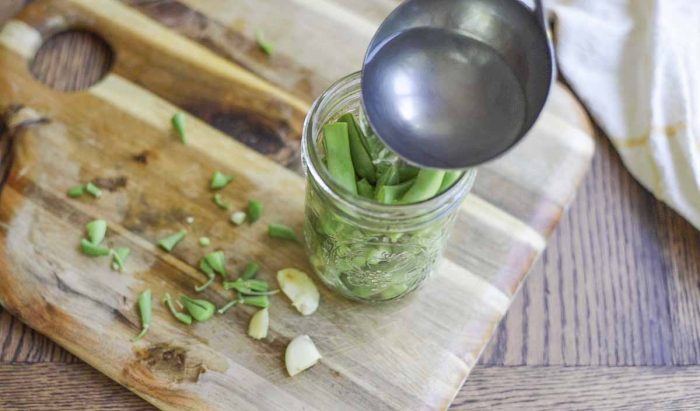
Pour the hot brine (if not blanching) into the jars, making sure it covers the beans entirely while still maintaining the desired headspace.
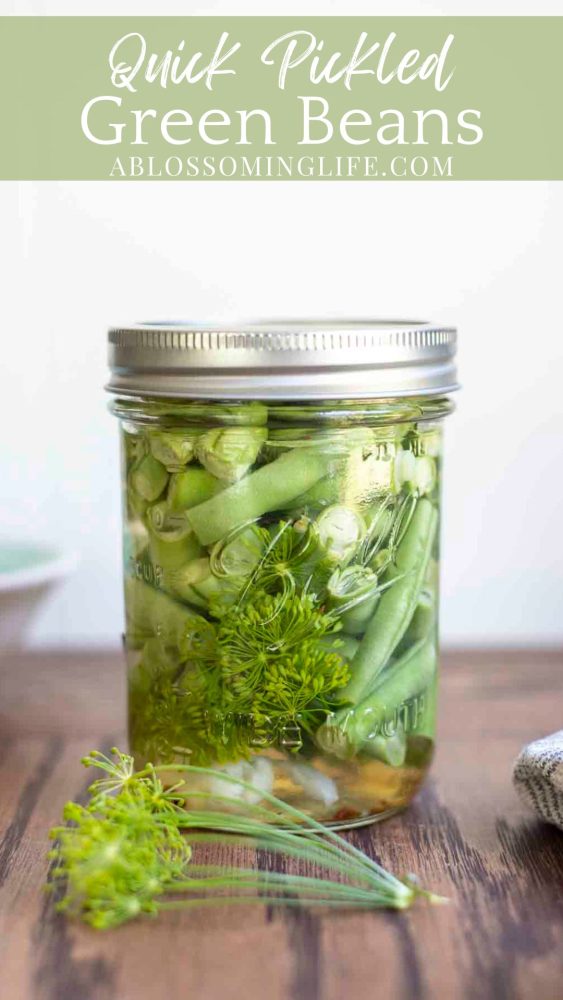
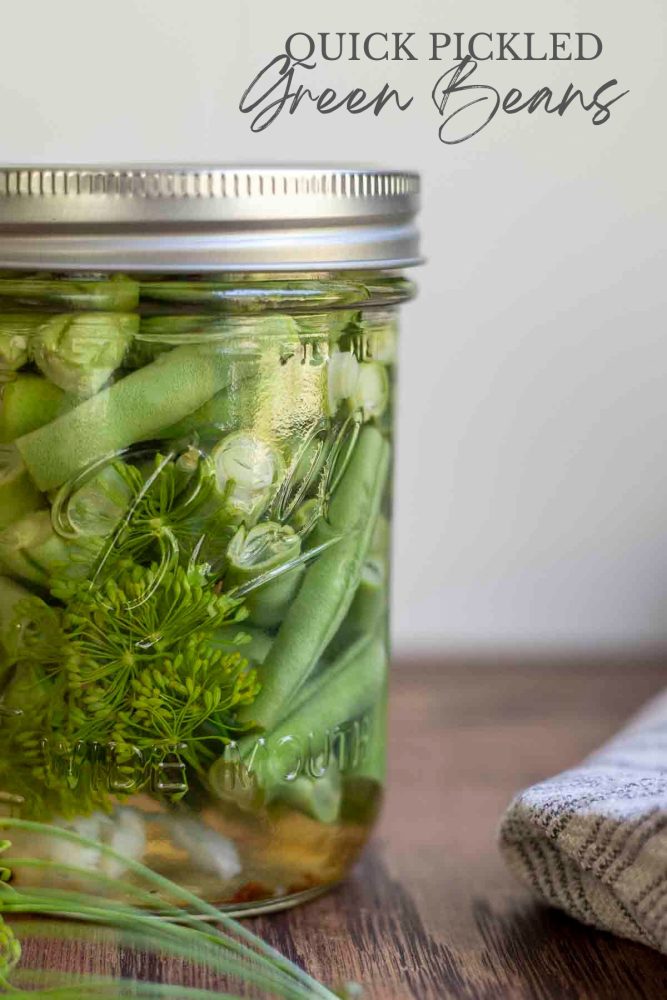
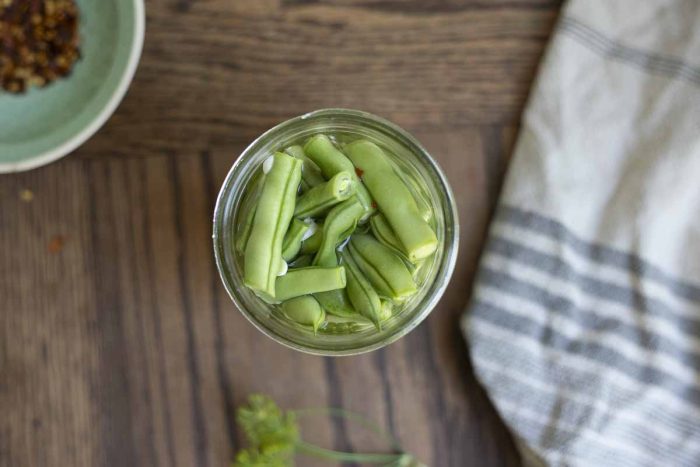
Seal the jars tightly with their lids and give them a gentle shake to distribute the spices and garlic evenly. Then, refrigerate your green beans in the pickling liquid for at least 24 hours to allow the flavors to mingle and develop.

Serving Ideas for Pickled Green Beans
- These zesty pickles can be the star ingredient in a variety of sandwiches. Try layering them on a turkey or ham sandwich for a burst of tanginess that cuts through the richness of the meats.
- You can also chop them up and mix them into chicken salad or egg salad for an unexpected twist.
- Salads- Toss them into a leafy salad with cherry tomatoes, feta cheese, and a tangy vinaigrette for a refreshing and vibrant combination.
- Garnish in a classic Bloody Mary for a tangy and crunchy twist.
- Serve them alongside a juicy steak or grilled chicken for an added layer of flavor and texture. Their tangy crunch pairs perfectly with the smoky char from the grill.
- To reduce waste, I like to use the leftover brine to marinate meats.
Variations:
Spicy quick pickled green beans: Add sliced jalapeños, red pepper flakes or whatever is your favorite spicy pepper. The more you add the spicier it is.
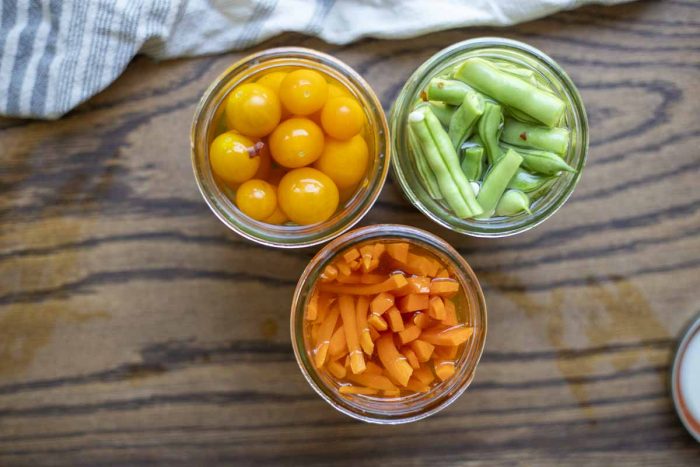
Add a variety of veggies: carrot sticks or coins, pepper. (spicy or mild), red onions, cucumbers, radish and more
Add dill: Refrigerator dilly beans are my absolute favorite. It’s like a regular pickle, but made with beans!
Sweet: Add a little more sugar, maple syrup, or honey to give these a sweeter flavor.
FAQ:
What type of bean should I use?
Any type of string beans will work. Green, purple or yellow beans work fantastic in this recipe.
Do I have to blanch green beans before pickling?
Technically no they do not. The reason you may want to blanch is for the beans to retain color and crunchiness, while also possibly killing any bacteria present in the beans.
I find that the beans are still very crunchy without blanching. They may not have as vibrant a color as blanched, but they are still delicious.
Find More Delicious Preservation Posts:
- How To Dehydrate Blueberries
- Homemade Refrigerator Dill Pickles
- How to Freeze Kale – 2 Easy Ways
- How To Freeze Tomatoes – Preserving Tomatoes Without Canning
- How To Dehydrate Strawberries
Try this recipe and love it? Come back and give it 5 stars and pin it! Please and thank you.
Quick Pickled Green Beans
Save This Recipe
Ingredients
- 1 lb fresh green beans
- 1 cup water
- 1 cup vinegar white or apple cider vinegar
- 1 tbs sugar
- 1 tbs salt preferably picking or sea salt
- 1 clove garlic
- pinch red pepper flakes
- 1 head fresh dill or a few sprigs of dill
Instructions
- Prepare your green beans by washing and trimming off the ends. It's up to you whether you prefer them whole or cut into shorter lengths.
- If you are wanting to blanch the beans, boil a large pot of water and prepare a bowl of ice water. Once the water has come to a roaring boil, blanch the beans for 30 seconds to a minutes and then place in the ice bath.
- In a medium saucepan, combine equal parts vinegar and water, along with salt and sugar.
- Bring the brine to a boil, stirring until the salt and sugar are fully dissolved. Turn off heat. If you had blanch the beans, allow to the brine to cool until about room temperature before pouring over the beans.
- Ensure your jars are clean. Wash with hot soapy water.
- To each pint jar add garlic and desired spices. I like to add them to the bottom so the beans can help keep them down.
- Add the trimmed green beans. Fill them to about half an inch below the rim, leaving enough headspace for the brine to cover the beans completely.
- Pour the hot brine (if not blanching) into the jars, making sure it covers the beans entirely while still maintaining the desired headspace.
- Seal the jars tightly with their lids and give them a gentle shake to distribute the spices and garlic evenly.
- Refrigerate your green beans in the pickling liquid for at least 24 hours to allow the flavors to mingle and develop.
Notes
- Selecting fresh and high-quality green beans is vital. Look for beans that are vibrant in color, firm to the touch, and free from any blemishes or signs of wilting. Fresh beans will not only taste better but will also maintain their crunchiness during the pickling process.
- Another tip to keep in mind is the importance of patience. While they are called “quick pickles,” allowing your green beans to sit in the brine for at least 24 hours (ok at least an hour) before indulging will ensure they develop a delightful tangy flavor.
- Remember to store them in the refrigerator during this time to maintain their freshness.
How many jars does this recipes fill?
It really depends on how tight you pack the green beans. It should make about 2 jars. You can always double to make more.