Homemade Decorated Easter Marshmallows – {Refined Sugar Free}
This post may contain affiliate links. Read disclosure policy.
Make this fun and easy Easter marshmallow dessert and craft with children. They will have so much fun creating and eating their masterpieces. 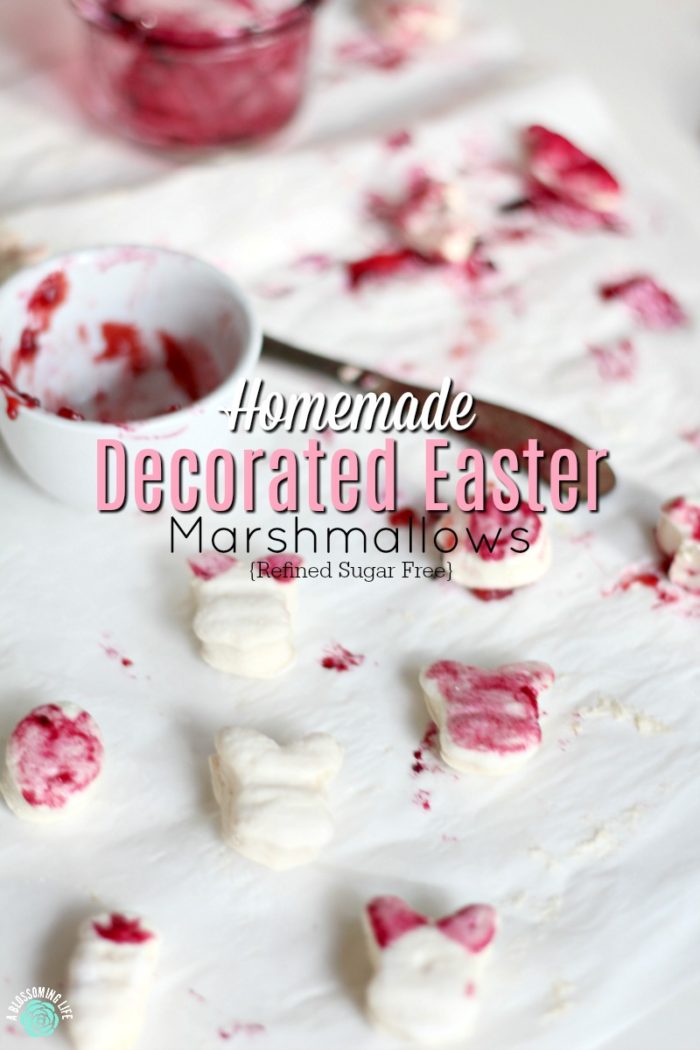
Easter is just shy of 2 weeks away, and I wanted to create a cute, healthier, and fun new tradition with our two-year-old. We want to create really fun memories and also talk about the true meaning of Easter. So, later this week I’ll share some fun, Christ-centered Easter traditions on the blog.
We don’t plan on dong the Easter bunny in our house, but I still want to create the fun and exciting environment that these things bring. We still do Easter baskets and egg hunts, but we just don’t focus on the bunny part of it.
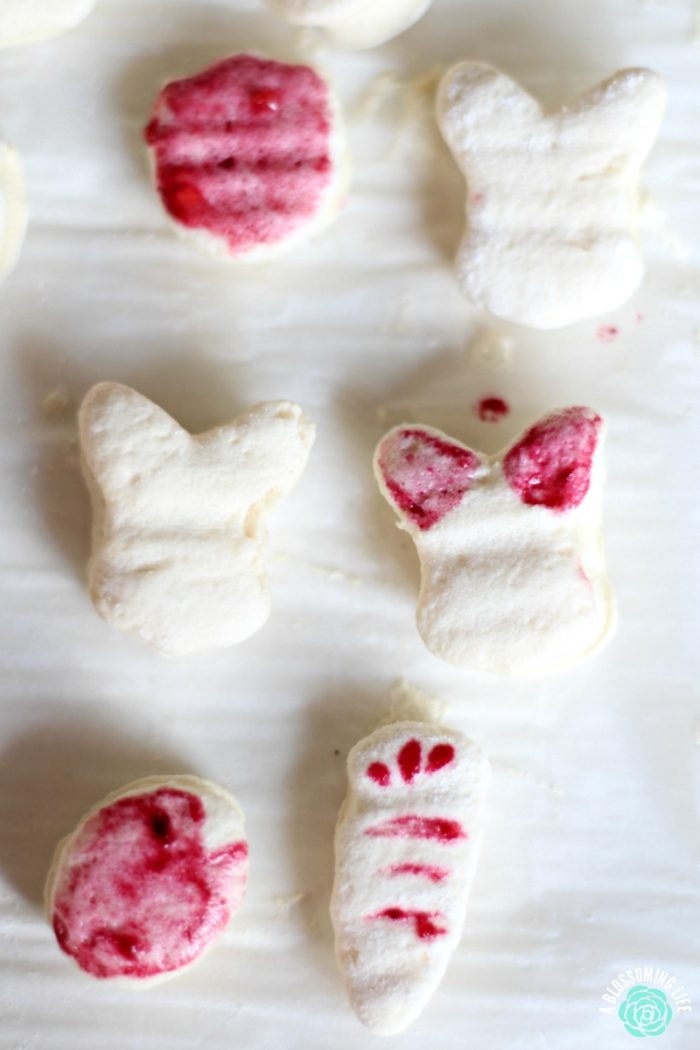
I thought it would be super fun to make our own marshmallows, cut them out, and decorate them. Huge mom fail here… it all worked great and August wouldn’t know any different. First, I went to make the marshmallows, like I have many times before, only to figure out I was out of sugar. Sooo, I just made honey marshmallows instead. Thank you, marshmallows, for being so forgiving. Then, we ended up having two colors… pink and magenta (aka purple pink). Ha!
Save This Recipe
This was kind of a last minute idea, so I looked for natural food colors (I’ve used these in the past) that I used in the past, but the only ones available at some local stores were single use colors that cost $17 😱. I may be natural, my friends, but I’m also cheap…er, frugal.
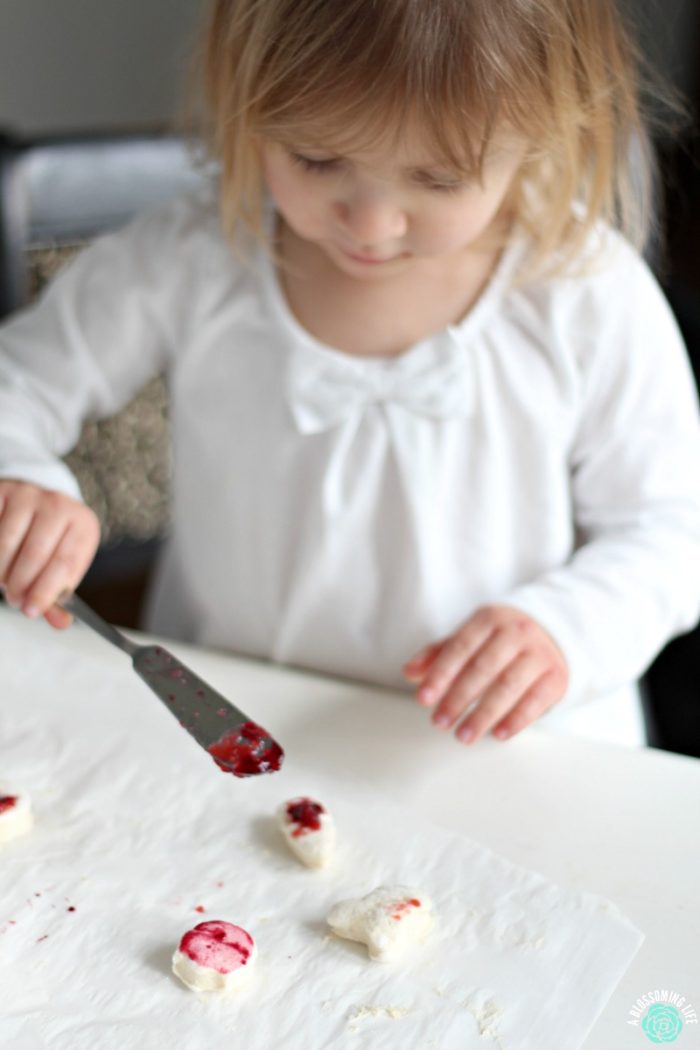
Making homemade colors couldn’t be that hard, right? “I have some things at home,” I thought to myself. I bought some raspberry jam for pink, heated up some frozen blueberries for purple, and surely I had some turmeric for yellow. Yeah, I didn’t. I must have tossed it during our move or something. After having the project ready to decorate, I realized I didn’t have any paintbrushes to use and ended up using kid knives. Seriously, I was really winning this day. I’m so far from perfect, it’s humbling.
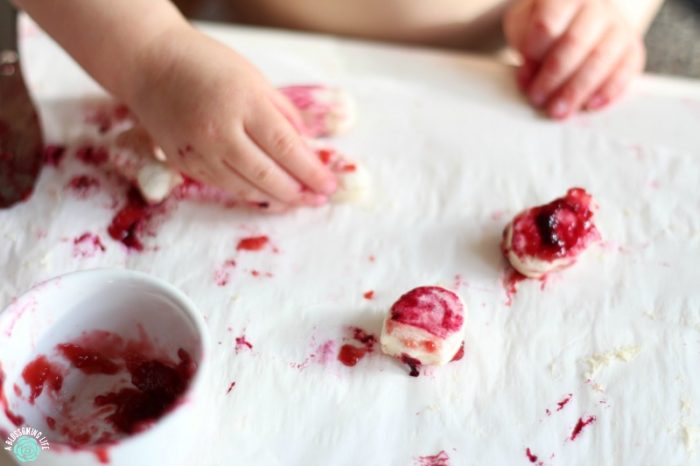
All this to say, we decorated marshmallows with two colors. Maybe next year we will get more colors. As you can see, though, August loved it and didn’t care whatsoever. By the end, she was covered in pink and smushed marshmallows, and just kept asking “can I decorate another marshmallow?” Which actually sounds like, “Can I decorwate anodder marshmawwo?” To my surprise, she decorated like 8 marshmallows before attempting to eat one.

Save This Recipe
Ingredients
- 3 tbs gelatin (I use this brand)
- 1 cup cold water divided
- 1 cup honey
- 1/4 tsp salt
- 1 1/2 tsp vanilla extract optional
- few tbs organic powdered sugar and cornstarch equal parts
Instructions
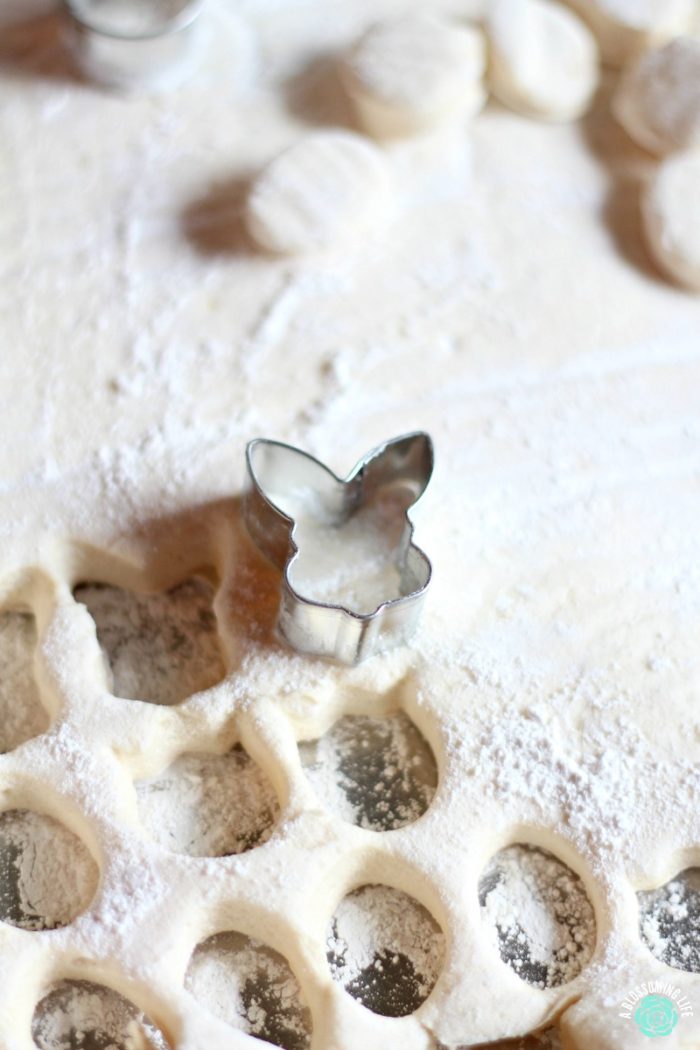
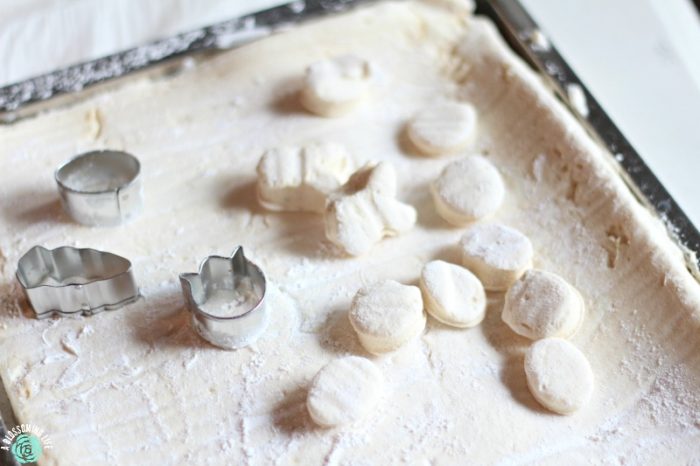
- Whisk together 1/2 cup cold water and gelatin in the bowl of your electric mixer. Allow to sit for 15-20 minutes.Combine honey, 1/2 cup water and salt in a saucepan over low heat. Stir until the dissolved.Increase the heat to high and cook without stirring until the temperature reaches about 240º (honestly I didn't check the temp just made sure it was super hot). Immediately remove the pan from the heat.Turn your stand mixer to low. Using the whisk attachment, slowly pour the hot honey mixture into the softened gelatin. Once combined, increase the speed to high and beat for about 15-20 minutes. Add in vanilla extract during the last 2 minutes of whisking.Line a 9x13 inch baking dish or jelly roll pan with parchment paper. Pour marshmallow mixture into pan and smooth out flat. Let sit for at least 4 hours to 24 hours. Before cutting out with cookie cutters, sprinkle the marshmallow top liberally with powdered sugar and cornstarch and rub until covered. Turn out onto a cutting board, peel off the parchment paper, and sprinkle cornstarch and powdered sugar mixture on top and rubbing it until the whole surface is covered.Use cookie cutters (like this one) to cut them out and then decorate.Use natural food colors, jam, cooked blueberries, maybe tumeric (who knows if this actually works? Not me!) to decorate.
Notes
This post contains affiliate links. Affiliate links help support A Blossoming Life at no extra cost to you.


