Kitchen Update: Open Shelves and How To Style Them
This post may contain affiliate links. Read disclosure policy.
It’s finally time to reveal the kitchen open shelves update! I’ll share the whole kitchen renovation in a short time. There are still a few more touches that are needed.
This post contains affiliate links. Affiliate links help support A Blossoming Life at no extra cost to you. We only link to products we believe in and personally use or would use.
Y’all.
I can’t even describe the feeling of our open shelves in the kitchen being done. My heart flutters whenever I think of it. Is this love?
This was one of the last big things that needed to be done and it was on the back burner. We didn’t have any of the tools needed to actually do the shelves the way we wanted. And by we, I mean me. Because my hubby is indifferent.
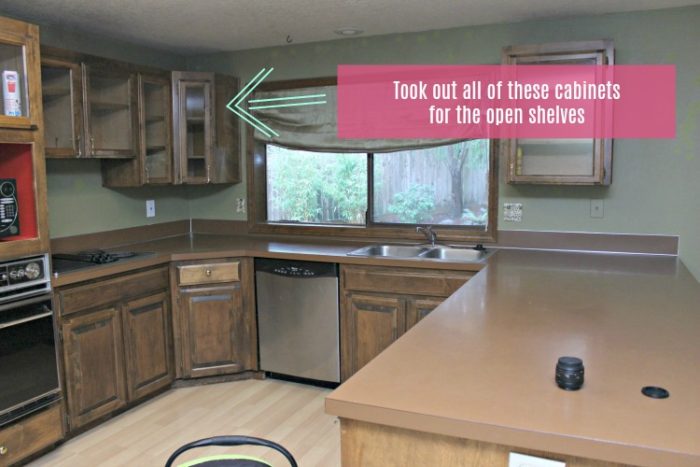
Let’s take a little look at this area before…
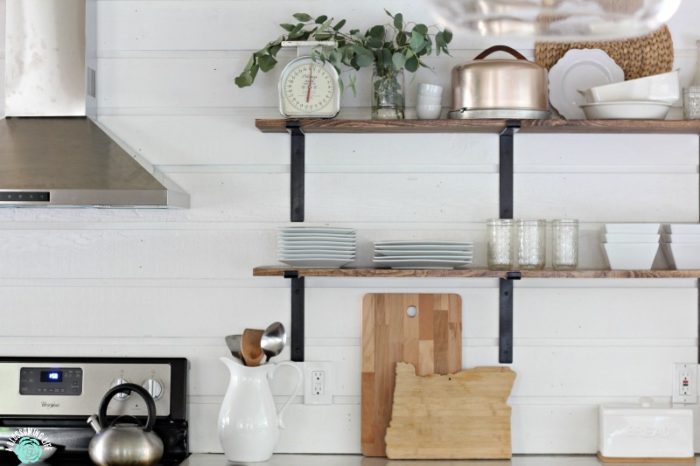
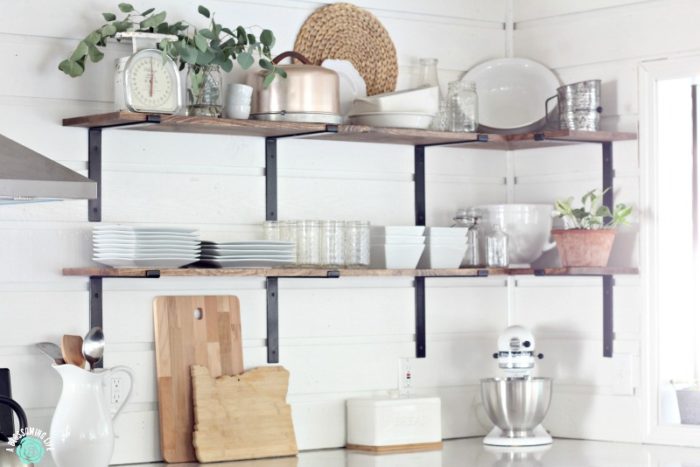
And after… Hard to believe it was the same space!
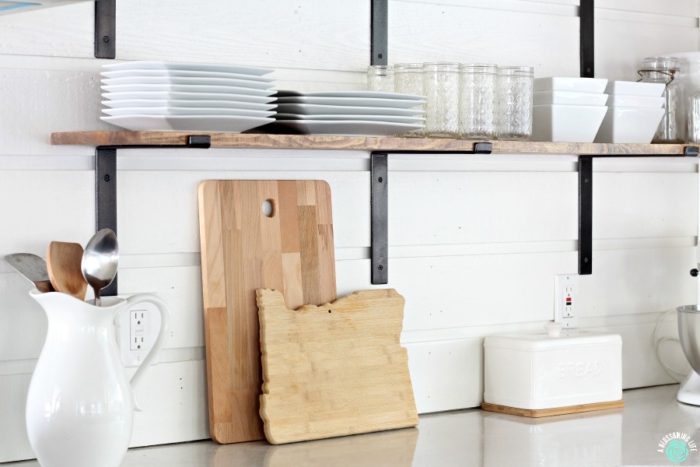
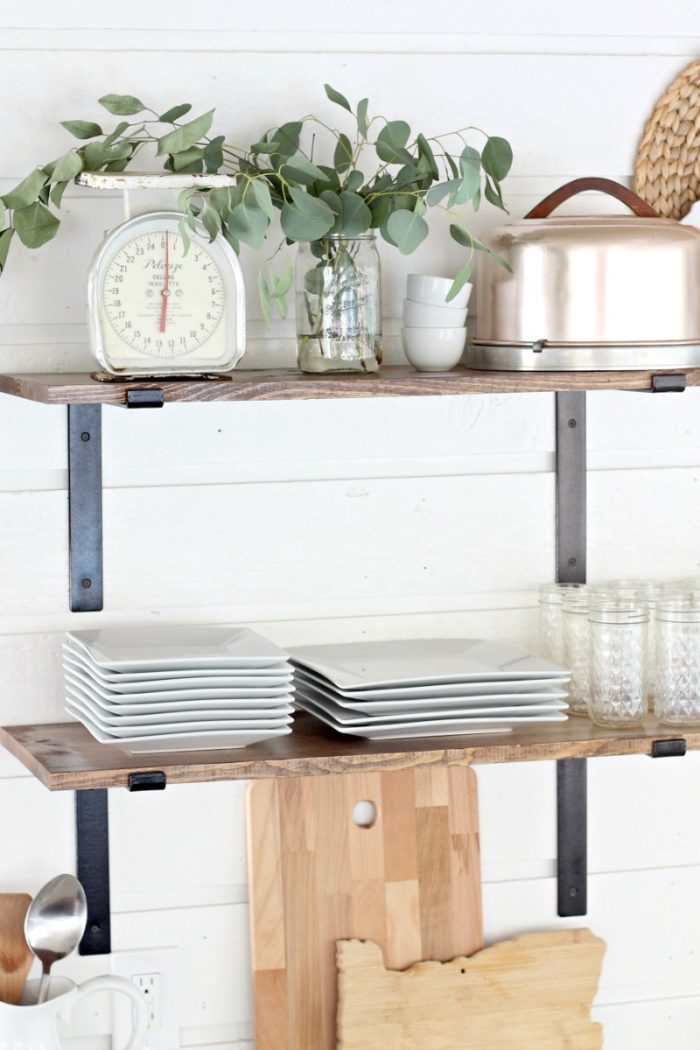
We purchased these pretty little brackets (like these), and I loved how the iron wrapped around the wood. Unique, right? After we ordered them and they had sat in the garage for a few weeks, I saw that Joanna used the same brackets on an episode of Fixer Upper. Confirmation. And another friend of mine sent me a photo on Instagram of them being used at Magnolia. All this to say… I guess I have pretty okay taste! Good enough for Jojo, good enough for me.
I wanted the shelves to extend and wrap around the corner. Sure, we could of just done straight cuts, but where is the fun in that? I want to make things more difficult, because if it costs more, I’ll appreciate it more. Wait…that’s Libby. But seriously, having the corners at a 45° angle gives it a much more finished look. One of our friends loves to build stuff, and he offered to help us do it. He also had gotten a new saw, and he really wanted to use it. So, he came over one night, last minute, to hang them. Of course, I fed him food. Because that is how you pay friends who offer to help you. (Where I come from, anyway.)
Save This Recipe
Besides painting and such, this is the first project that has actually been styled in our new house! We didn’t buy much for it either. We’ve collected many of the items over the years
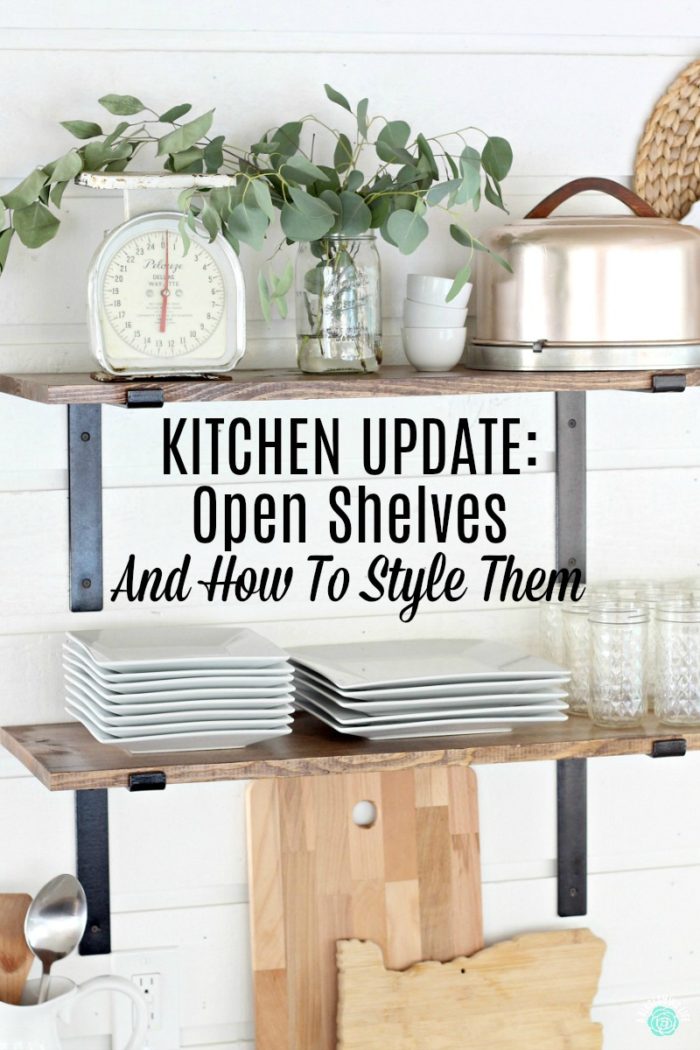
How To Style Open Shelves In The Kitchen
How Will They Be Used?
First, you need to decide how they are actually going to be used. Are they just for decor or do they serve an actual purpose? We knew we would be putting our everyday plates and cups on them, so we had to style them in a manner that is not only pretty, but functional for our family. Because we are short, all the plates and cups had to go on the first shelf, and the pretty items or less used items were placed on the top shelf. All the bowls, small and large plates, and cute porcelain vase (AKA utensil holder) are from Target. Also, a new addition to the family is the KitchenAid ceramic bowl in the corner. She’s pretty.
Use Various Textures, Colors, and Materials
I wanted a mostly white theme, but it needed some contrast. I threw in some wood elements for warmth, some mixed metals, and some greenery from plants. I used items mostly from around the house. Honestly, a few of the items are blogging props – like the charger from World Market (get 10% off online) or the cute, little, white cups from IKEA. My husband found that adorable scale from a co-worker.
Find Balance
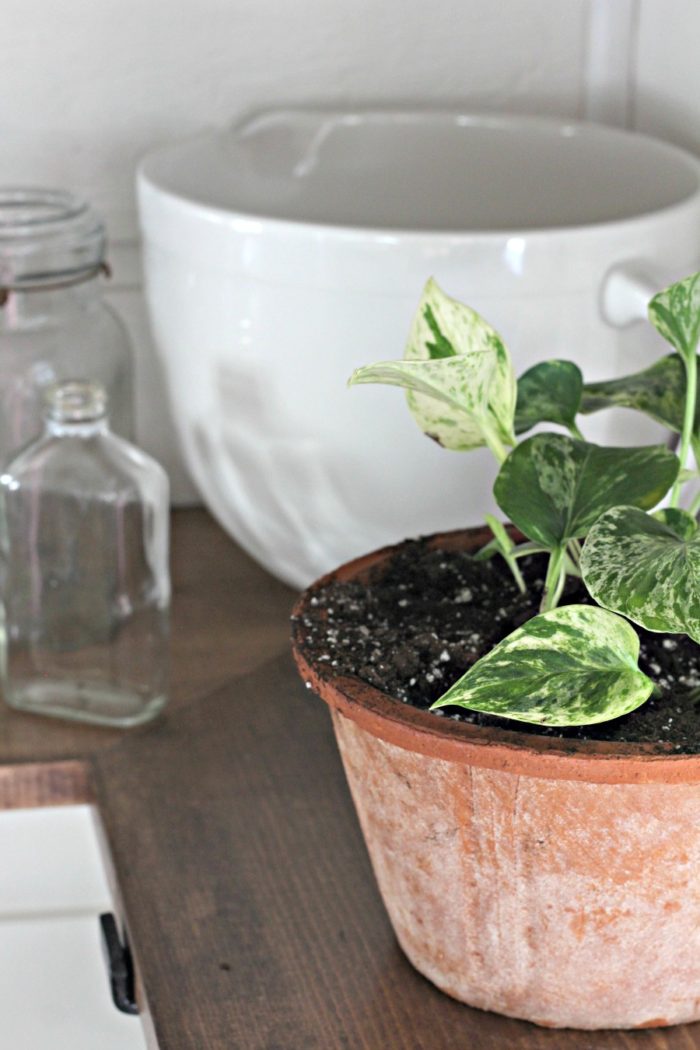
Spread out the varying heights and materials (mostly) equal throughout. I balanced the greenery by putting a potted plant on one side, and then adding some eucalyptus on the other. Same with the metals. I tried to add some to each side. Another thing to add balance is use the rule off odd numbers. Things seem balanced when objects are arranged in three, five, seven, or nine.
Break It Up
I sectioned off the plates and cups. Partly due to the physical weight of all the dishes, and also, I wanted to break up all the white by adding in the glass mason jars, er, drinking glasses.
It Doesn’t Have To Be Perfect!
Mix it up. Try new things. It doesn’t have to be absolutely perfect. Even since taking these pictures I’ve added and adjusted the shelves. Can’t stop won’t stop.
What do you think? Are you excited for the whole kitchen reveal?


White with the wooden elements as a contrast is just perfect, Amy! 🙂 Open shelvings look sleek and modern. I love it, too! 🙂
Love the open shelves. Thinking off going that way too.
Thank you! We are really enjoying them!