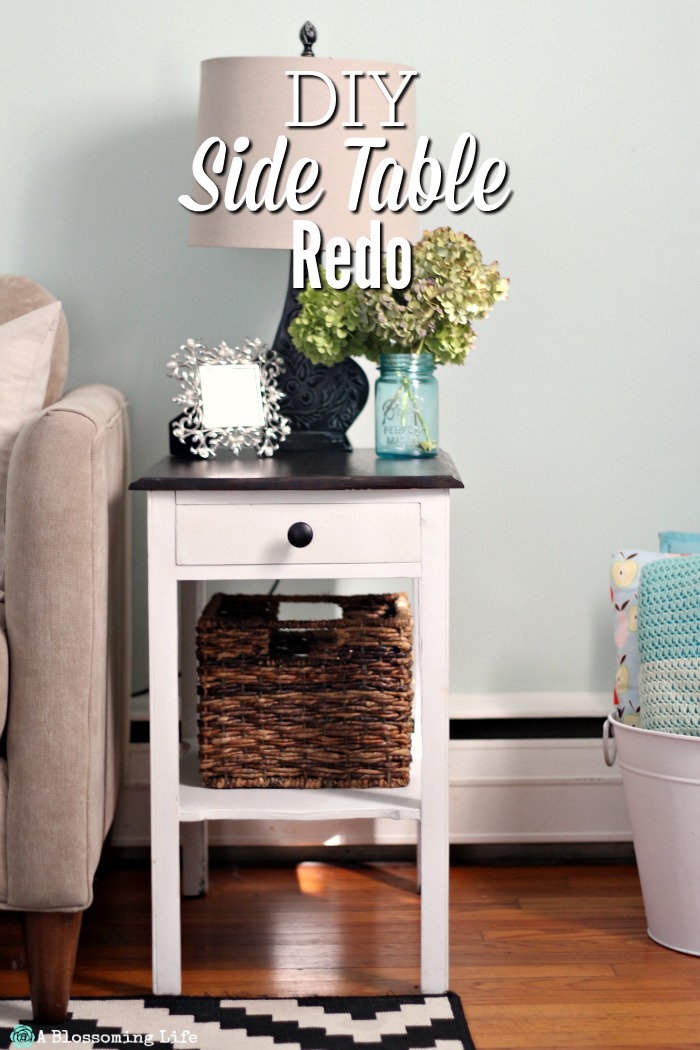
DIY Side Table Redo
This post may contain affiliate links. Read disclosure policy.
These side tables have been in our family for many years. My grandparents purchased these beloved leaf side tables, then passed them down to my parents, and somehow they landed in my hands. One of them was used as a table in my bedroom growing up and let me tell you, I didn’t treat the poor girl well. She was painted several different shades of color, decoupage with words and picture from magazines (remember how cool that was back in the 90s?), sanded down and repainted too many times to count. But, just like these tables, I have matured over these years and so has my design style, which I like to call mid-century country (yeah, I made that term up because I love some aspects of mid century, but I love me some shabby country). Plus, me and Joanna Gaines have become best friends (not in real life, but in my dreams).
I was tired of how the living room looked. It had been the same too long and needed a little update that actually matched. So I grabbed one side table that was being used appropriately and the other one that we were using in our bedroom as a night stand, and I sanded the crap out of these beloved girls. And what they turned into is somewhat magical. I can’t believe how good they look. It was actually a surprise.
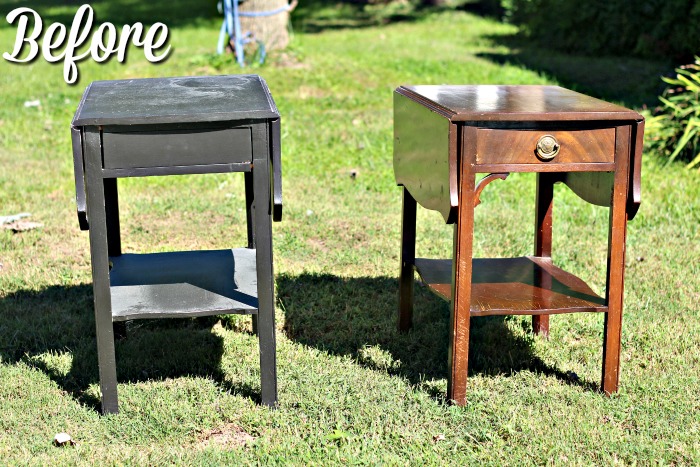
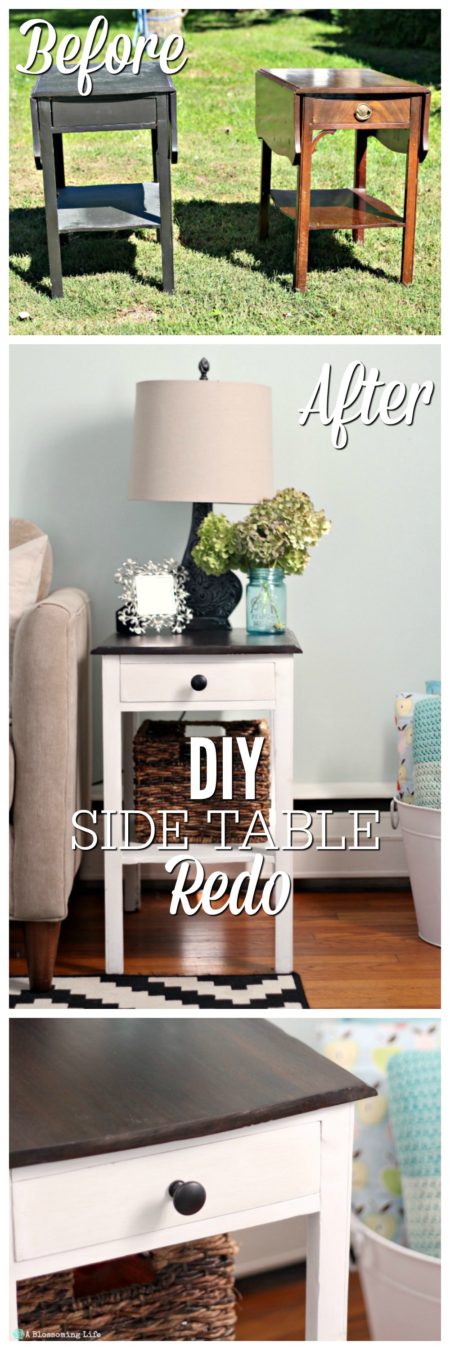
Before: one was painted and one was stained. Both not so hot looking.
First, I took off the leaves and sanded both the tables down with a power sander. I completely sanded the tops because I knew they were going to get a nice coat of dark walnut stain. The sides of the tables I sanded pretty well, but not down to the bone.
Then, to get the hinges off, the tops of each table needed to come off completely which was terrifying. Here I have this beautiful piece of furniture and am not a professional woodworker. We aren’t handy people here folks, so for awhile I debated about actually doing it. I sucked it up, took a chance, took the whole top apart and put it back together, and I’m so thankful I did. It took some extra time since furniture was built to last back then, but the results are stunning.
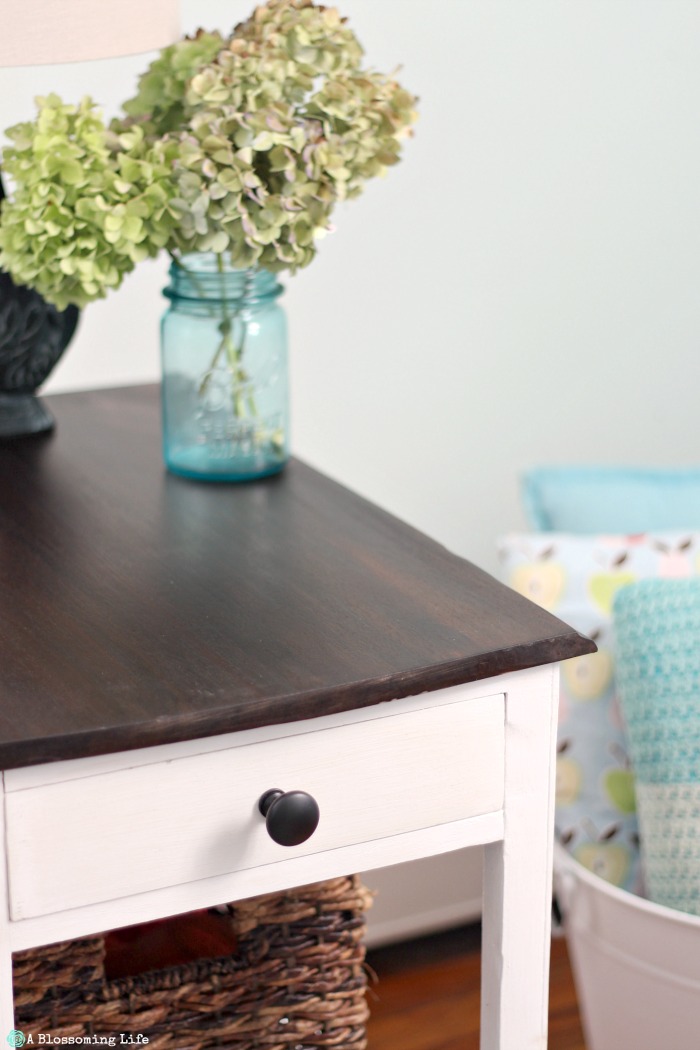
Once the tops of the tables were reconnected to the girls, they got a nice coat of dark walnut stain (I used this one)![]() . Then I painted their bodies with white chalk paint from Rustoleum (this one)
. Then I painted their bodies with white chalk paint from Rustoleum (this one)![]() . I had some issues with the old stain bleeding through, so if you don’t remove all the stain with a sander, make sure to use a really good stain blocking primer (I used this one)
. I had some issues with the old stain bleeding through, so if you don’t remove all the stain with a sander, make sure to use a really good stain blocking primer (I used this one)![]() first. Then, I added about two to three coats of the chalk paint, sanding lightly between coats
first. Then, I added about two to three coats of the chalk paint, sanding lightly between coats
Save This Recipe
Lastly, I sealed it with a polycrylic sealer (I used this one)![]() and added new hardware (from Martha Steward at Home Depot). Many people wax chalk paint to finish it, but reading that it would have to be re-waxed every few months I went with a polyurethane sealer (check out this article). This girl ain’t got time for that. Hence, I’ve had these tables for five years, and I’m just getting around to refinishing them.
and added new hardware (from Martha Steward at Home Depot). Many people wax chalk paint to finish it, but reading that it would have to be re-waxed every few months I went with a polyurethane sealer (check out this article). This girl ain’t got time for that. Hence, I’ve had these tables for five years, and I’m just getting around to refinishing them.
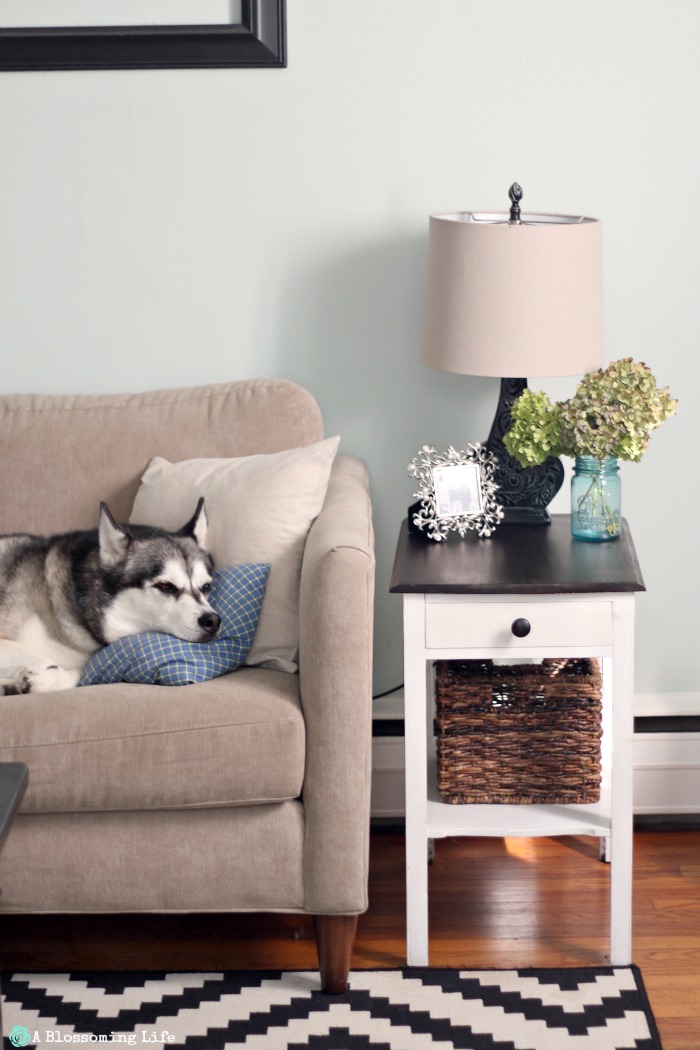
Of course, I never see Kaia during the day. She just lays around on her bed most of the time… unless I’m trying to take blog pictures. Then, she has to be in the way. Typical.
This project cost me right around $32.
Project Supplies
- Chalk paint (this one)
 ~$16 (I also used this on another DIY project I’ll share soon)
 - Brushes (had on hand)
- Dark walnut stain (had on hand) (I used this one)
- Primer (had on hand)
- Polyacrylic sealer (had on hand)
- 2 drawer pulls ~$6
- Paint holder ~$2
- Sanding pads variety pack~$8
- Electric sander – borrowed from Libby
- Screwdriver
- Elbow grease – priceless
Could you imagine those little tables could look so gorgeous? I had no idea!
What do you think? Do you love them as much as I do?
This post contains affiliate links. Affiliate links help support A Blossoming Life at no extra cost to you.