Pear Crisp Recipe
This post may contain affiliate links. Read disclosure policy.
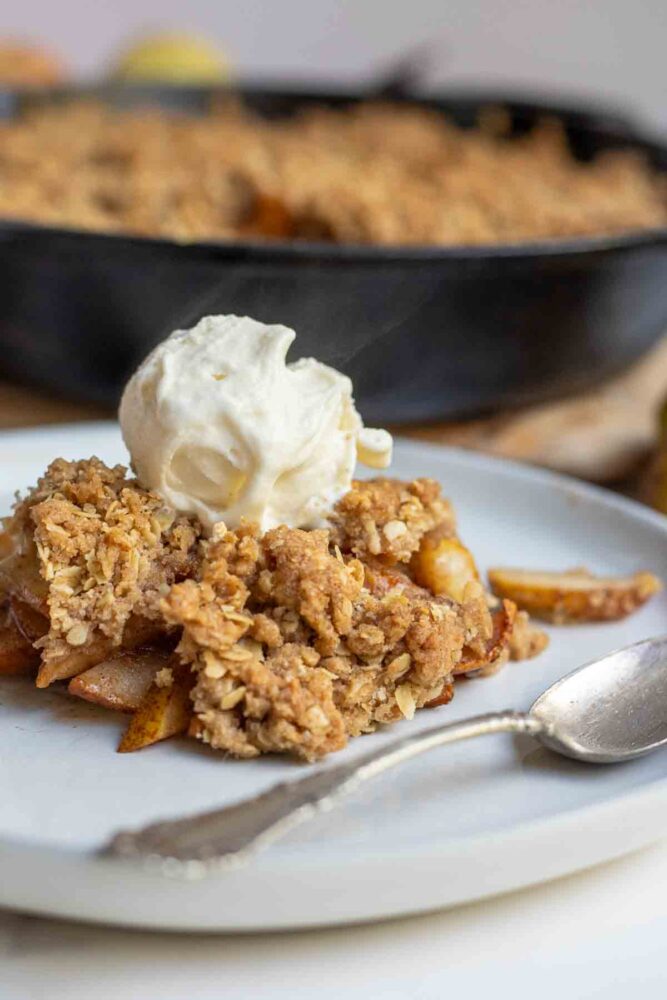
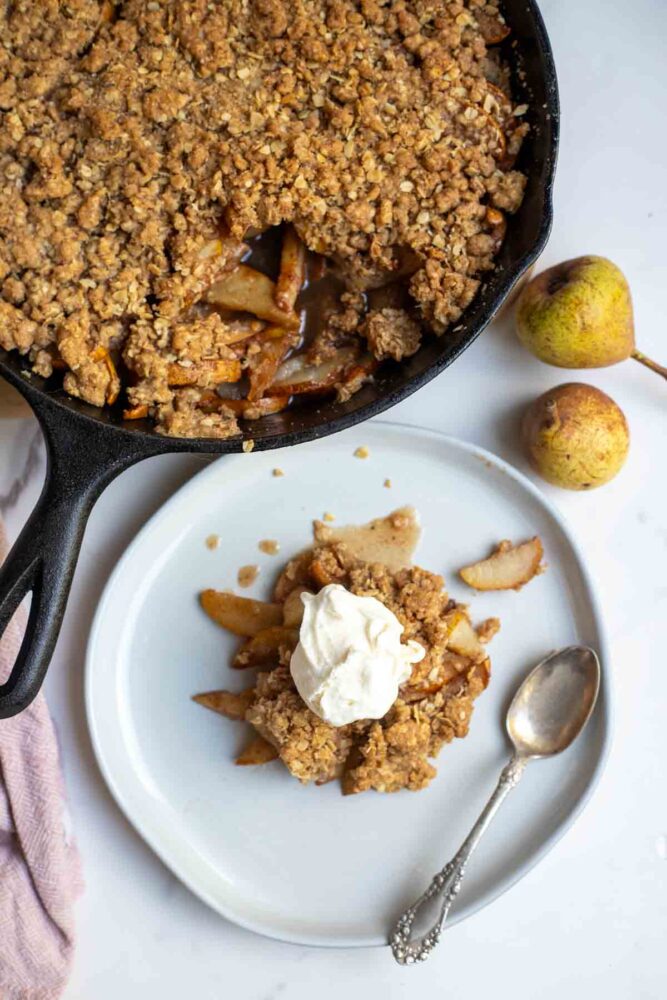
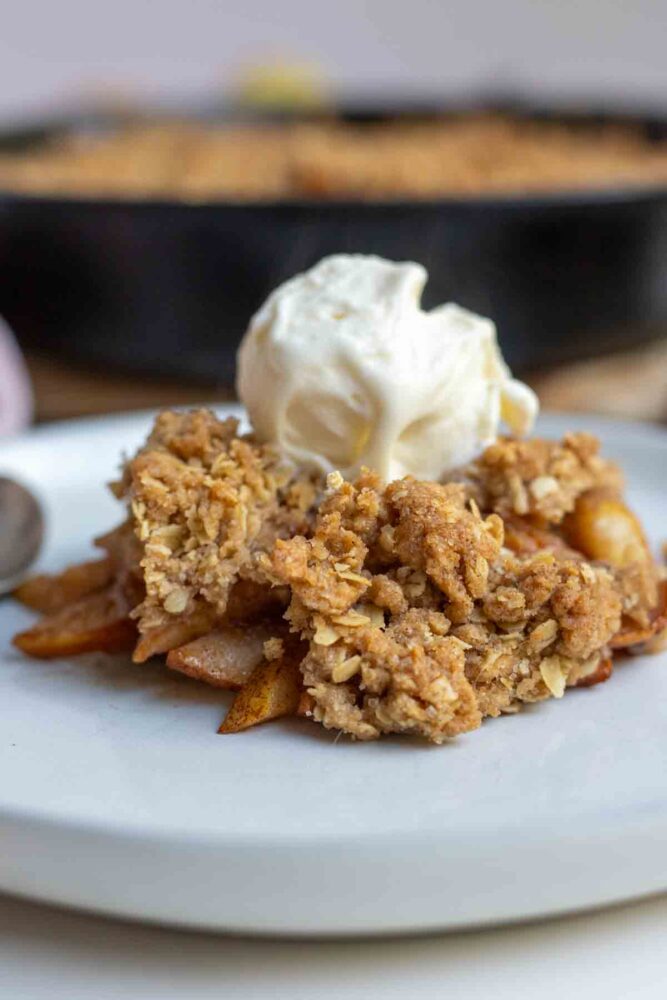
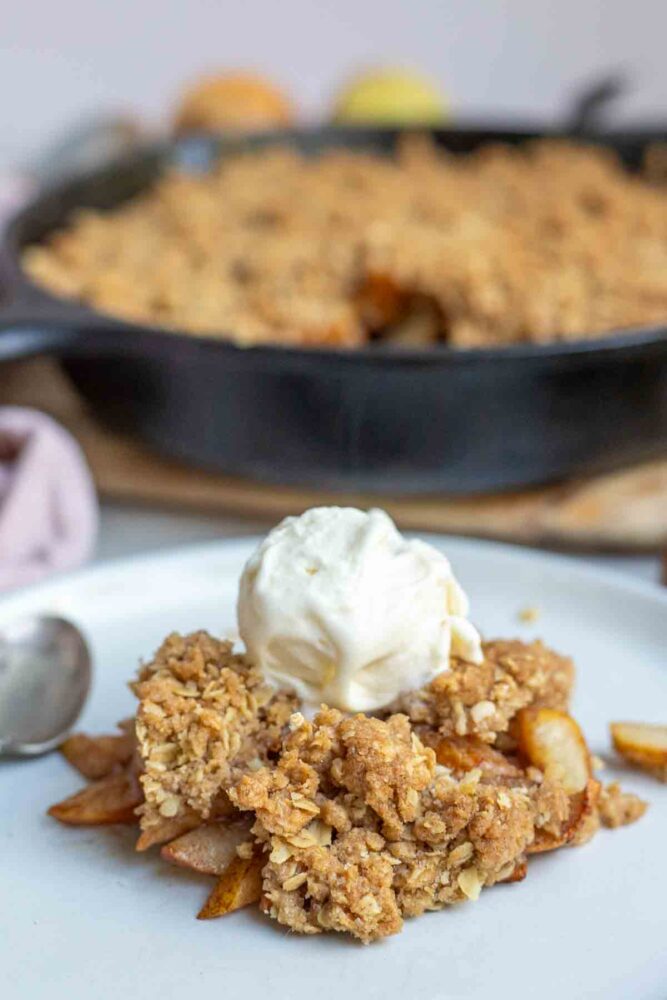
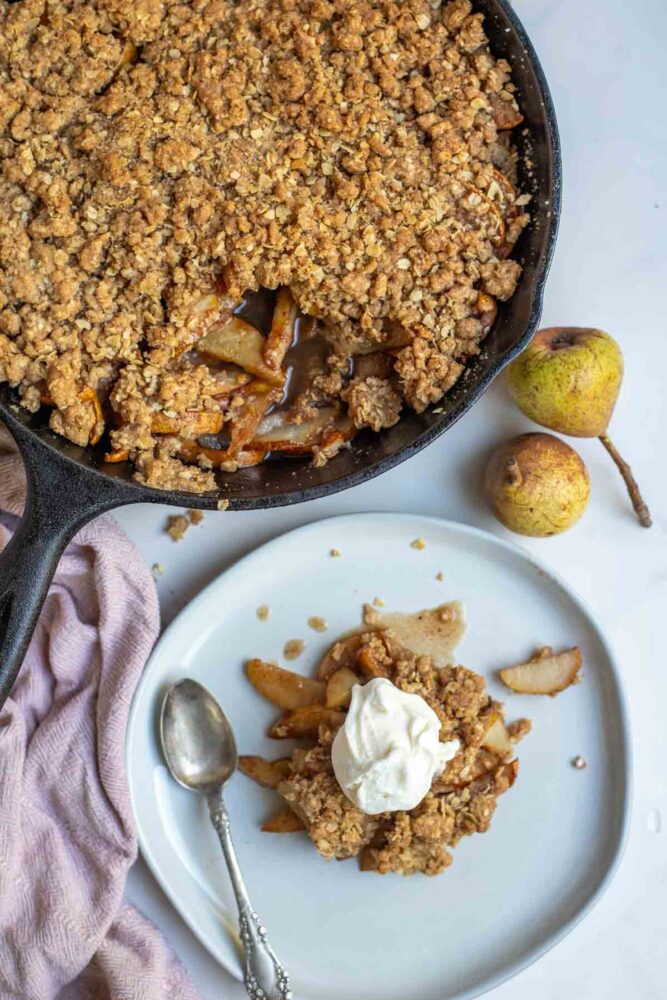
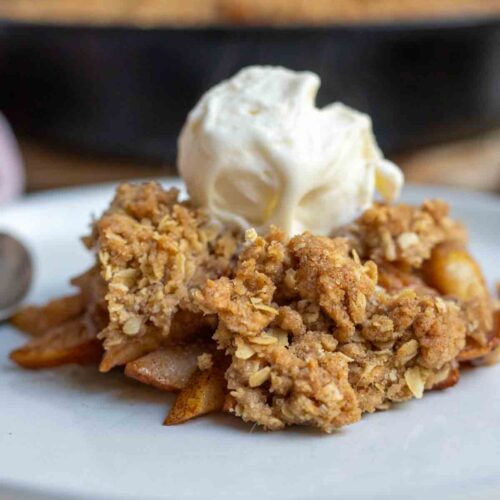
This Pear Crisp Recipe is one of my favorite ways to use the pears from our tree every year. The fruit gets soft and sweet while it bakes, and the buttery oat topping turns golden and crisp. It’s simple, cozy, and always smells amazing coming out of the oven!

Looking for more easy recipes? Try my Pear Sauce, Sourdough Apple Scones, Sourdough Apple Muffins, or Healthy Apple Crisp.
I make fruit crisp all the time because it’s so much easier than pie and uses whatever fresh fruit is in season.
Even if you don’t have a pear tree, this is a great way to use up pears that are getting ripe on the counter or ones you picked up from the market. The cinnamon and nutmeg fill the kitchen with the best smell, and before long, everyone’s waiting by the oven for it to finish baking.
You don’t have to peel the pears unless you really want to. The skins soften as they bake and add a little texture. Just slice them, mix with the spices, and you’re good to go.
The topping comes together quickly with simple ingredients, and then the oven does the rest. It’s a classic easy dessert that tastes like home.
What you’ll love about this delicious pear crisp recipe:
- Easy to Make: No fancy techniques, just basic ingredients and a baking dish.
- Buttery Oat Mixture: Sweet, golden, and just the right balance of chewy and crisp.
- Old-Fashioned Flavor: The mix of warm spices and buttery oats gives it that classic homemade taste.
Recipe Ingredients
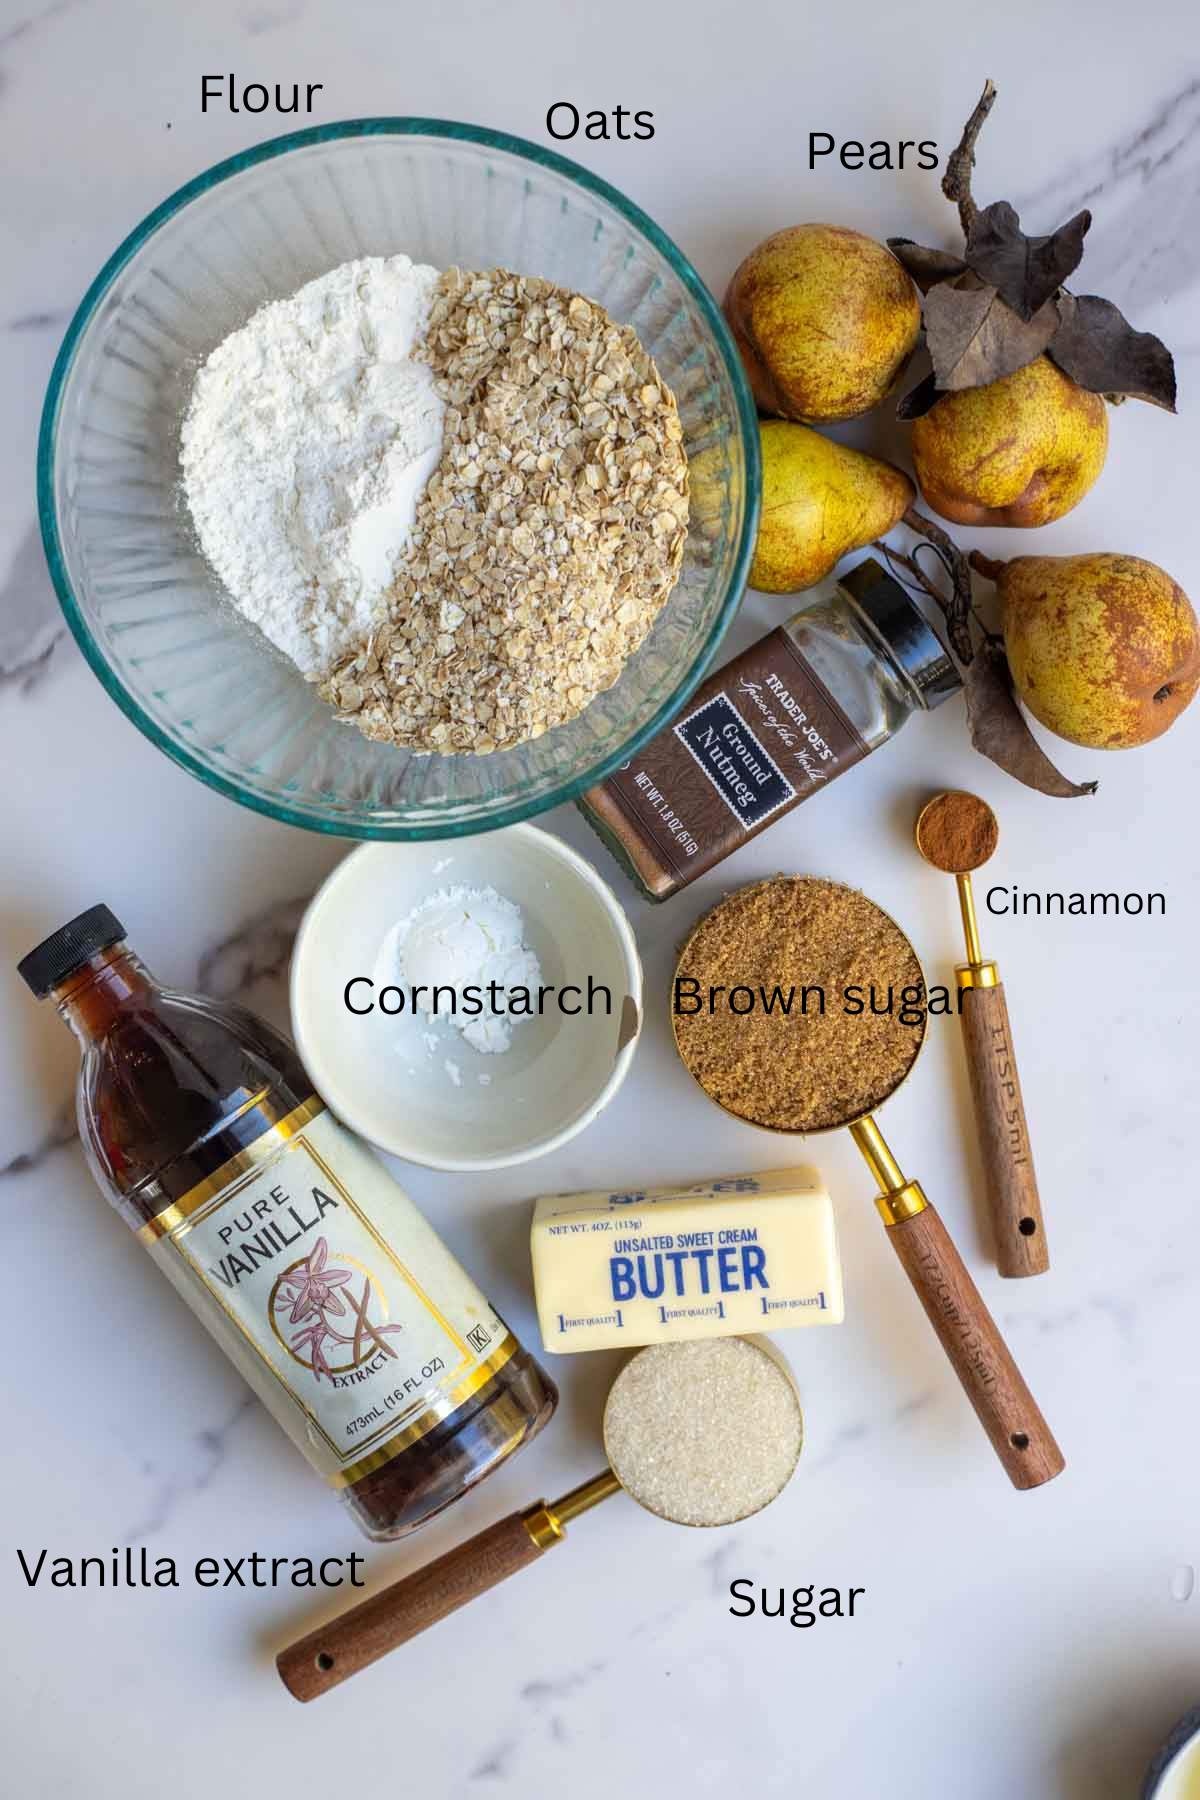
For the Filling:
- Pears, sliced
- Brown sugar
- Nutmeg
- Cinnamon
- Vanilla
- Salt
- Cornstarch or arrowroot
For the Topping:
- Butter, room temperature
- Brown sugar
- Sugar
- Cinnamon
- All-purpose flour
- Oats
Ingredient Notes:
- Pears: Any type of pear works! Bartlett pears, Bosc pears, or Anjou pears are all good options. The best pears are ones that are ripe but still firm, not mushy. You don’t need to peel them unless you really want to. Canned pears can work in a pinch but drain them really well to avoid extra moisture.
- Cornstarch: Helps thicken the juices from the pears so the filling isn’t runny. Arrowroot can be used instead with the same results.
- Oats: Old-fashioned oats work best and add whole grains. Quick oats will work but won’t give you as much texture. Don’t use steel cut oats since they stay hard.
- Butter: Unsalted butter is best so you can control the salt.
Tools you may need:
- Baking dish or cast iron skillet
- Bowls
- Knife and cutting board
- Measuring cups and spoons
- Wooden spoon or spatula for stirring
How to Make Pear Crisp Step-by-Step:
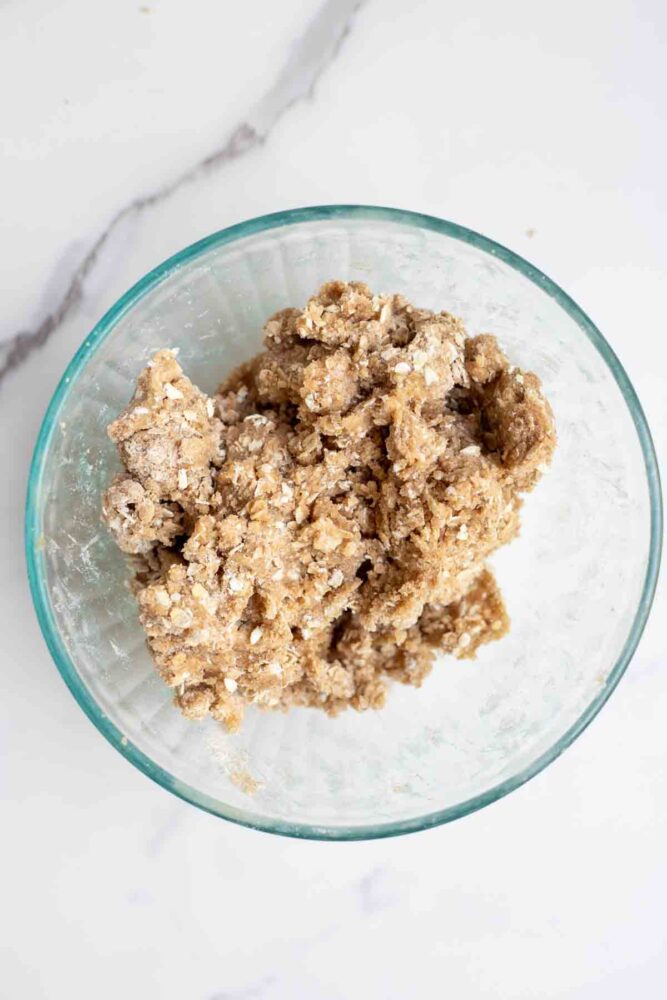
Step 1: Preheat oven to 350°F. Butter a baking dish or cast iron skillet. In a medium bowl, mix together flour, 1/2 cup brown sugar, 1/4 cup sugar, cinnamon, and oats. Using your hands or a pastry cutter, add the softened butter and mix until everything is combined into a crumbly mixture. Set aside.
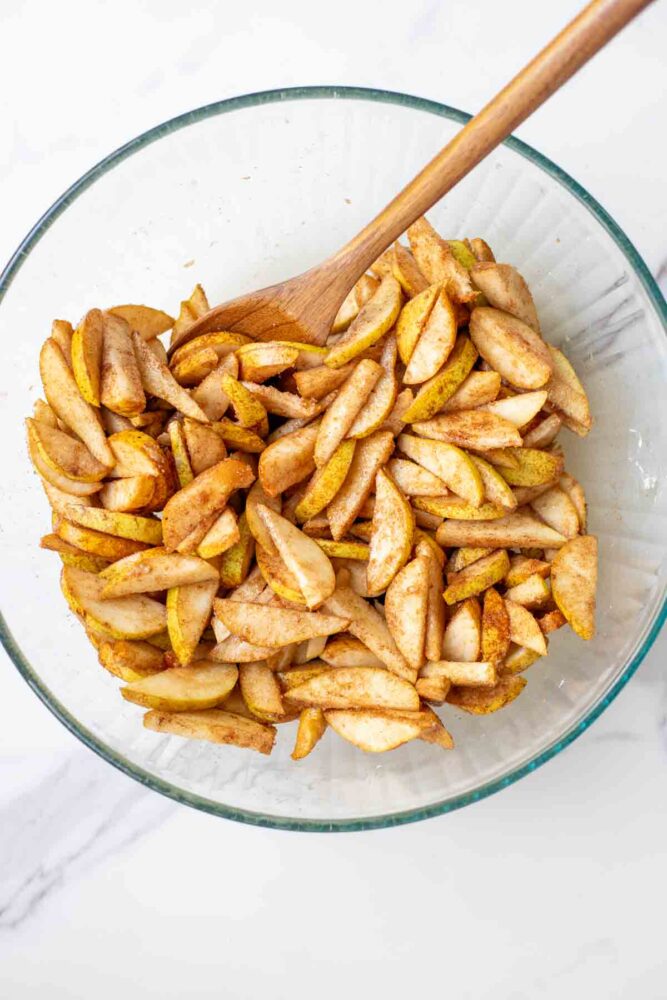
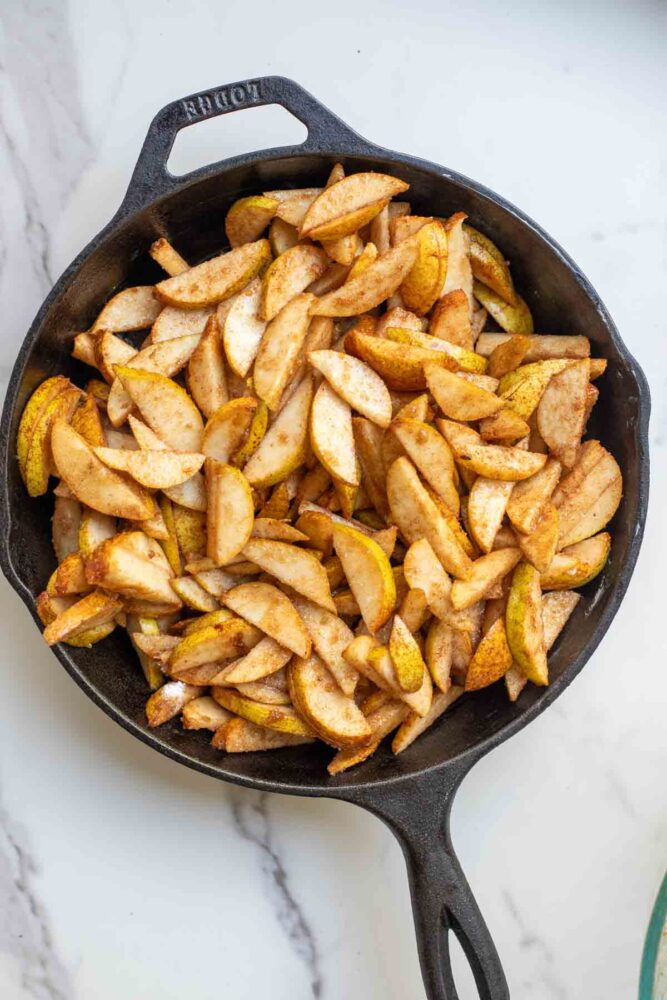
Step 2: Place the sliced pears in a large mixing bowl. Add 1/4 cup brown sugar, nutmeg, cinnamon, vanilla, salt, and cornstarch; and stir until the pears are evenly coated.
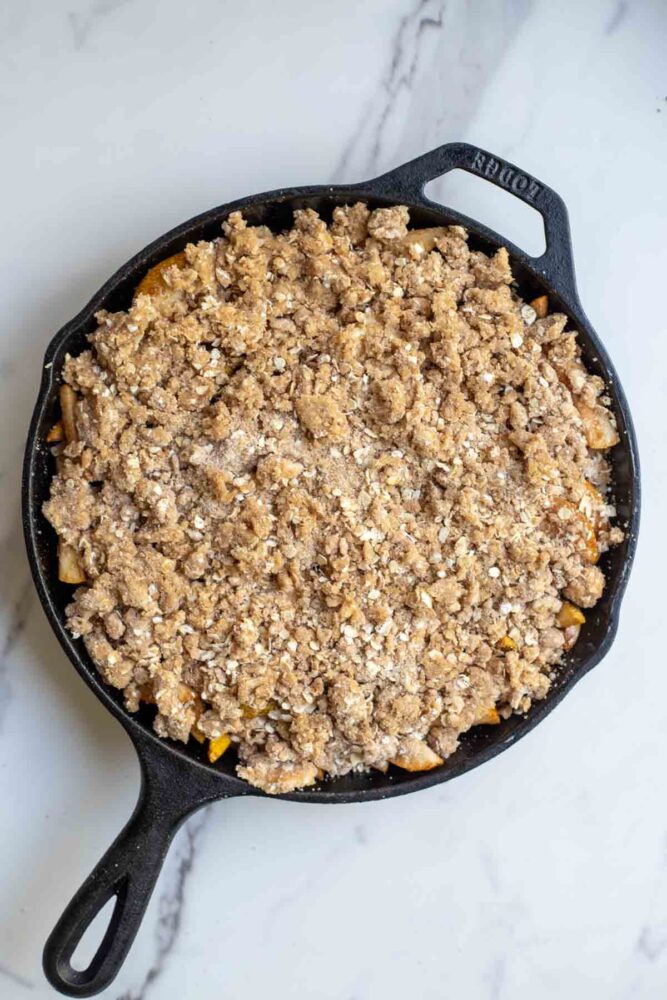
Step 3: Pour the pear mixture into the buttered baking dish in an even layer. Sprinkle the topping evenly over the top of the pears.
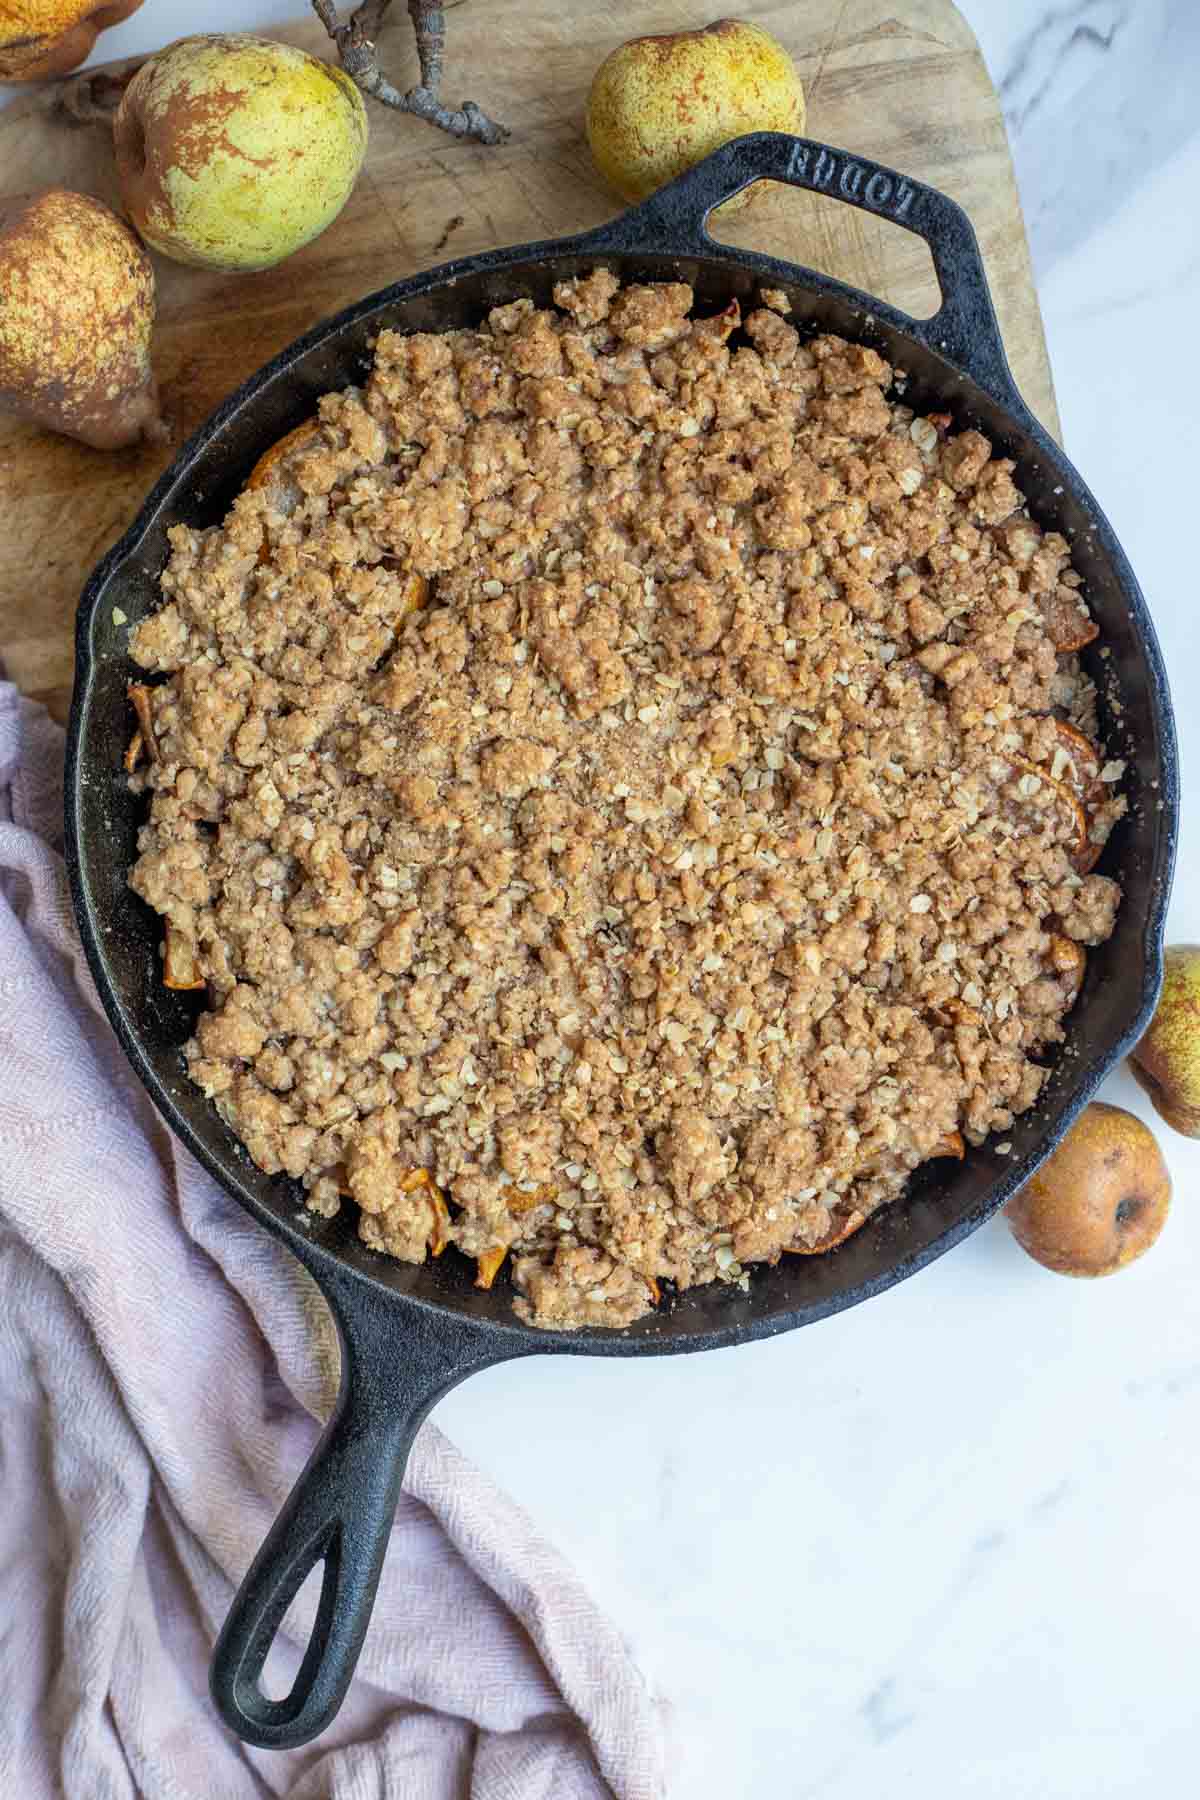
Step 4: Bake for 45-50 minutes or until the top is golden brown and the pears are soft.
Save This Recipe
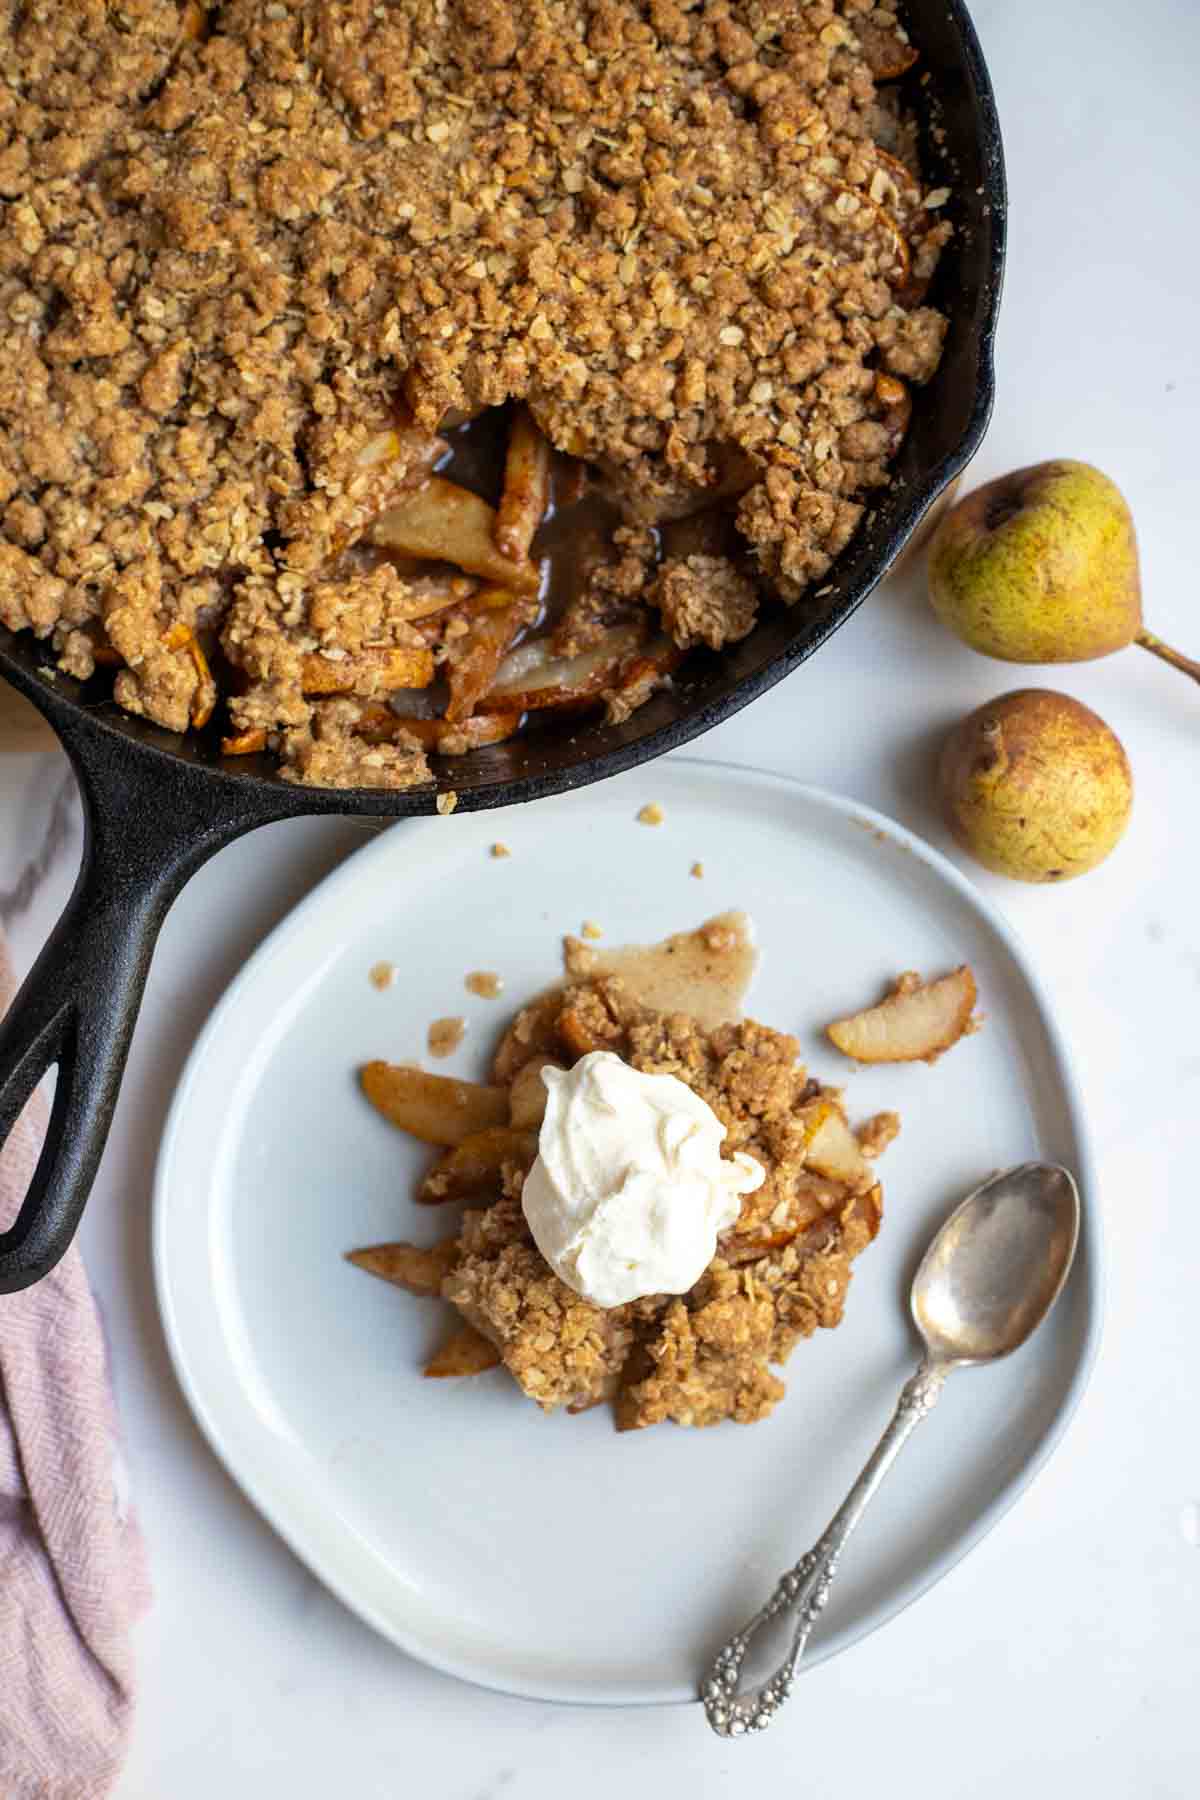
Step 5: Let it cool for 10 minutes before serving. Scoop it up and top with ice cream or caramel sauce.
PRO TIP:
Don’t slice the pears too thin or they’ll cook down too much. Aim for thicker slices so they stay soft but still hold their shape.
Storage and Reheating:
Storage: Keep leftovers in an airtight container in the refrigerator for up to 4 days.
Reheating: Warm individual servings in the microwave, or place the whole dish in a 350°F oven for about 15 minutes until heated through.
Freezing: Wrap the baked crisp tightly in plastic wrap and freeze for up to 3 months. Thaw overnight in the refrigerator, then reheat before serving.
Additions and Substitutions:
Additions:
- Nuts: Stir some chopped pecans or walnuts into the topping for extra crunch.
- Cranberries: Add a handful of dried cranberries to the filling for a tart flavor contrast.
- Lemon Zest: A little lemon zest brightens up the flavor of the pears.
- Ginger: A pinch of ground ginger adds warmth and depth.
- Spices: Use apple pie spice instead of individual spices for a quick shortcut.
Substitutions:
- Pears: Replace some of the pears with apples to make an apple-pear crisp.
- Butter: Melted butter gives a slightly softer topping, while softened butter makes it more crumbly and crisp.
- Sweetener: Use pure maple syrup instead of some of the sugar if you prefer.
- Vanilla: Vanilla extract works fine in place of vanilla bean.
FAQs about this fruit crisp recipe:
No, you don’t. The skins soften as they bake and add a bit of fiber and texture. If you prefer a smoother filling, you can peel the fresh pears first.
Make sure to add the cornstarch or arrowroot, that’s what thickens the juices from the pears. Also, don’t slice the pears too thin. If they seem really wet, pat them with a paper towel first.
Definitely. Apples, peaches, or a mix of both work great. But this is still one of my favorite pear recipes to make when pears are in season.
They’re pretty much the same. Both have fruit with a streusel-style topping. Some people say crisps have oats and crumbles don’t, but most folks use the terms interchangeably. This is technically a pear crumble too.
What Can I Serve with this Pear Crisp?
It’s perfect with a scoop of vanilla ice cream melting on top! Whipped cream, caramel sauce, or even just a drizzle of heavy cream are all delicious. It’s also delicious chilled the next day for breakfast.
If you try this Pear Crisp Recipe and love it, I would love if you could come back, comment on the post, and give it 5 stars! Please and thank you. Tag me on Instagram @ablossominglife.
Save This Recipe
Ingredients
Pear Filling
- 6 cups pears sliced
- ¼ cup brown sugar
- ¼ teaspoon nutmeg
- 1 teaspoon cinnamon
- 1 teaspoon vanilla
- ⅛ teaspoon salt
- ½ tablespoon cornstarch or arrow root
Oat Topping
- ½ cup butter softened
- ½ cup brown sugar
- ¼ cup sugar
- 1 teaspoon cinnamon
- ½ cup all purpose flour
- 3/4 cup oats
Instructions
- Preheat oven to 350°F. Butter a baking dish or cast iron skillet.
- In a medium bowl, mix together flour, 1/2 cup brown sugar, 1/4 cup sugar, cinnamon, and oats. Using your hands or a pastry cutter, add the softened butter and mix until everything is combined into a crumbly mixture. Set aside.
- Place the sliced pears in a large mixing bowl. Add 1/4 cup brown sugar, nutmeg, cinnamon, vanilla, salt, and cornstarch; and stir until the pears are evenly coated.
- Pour the pear mixture into the buttered baking dish in an even layer. Sprinkle the topping evenly over the top of the pears.
- Bake for 45-50 minutes or until the top is golden brown and the pears are soft.
- Let it cool for 10 minutes before serving. Scoop it up and top with ice cream or caramel sauce.
Notes
- Don’t slice the pears too thin or they’ll cook down too much. Aim for thicker slices so they stay soft but still hold their shape.
- I do not typically peel my pears. This is because it takes extra time, adds nutritional value by leaving on the skins, and I don’t mind the texture. Feel free to peel if you desire.
- To make this recipe gluten free, swap out the flour for gluten free one-for-one flour.