DIY Geometric Chalkboard Planters
This post may contain affiliate links. Read disclosure policy.
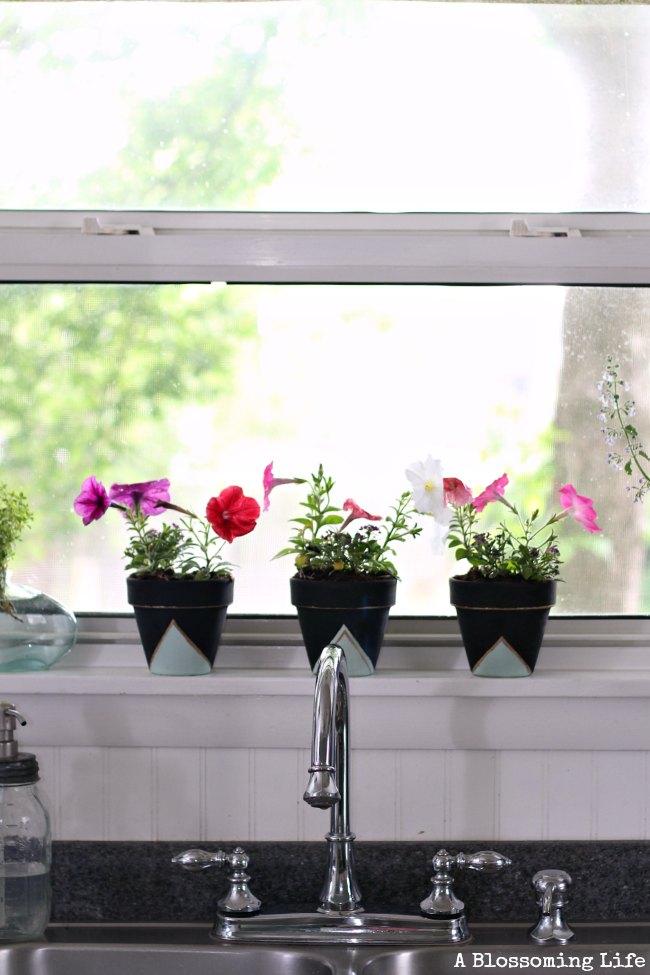
Finding new and unexpected ways to liven up simple spaces has always been really fun for me! One thing I love about our house is that the kitchen has multiple windows that look onto our back yard. During spring and summer it is full of brightly colored flowers, kids playing on the swing set, and of course the chickens. Adding a little pop with flowers is a great way to brighten up the inside.
This project is really inexpensive, easy, and you don’t need to be “crafty” per say. You could even make an easier version by just painting it with chalkboard paint.
Materials:
- Terracotta pots
- Chalkboard paint and regular craft paint
- Painters tape
- Gold paint pen
- Paint brushes
- Flowers
- Small shovel
- Dirt.
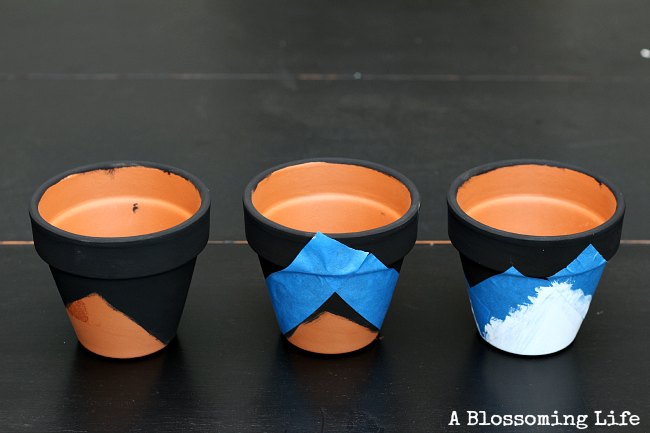
Directions: First paint 2 coats of chalkboard paint (letting it dry completely between coats) on to the pots. Then tape off the pattern you want, I created triangles since they are easy, and fill in triangles with craft paint. I did 1 coat of white and then 2 coats of sea glass mixed with white. Pull off tape before completely dried.
Save This Recipe
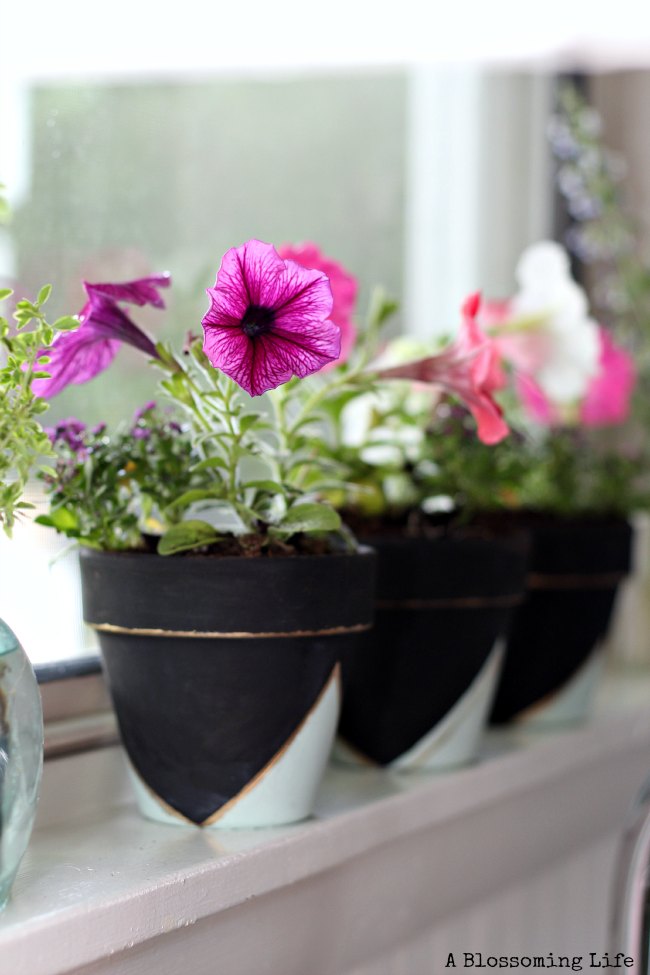
Once the triangles are dry, place painters tape in a similar triangle patter on top of original triangle and draw a line with a gold paint pen. This doesn’t have to be perfect. Personally, I liked the imperfection of the gold pen. Lastly, go around the bottom lip with the gold pen.
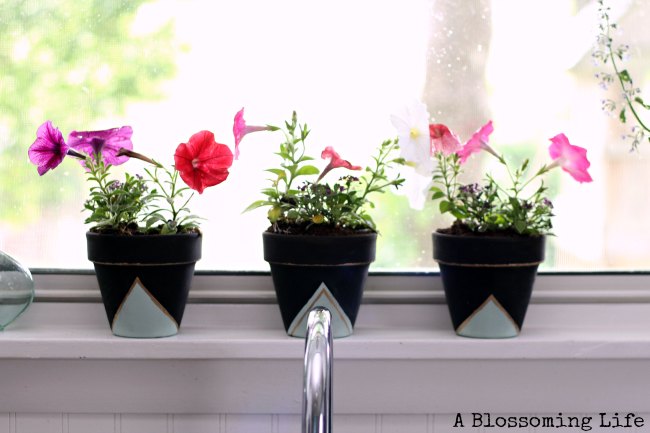
Allow to dry completely and then fill with beautiful flowers!
These would also make great gifts!


So pretty! These would be adorable as a shower favor.