Easy No-Knead Sourdough Bread For Beginners
This post may contain affiliate links. Read disclosure policy.
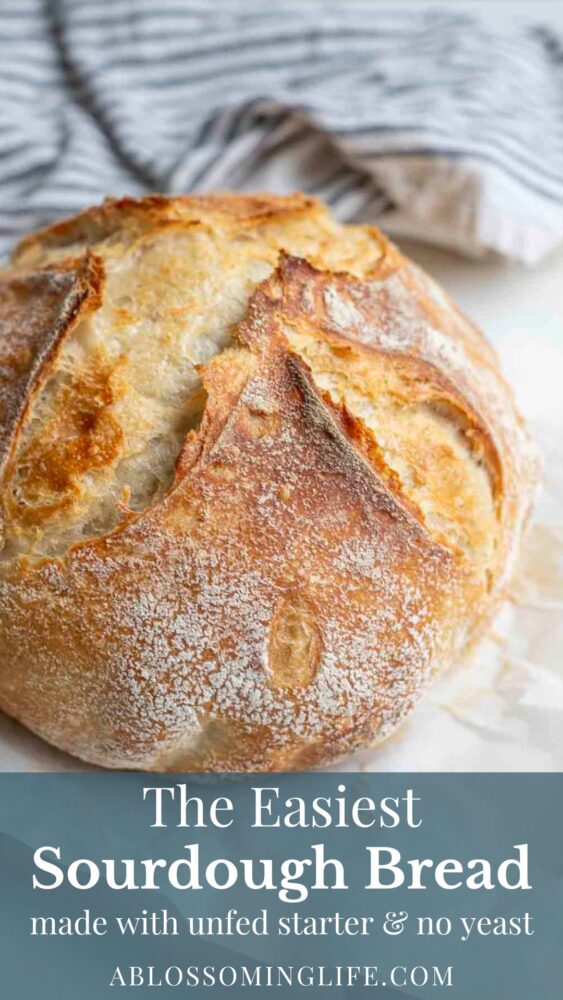
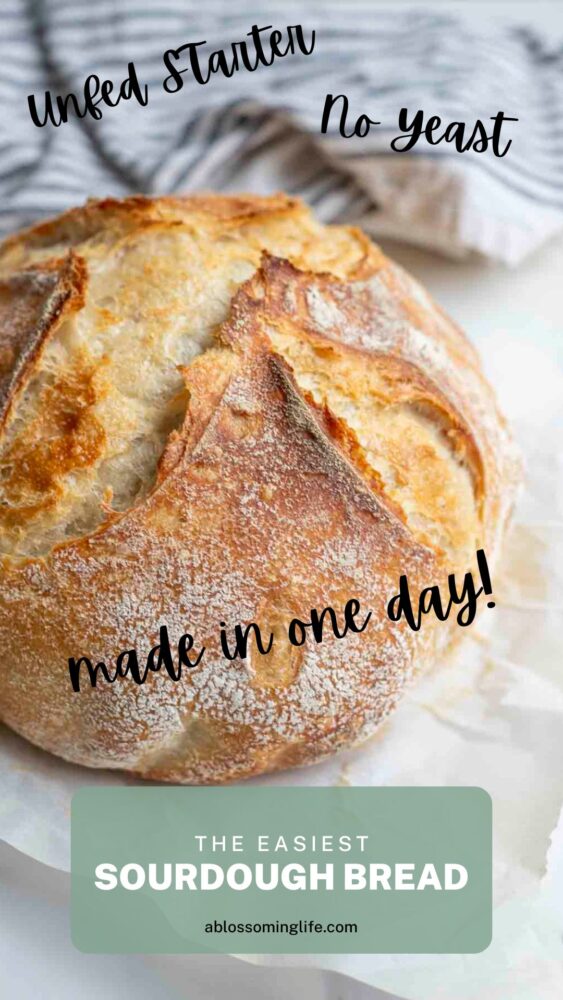
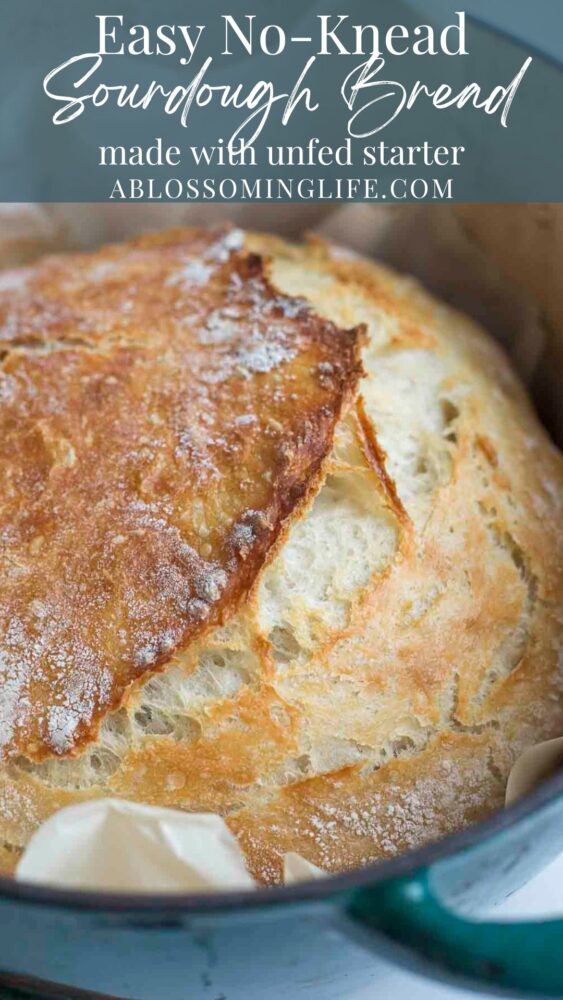
An easy no-knead sourdough bread recipe perfect for beginners, this bread uses unfed sourdough starter (sourdough discard) and can be made in one day. No commercial yeast is needed because this recipe is magic.
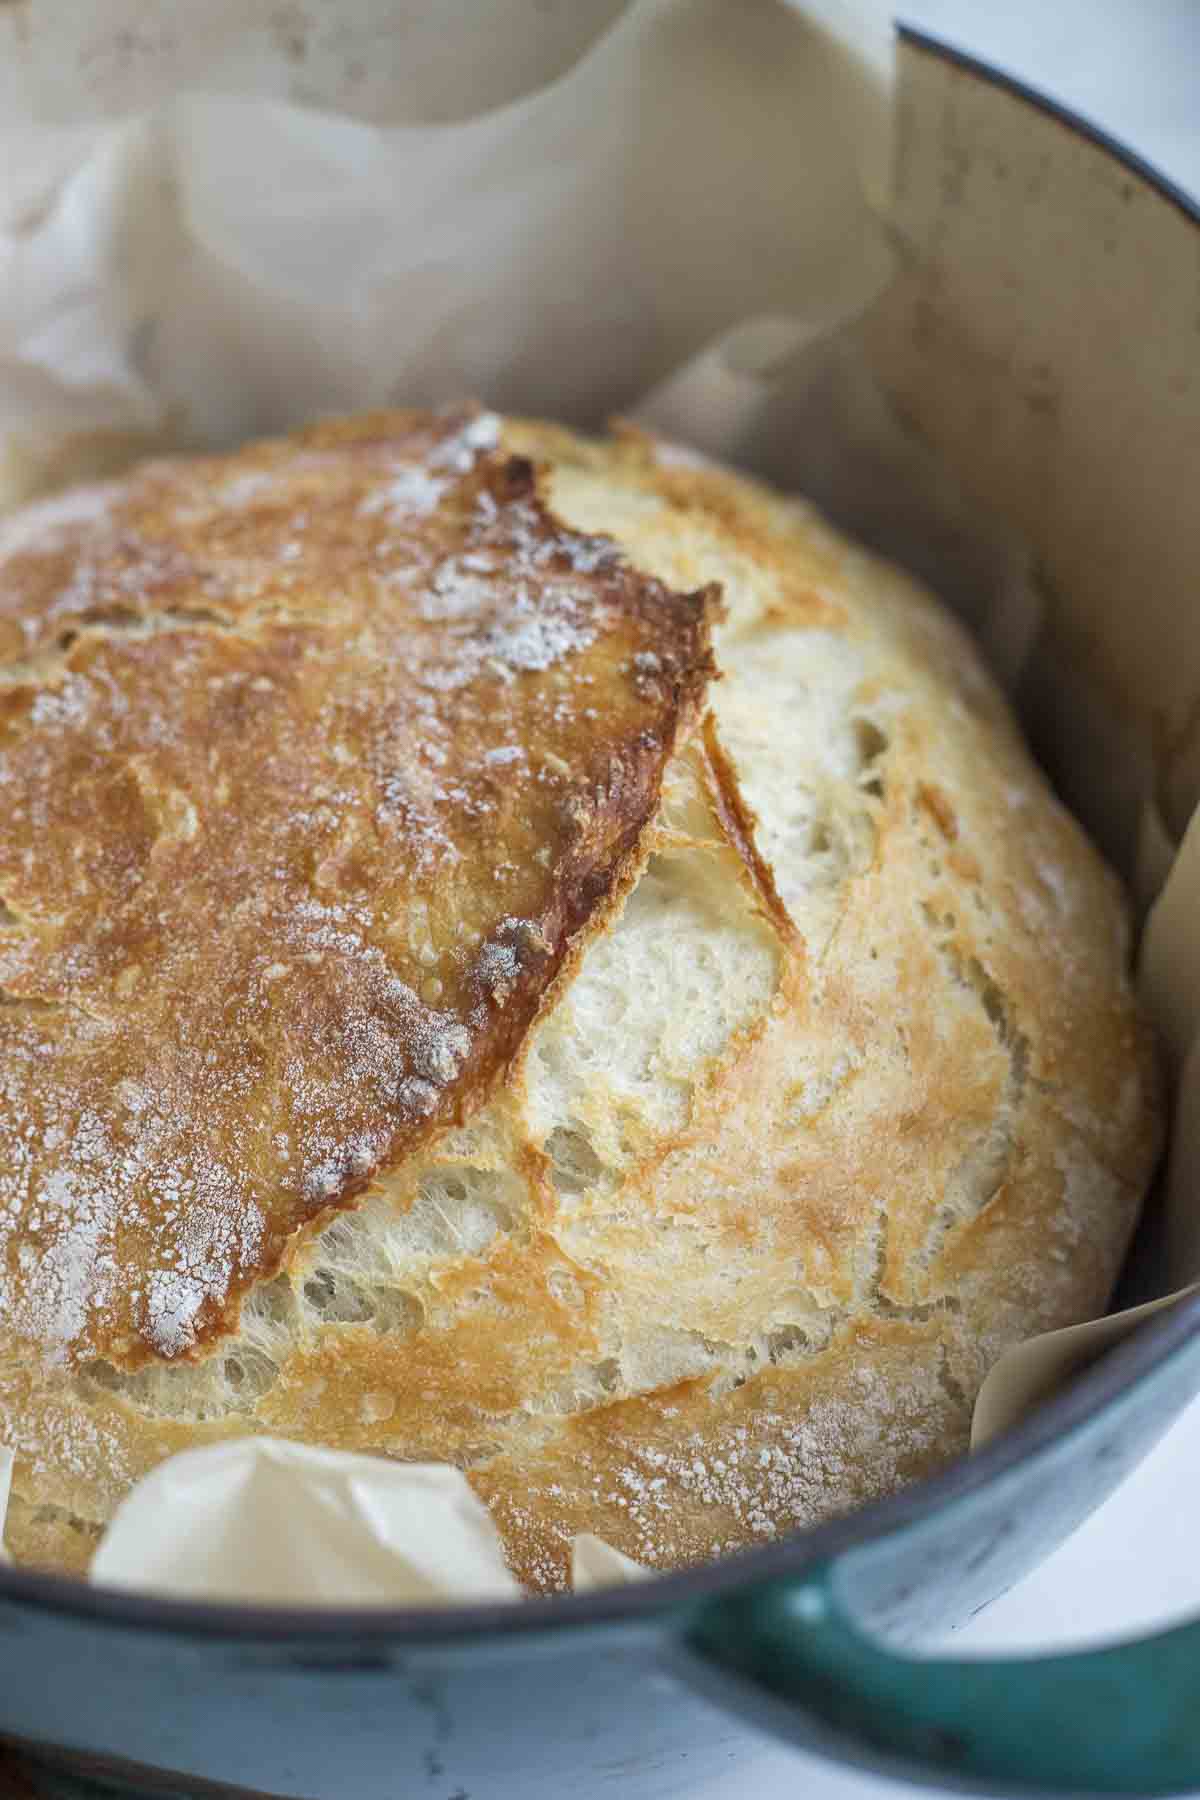
So many people are completely overwhelmed with the thought of making sourdough bread. They make all the discard banana bread, blueberry scones, or discard crackers, but just don’t feel confident to make the leap to bread.
Who could blame them, though, with terms like autolyse, stretch and folds, and float tests? Just understanding the timing can be paralyzing.
I have been there myself. It took me years to finally get consistently good results.
For this recipe, you don’t have to worry about any of that. I’m honestly still processing it, because I keep making these ridiculously delicious loaves and think is it really supposed to be this easy?
This recipe is so simple and a great option for those who are just starting out with sourdough.
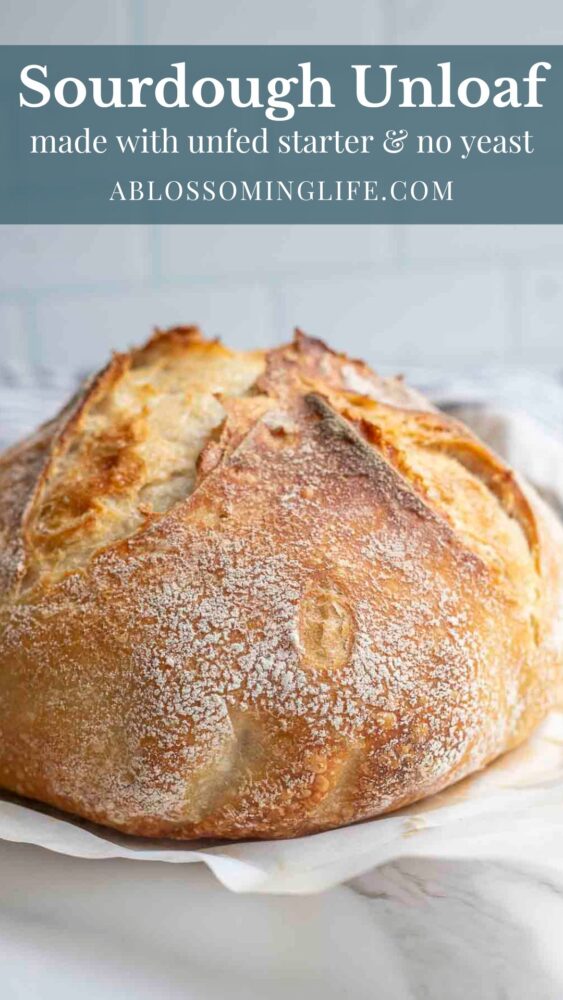
This bread is sometimes referred to as an “unloaf”. Since there is no kneading, no stretch and folds, no preheating, and you don’t even need to feed your starter before, this sourdough loaf is unfed, essentially untouched, and unbelievably easy.
Simply mix the ingredients, let it sit, shape, and bake.
The one caveat and most important thing is that you need a healthy, established sourdough starter that has been fed somewhat recently. A brand-new starter will not work, so if your starter is new, I would recommend using this recipe for sourdough discard bread that includes yeast to rise the loaf.
If you’re not a meal planner, this recipe is for you. Serve with bacon minestrone soup or sausage potato soup, or use it to make sandwiches, arrange on a charcuterie board, or even chop it up for French toast casserole.
Why You Will Love This Recipe
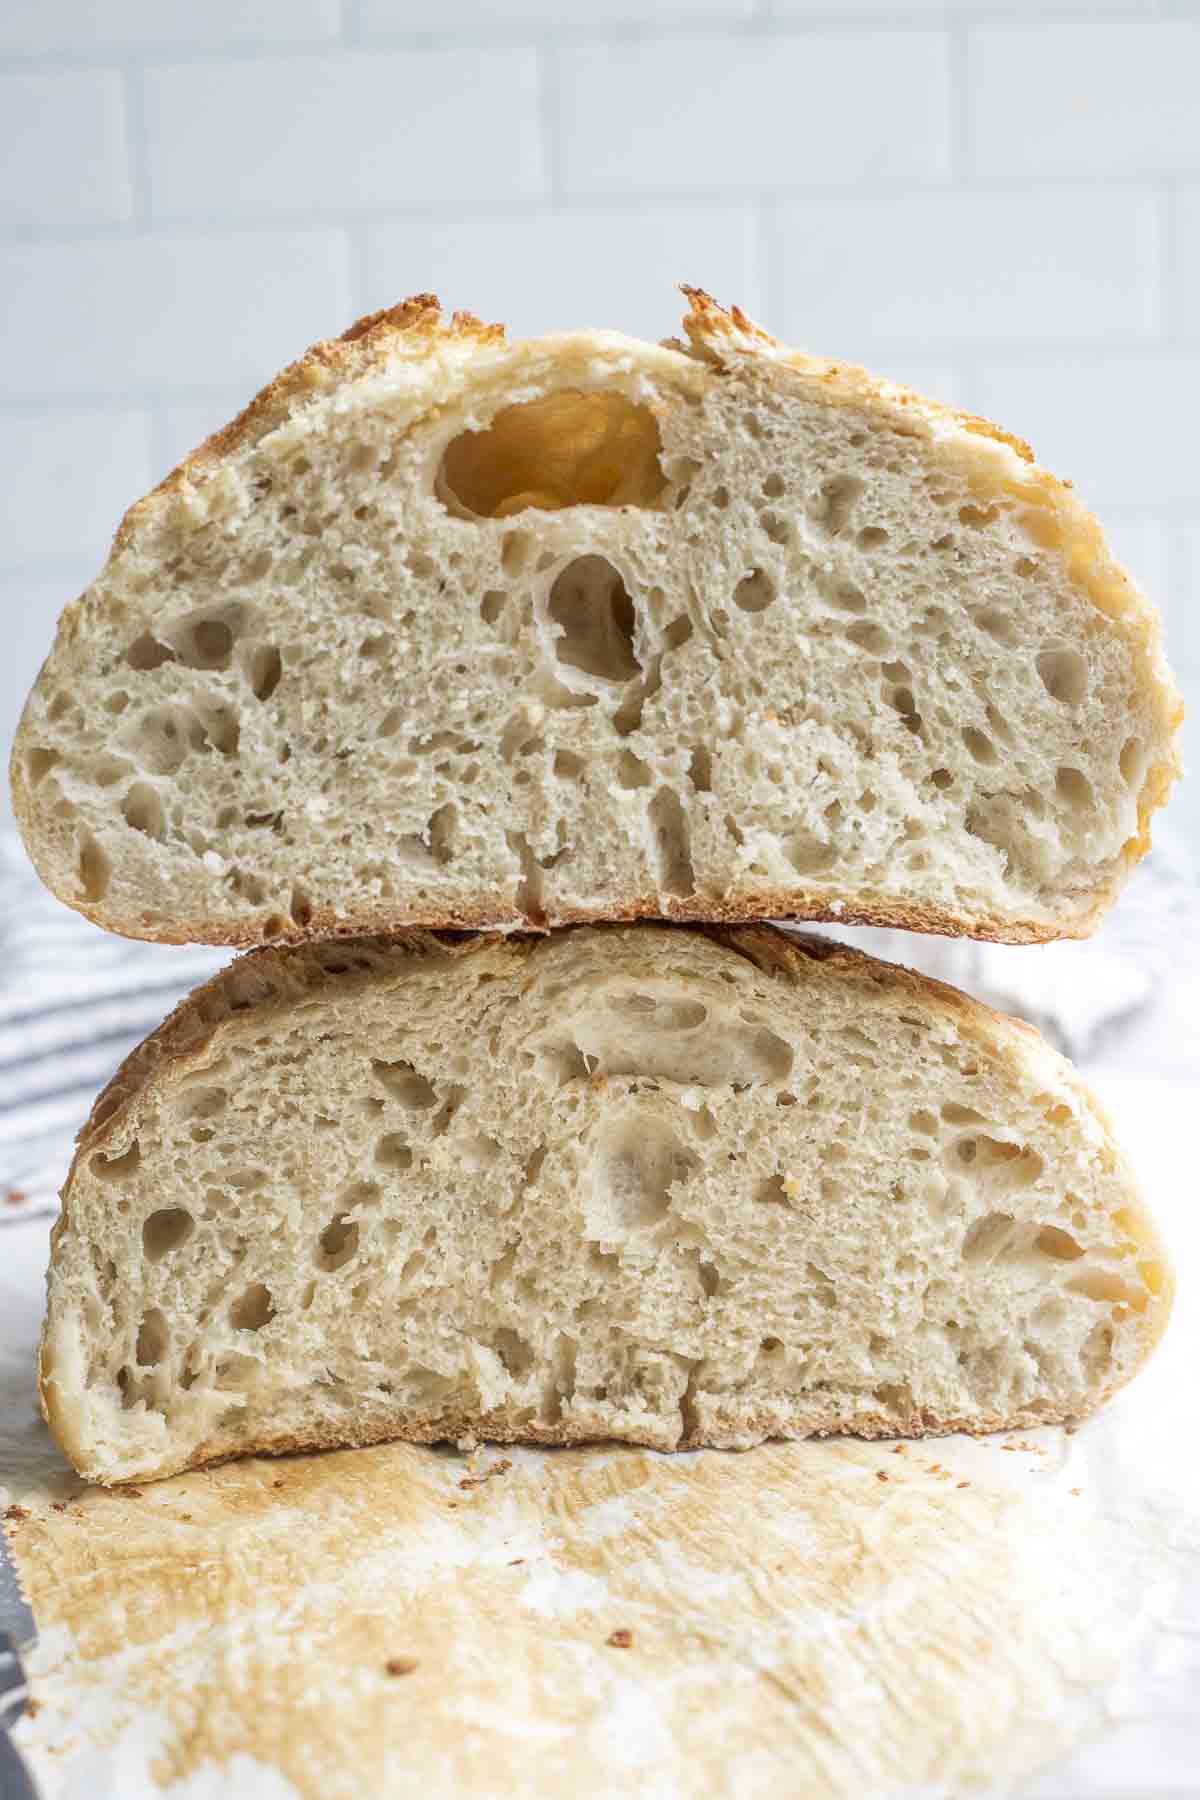
It’s the easiest: Truly the easiest recipe you will find out there, this no-knead sourdough bread doesn’t even require an active sourdough starter. It’s perfect for a first-time baker.
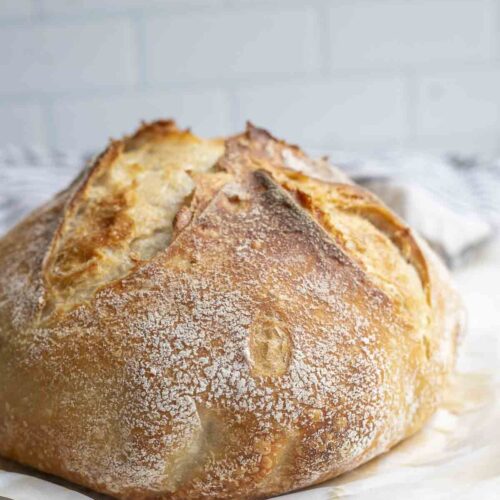
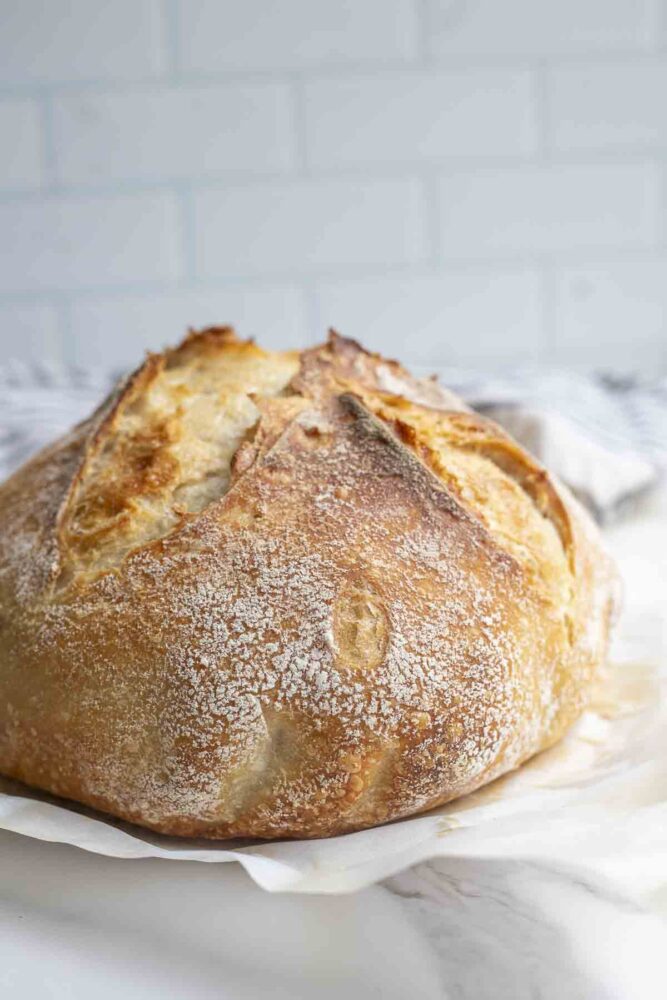
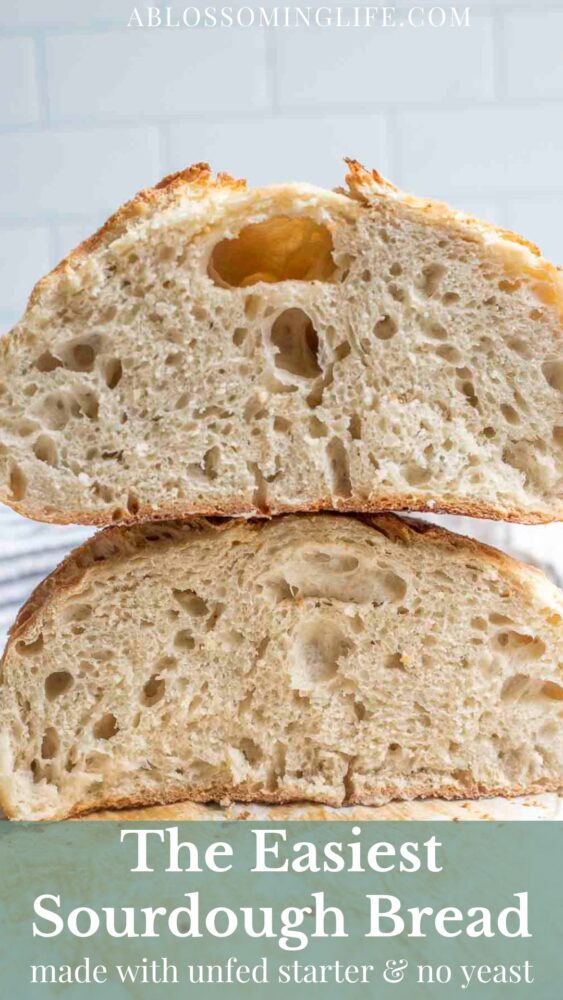
Delicious: I’m not sure there is really anything better than a freshly baked, homemade, loaf of bread. This loaf has a crunchy crust and a soft, open crumb.
Quick: This is a true same-day sourdough bread. Everything can be done in one day without the use of commercial yeast. No need to feed your starter and time the dough to start when the starter is at its peak.
Sourdough discard: Unlike traditional sourdough, you do not need to feed your starter and wait for it to be active and bubbly. The wild yeast still do their job of rising the bread even without being at their peak.
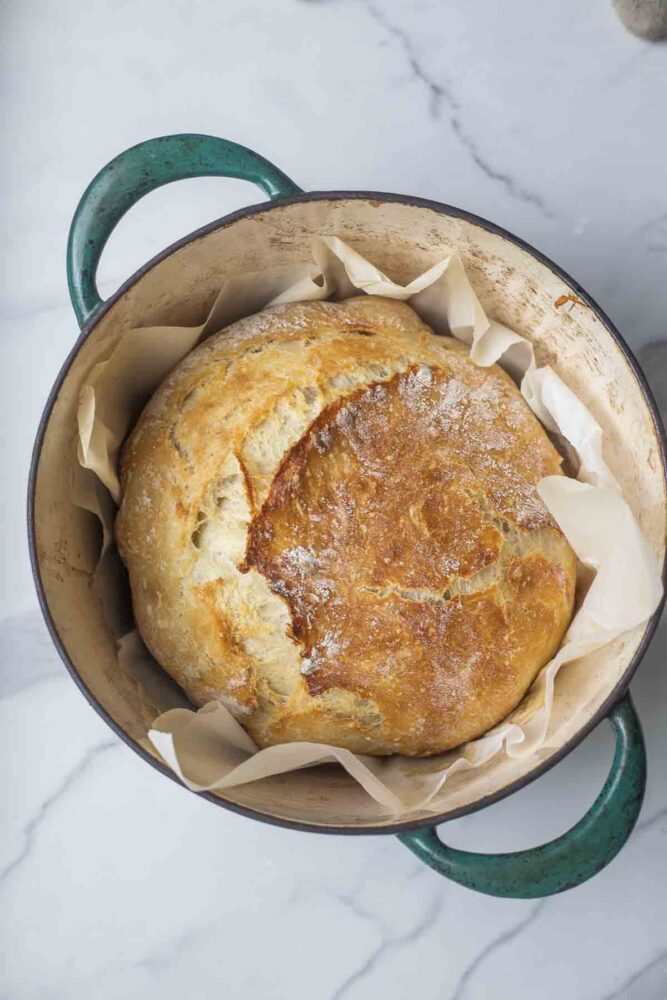
Do not need a preheated Dutch oven: Yep, you heard that right. You stick the dough into a cold Dutch oven.
What is sourdough starter?
Sourdough starter is a culture made from mixing together flour and water and allowing it to ferment. The lactic acid bacteria and wild yeast in the environment inoculate the culture. Sourdough starter is then used to ferment grains and give bread its rise.
What is unfed starter?
This is starter that has been fed, risen, and then fallen. It is also known as discard. For this recipe, you have to use a starter that is healthy and fed pretty regularly. If it has been in the fridge for weeks without feeding, I would recommend feeding it a few times to liven it up a bit before attempting this recipe.
Ingredients
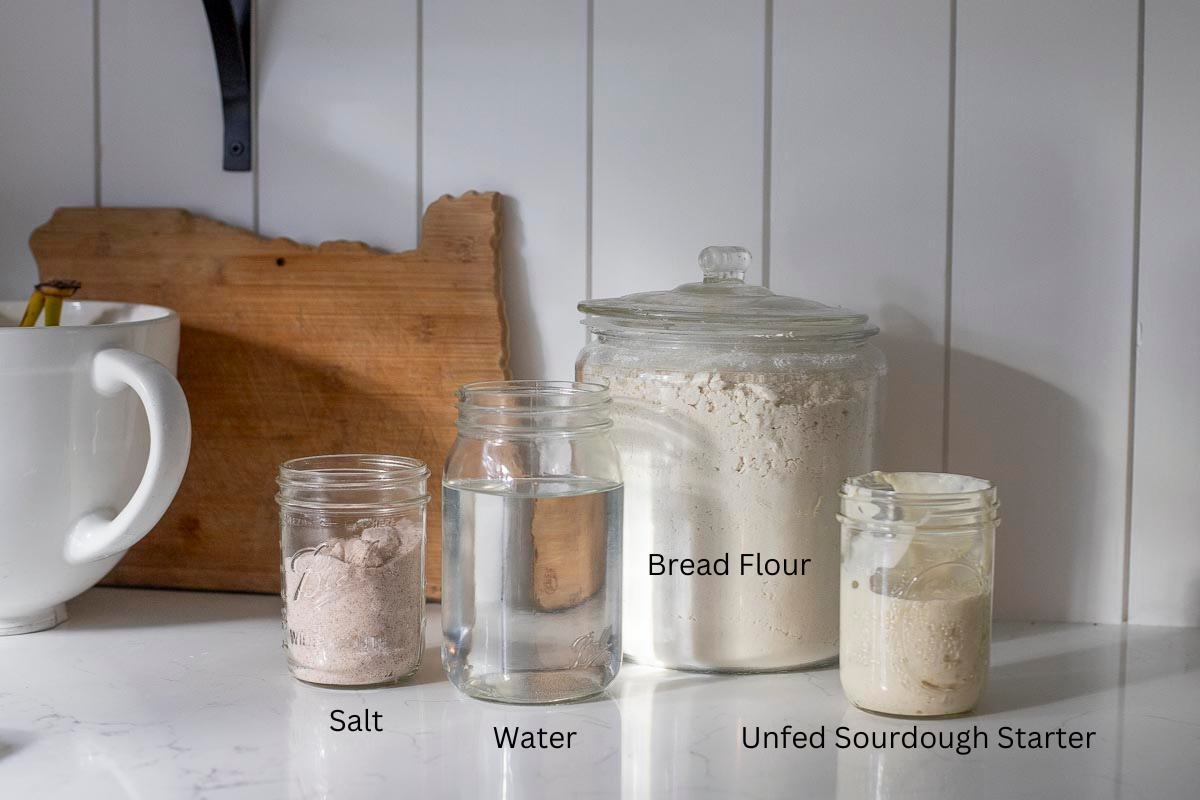
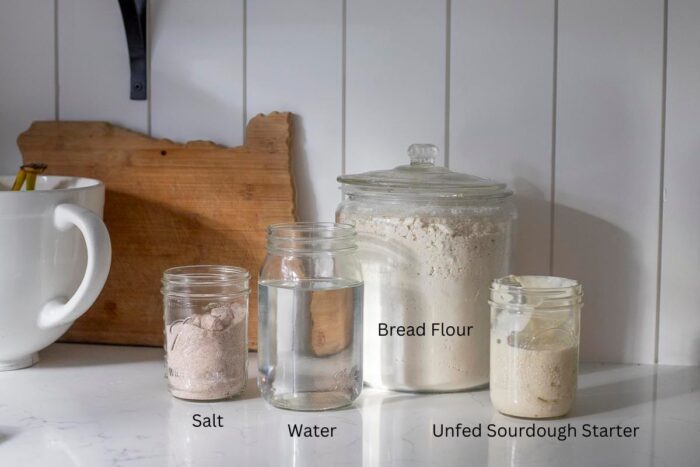
Unfed sourdough starter: This is a healthy, established starter that has already risen and fallen. You can use a starter that has been in the fridge as long as it has been fed within the last week or so. If it has been a long time since the last feeding, I would recommend feeding it a few times before using it.
Save This Recipe
Bread flour: You could also use all-purpose flour, but bread flour yields larger holes and the best results. If you use all-purpose flour, you may need to use a little less water.
A list of the remaining ingredients can be found in the recipe card.
Tools
Kitchen scale: This is the most accurate way to measure ingredients.
Dutch oven: This creates that crunchy, crackly crust typical of an artisan loaf. Alternatively, you may be able use a baking sheet and create steam by spritzing the tops of the loaves with water a few times during the baking, or by placing a baking dish of water on the rack below the bread. *I have not personally tried this, yet.
Razor blade or a sharp knife for scoring
Dough scraper
Large bowl: I love this glass bowl set with lids.
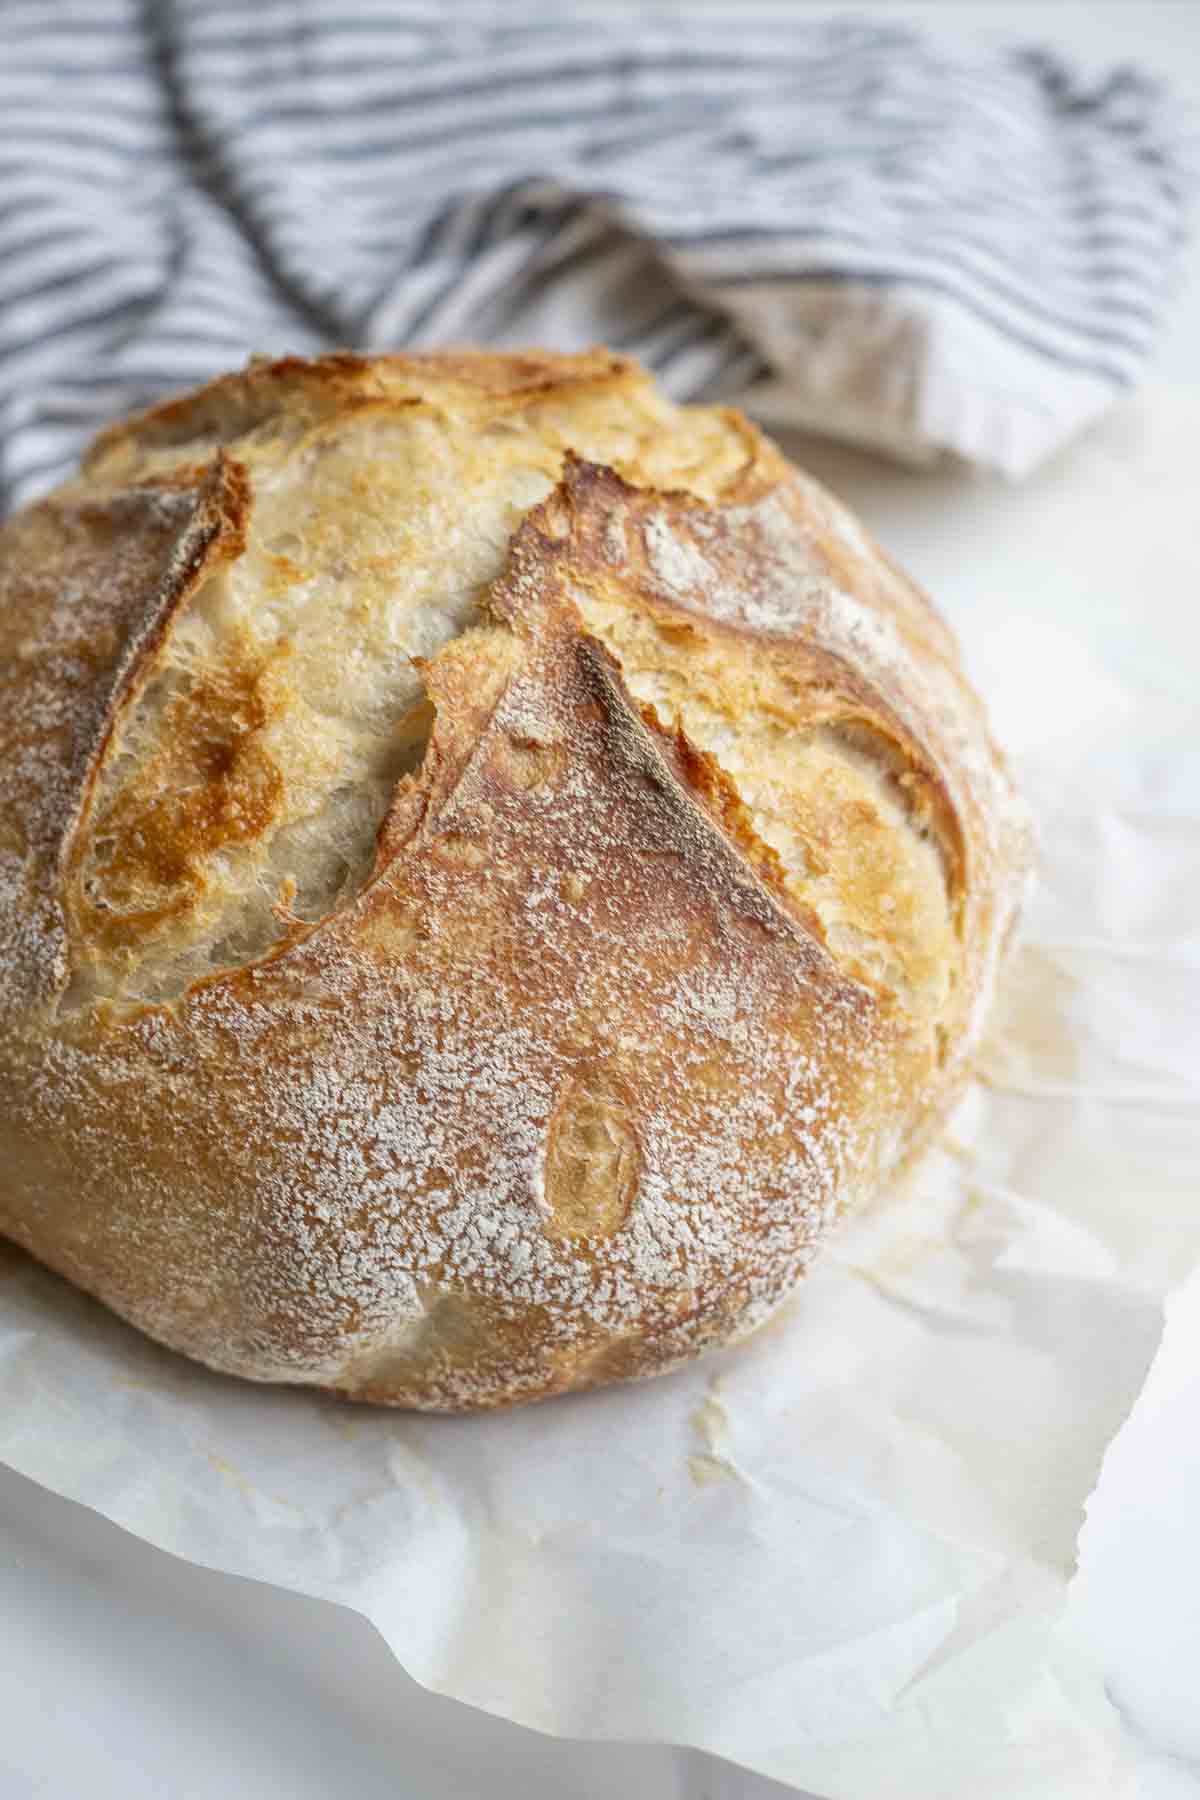
How to Make Easy Sourdough Bread with Unfed Starter
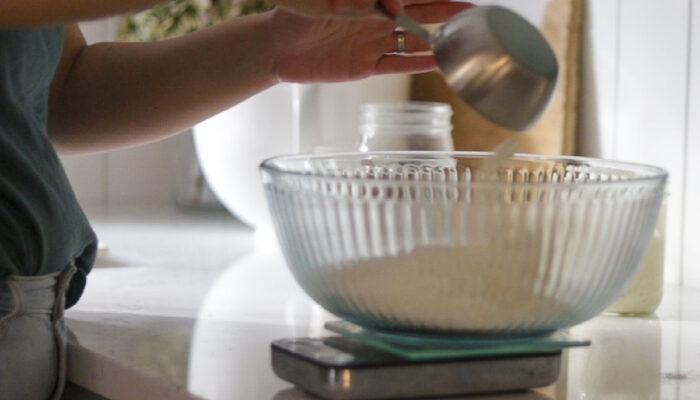
Step 1: Place a large mixing bowl on your kitchen scale (if using) and add all the ingredients.
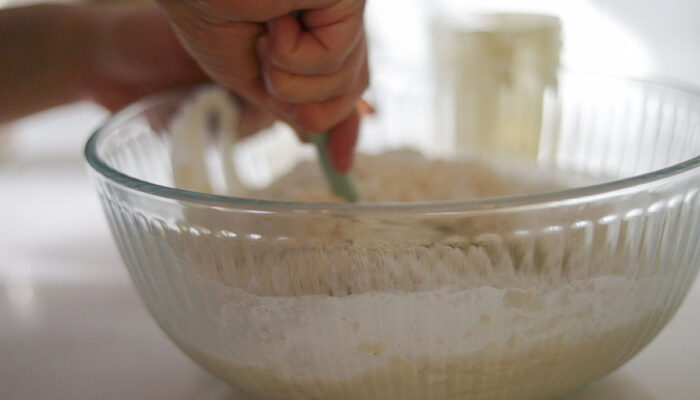
Step 2: Mix until combined. I like to mix with a spoon and eventually use my hand. It will be a shaggy dough that is on the dry side. As the dough sits, the flour will hydrate and become a lot more moist.
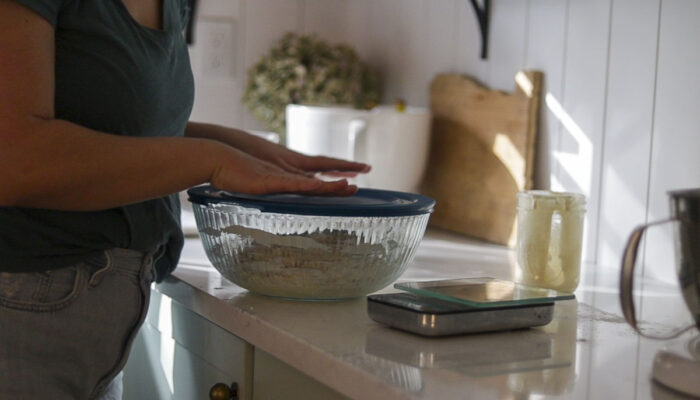
Step 3: Cover with a lid or plastic wrap and leave in a warm place for 6-8 hours or until doubled in size. This first rise is called bulk fermentation. The time it takes to complete the fermentation process depends on how healthy your starter is and how warm your home is. The warmer it is, the less time it will take.
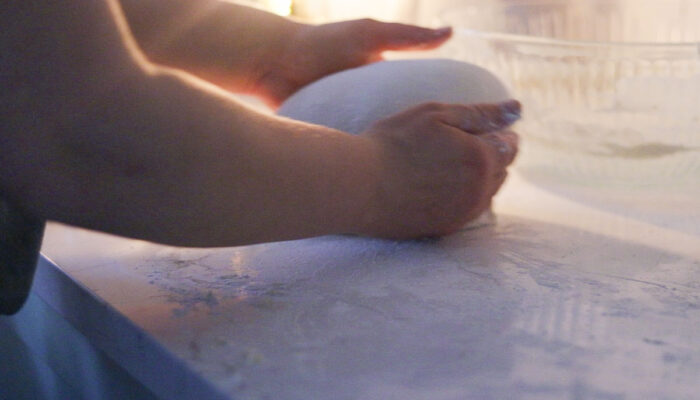
Step 4: Transfer the dough to a lightly floured surface and shape into a boule. Create surface tension against the countertop by pulling the boule towards you, turning it a quarter turn, and then continuing the pulling motion.
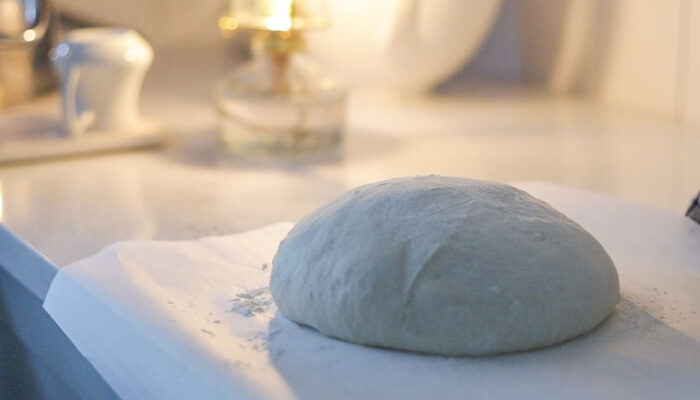
Step 5: Place the dough on a piece of parchment paper. Cover with a tea towel and let the dough rest. Allow to sit at room temperature for about an hour. Alternatively, you can place it in the fridge for 12-15 hours. A second rise in the fridge makes scoring easier.
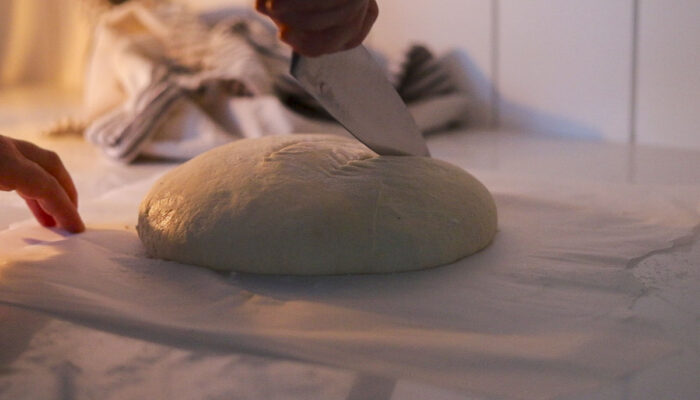
Step 6: Score the top of the dough with a razor, lame, or sharp knife. To make your bread stand out, sprinkle a little flour on the top of the loaf before scoring.
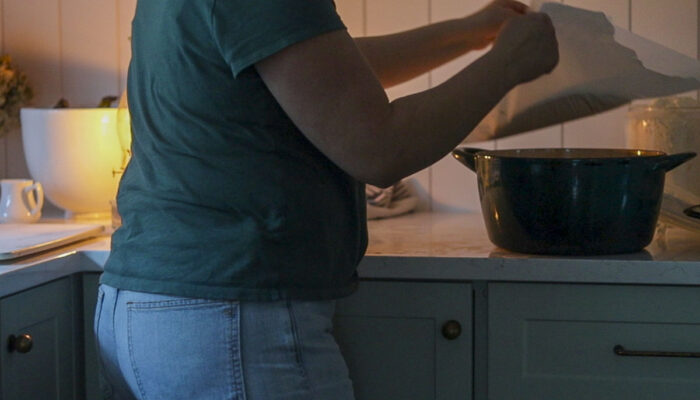
Step 7: Place the dough in a cold Dutch oven, cover with a lid, and place in the oven. Set the oven to 425F. Bake for 45 minutes, then remove the lid and bake for 10-15 minutes longer until the crust is golden brown.
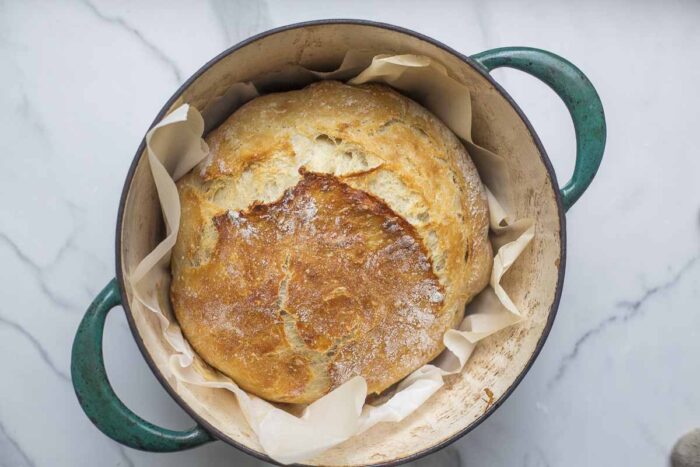
Step 8: Carefully remove from oven and allow to cool a bit before slicing.
Tips
- Use a healthy and established starter. A new starter will not work for this recipe.
- The amount of water you need may change between your environment and how thick or runny your starter is.
- You need a Dutch oven for this recipe. It may work without one, but you will need to add steam. This can be accomplished by placing a baking dish of water on the rack below the bread if you’re using a baking sheet.
- Watch the bread to make sure it doesn’t over-ferment. This may happen if fermenting too long at room temperature and the dough collapses.
- If at any point you need to pause this recipe, you can stick it in the fridge.
- To get more beautiful scoring patterns, place the shaped dough in the fridge for 12-15 hours, then score. Honestly, I think the best results happen from a second proofing in the fridge, but one hour on the countertop works great too.
- The amount of time it takes for the dough to rise depends on how healthy your starter is and how warm the environment is. If I want to speed up the rise time, I will place the bowl next to our fireplace. I can get it ready for shaping in about four hours this way.
Baker’s timeline
8 am: Mix ingredients and cover. Let the dough rise until about doubled in size. This could be anywhere from 6-8 hours.
2 pm: Shape and place on parchment paper for one hour.
3 pm: Score the loaf and place in a cold Dutch oven with lid on. Place in a cold oven, set temperature to 425, then bake.
5 pm: Remove from oven. Allow to cool, then enjoy.
Variations
This is a great base recipe that you can customize how you please. I would add these extra ingredients in during the shaping phase. Here are a few ideas.
- Add jalapeños and shredded cheddar.
- Nuts, dried fruit, and/or seeds.
- Shredded cheese by itself.
- Cranberries and walnuts.
- Fresh herbs like rosemary, parsley, oregano, etc.
- Olives, sliced or minced.
- Cinnamon and raisins.
FAQ
Yes. It contains healthy probiotics and prebiotics and is easier to digest than regular bread due to the lower gluten content.
All-purpose flour, bread flour, and whole wheat flour are the best to use for bread.
This bread is not as sour as your typical sourdough bread because it is faster and does not ferment as long. To make it more sour, you can place it in the fridge for the second rise for 15 hours or up to 5 days.
It should have a nice golden color and the internal temperature should be between 190-210 degrees Fahrenheit.
Contrary to what some may say, you do not need to discard your starter. But to maintain a healthy starter, it is recommended to not have too much starter going. That would take a lot of flour and water to keep it happy and healthy. I never discard my starter at this point, but rather use it in recipes.
Find More Delicious Sourdough Recipes Here
- Chocolate Chip Cookies
- Sourdough Pumpkin Pancakes
- Discard Pancakes
- Apple Muffins
- Sourdough Discard Cinnamon Rolls
If you try this recipe and love it, I would love if you could come back, comment on the post, and give it 5 stars! Please and thank you.
Easy Sourdough Bread
Save This Recipe
Equipment
Ingredients
- 500 grams bread flour
- 175 grams unfed sourdough starter
- 300 grams water*
- 10 grams salt
Instructions
- Place a large bowl on a kitchen scale (if using) and add all the ingredients.
- Mix until all the flour is hydrated. Cover with a lid or plastic wrap and leave in a warm place for 6-8 hours or until doubled in size. This will depend on how healthy your starter is and how warm your home is. The warmer it is, the less time it will take.
- Place dough on a lightly floured surface and shape into a boule. Create tension against the countertop by pulling the boule towards you, turning it, and then continuing the pulling motion.
- Place the dough on parchment paper and cover with a towel. Allow to sit at room temperature for about an hour.
- Score the dough, place in a cold Dutch oven, cover with a lid, and place in the oven. Set the oven to 425 F.
- Allow to bake for one hour, then remove the lid and bake for 10-15 minutes longer until the crust is golden brown.
- Carefully remove from the oven and allow to cool a bit before slicing.
Notes
- Use a healthy and active starter. A new starter will not work for this recipe.
- The amount of water you need may change based on your environment and how thick or thin your starter is.
- You need a Dutch oven for this recipe. It may work without one, but you will need to add steam. This can be accomplished by placing a baking dish of water on the rack below the bread if using a baking sheet.
- Watch the bread dough to make sure it doesn’t over-ferment.
- If at any point you need to pause this recipe, you can stick it in the fridge.
- To get more beautiful scoring patterns, place the shaped dough in the fridge for 12-15 hours. Score and place right in the cold oven, baking according to the directions.


This was SO EASY. Haven’t tasted yet but mine looks just like yours! My next loaf I’m going to proof in fridge.
Yay!!! How did it turn out?
No stretch and folds????
Crazy right? No stretch and folds.
This is my go to recipe. Still new at this and it definitely took some of the stress out of it! I am wondering when you do the add in’s? Before shaping? Or do a few stretch and folds after shaping before putting in the fridge? OR- does it matter! 😅. Thanks for the recipe!
Lisa
Yay! You could add add-ins right before shaping (especially if you wanted to add cheese). Nuts and dried fruit could be during mixing or shaping, or even do a few stretch and folds. So really I think any time ha.
This is a great! I’ve been Making sourdough bread for a while now tried many recipes, but this is one of my favorites. I was hesitant about putting it in a cold Dutch oven, but it turned out great. Making more today with inclusions.
Yay! Loved to hear that.
I absolutely love this recipe! It’s so easy and has fixed some of the timing issues that kept me from making sourdough more often. It turns out great every time. Variations have also turned out great – my favorite so far is craisin walnut – and I often swap half the flour for whole wheat bread flour. Delicious!
Yay! So happy to hear that. That variation sounds delicious.
I just want to thank you soo much!! this recipe was a complete game changer for my sourdough journey!!! My bread is not only delicious but beautiful as well!!
Yay! I’m soooo happy to hear that! Glad you enjoyed it.
Can you put the shaped loaf in a banerton if you put in fridge. Seems without a container in fridge would not be ideal.
Yes. If I’m going to put it in the fridge I will keep it in a banneton in a plastic bag (in my case a glass bowl lined with a tea towel and a lid) for up to a few days. You can go longer but I feel like the rise isn’t as good the longer is sits in the fridge.
This recipe truly made sourdough work for me.
Just to let you know, it works well as baguettes too!
I also sometime sub milk/eggs/oil/butter combo for the water and I’ve always enjoyed the results.
That is amazing! So happy you enjoyed it. I need to try more variations. I’m working on a sandwich bread version.
The easiest way to make sourdough! I may have cut the rise time even shorter (I was in a hurry! 🫣), and it still turned out marvelous! I’ve been looking for a quicker & easier sourdough loaf go-to! Love this one!