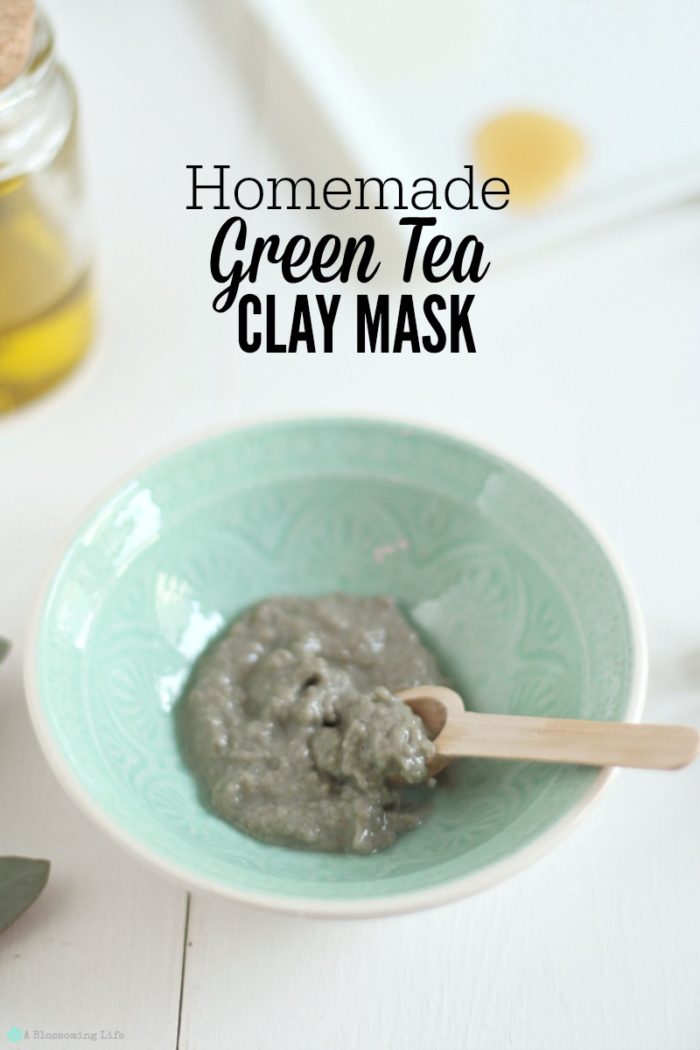
Green Tea Clay Face Mask
This post may contain affiliate links. Read disclosure policy.
Want to know what moving across country and eating like junk does to your skin? Sigh… I’m a living testimony.
Lately, life has made my skin go bananas or, as August would say, “ballanas”, with a tongue roll somewhere in there. It is breaking out, red and inflamed, clogged, and just plain sad. This green tea face mask, along with going back to my clean eating diet, brought back my glow.
Face masks are really easy and inexpensive to make. I always have these ingredients on hand for other DIY recipes, making it really easy to whip up. If you’re just starting out making your own natural skin care recipes, these basic ingredients are a great place to start.
Benefits Of Each Ingredient
Green tea is great for the skin. It has anti-inflammatory properties along with antioxidants. Studies have shown that green tea is a strong antioxidant that can protect the skin, decrease inflammation, and improve appearance (source).
Bentonite clay is one of those magical ingredients that can be used for so many things. You can put it in homemade deodorant, use it in your hair, slather it on your face, and even make toothpaste out of it. This stuff has so many uses, it’s crazy. It also has a lot of benefits, including drawing out toxins in the skin, and it is calming and can help get rid of infection (source).
Aloe vera gel is hydrating, has antibacterial, antioxidant, and anti-inflammatory properties (source).
Of course, I always like to add essential oils to my homemade skincare products. They are totally optional, but essential oils can add a lot of benefits to your life and your skin.
Green Tea Clay Face Mask
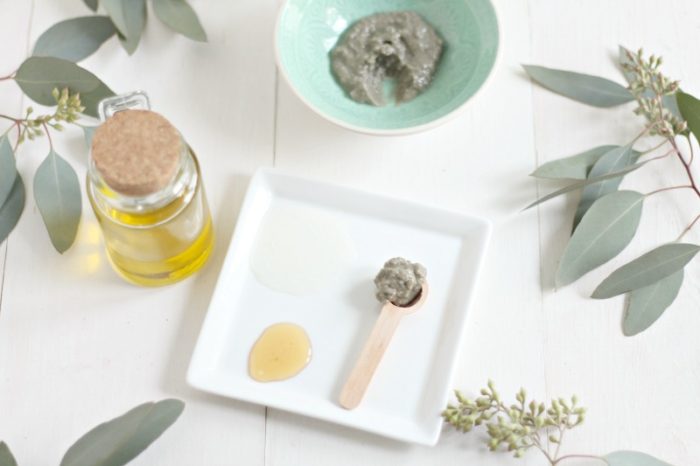
Ingredients:
- 1 Tbs prepared green tea (like this kind)
– I made a cup of green tea and took 1 tablespoon of the tea out, then drank the rest.
- 1/2 Tbs bentonite clay (like this one)
- 1/2 Tbs aloe vera gel (like this one)
- 1/2 tsp honey
- 1/2 tsp jojoba oil (like this one)
- 2 drops essential oils (like tea tree, lavender, lemon, etc.)
Directions:
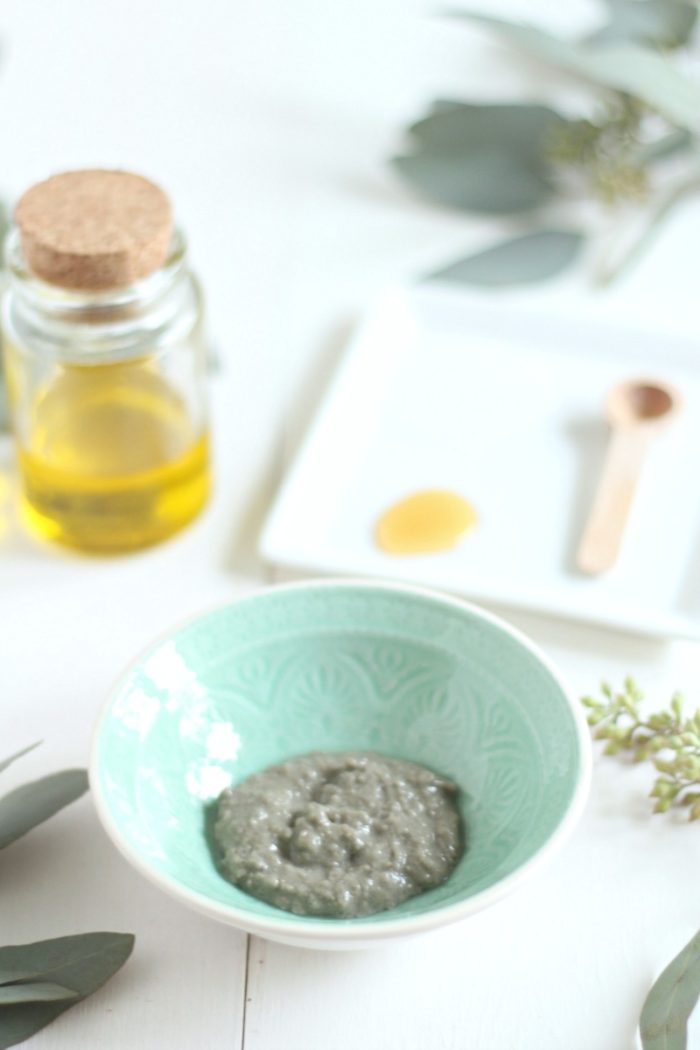
Mix ingredients together in a bowl. You do not want to use metal utensils or bowls because of the bentonite clay. It doesn’t like metal. Starting with a clean face, apply warm water followed by the mask. Don’t put it near your eyes or on your eyelids. Allow to completely dry, about 20-30 minutes. Wash off with warm water and apply a moisturizer. I usually just use plain olive or jojoba oil. Reveal fresh, rejuvenated skin.
Have you made your own DIY face mask before?
This post contains affiliate links. Affiliate links help support A Blossoming Life at no extra cost to you. I only recommend products I use or would personally use myself.


One Comment