How To Paint Fireplace Tile – DIY Fireplace Makeover
This post may contain affiliate links. Read disclosure policy.
Transform your fireplace on a tight budget with this easy step-by-step tutorial on how to paint your fireplace surround and tile. Plus, learn how to easily paint stained wood with low VOC products.

This post is sponsored by KILZ®. All opinions are 100% mine.
My husband often tells me I have too many ideas. Sometimes he goes with the ideas, sometimes I get a good old eye roll, and other times, he just quietly thinks I’m a bit nutty. After the last few projects, he has really started to see my vision and maybe even trust my crazy ideas just a little bit more.
So, when I told him I wanted to redo the fireplace for next to nothing – and I wanted to paint the tile – I was shocked to hear him just say, “Okay, let’s do it.” Which really meant, “Okay honey, you can do that if you want!” As in, “It’s all you, buddy!”
Not a big deal, though. He worked hard on a few other house projects, so I can take this one. And, thankfully, I had my right-hand woman, Abby, to help me. You know you have an amazing friend when she first says, “Let me know when you want me to come over to remove wallpaper!” Do you know a single person who likes to remove wallpaper? No, no you don’t, because it’s not a fun job. She was there for almost every step of the project. We painted and talked about life while our little girls played.
Let’s talk about the fireplace before…
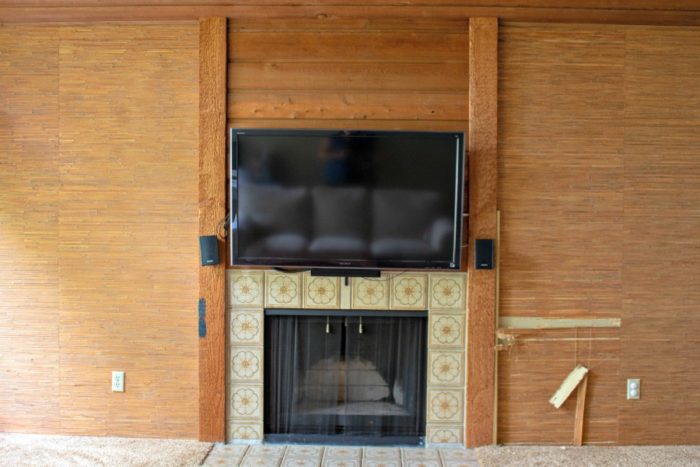
Whoa! So bad on so many levels. The stained cedar posts, which were rough, fuzzy wood, plus stained cedar shiplap, and the worst orange, bamboo grasscloth wallpaper. The previous owners had cats, and they obviously loved (or maybe hated) that wallpaper as they had scratched it up in spots. Then there was the orange, brown, and tan flower tiles. So 70’s and not my style. Also, that TV came with the house. Most expensive TV we’ve ever purchased.
Remove Wallpaper
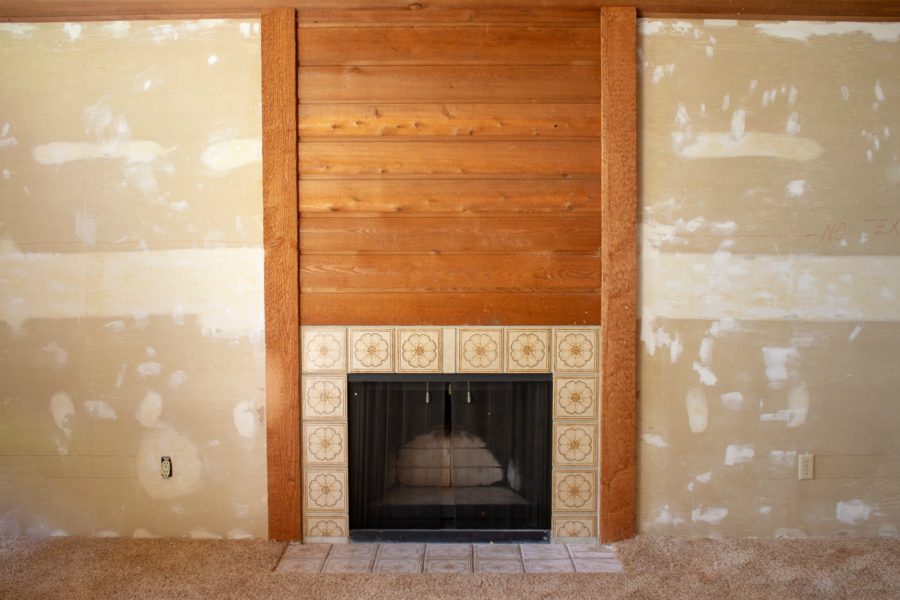
First, we removed all the wallpaper using a scraper and water/vinegar/soap mixture. We removed as much paper as we could and then sanded off the rest. Then we primed the walls with KILZ 2® LATEX Primer and painted it with KILZ COMPLETE COAT® Paint & Primer In One in Origami.
How To Paint Stained Wood
Materials:
- Painters’ tape
- Paint brush
- Small 1/4 inch nap roller
- Towels
- Drop cloth
- 100-150 grit sandpaper – electric sander worked wonders
- 180-200 grit sandpaper
- Can key
- Paint stick
- Paint tray
- KILZ PREMIUM Primer
- KILZ COMPLETE COAT Paint & Primer In One – Swiss Coffee

Step 1
Give the fireplace surround a good sanding with the electric sander with 100-150 grit sandpaper. The fuzzy, wood posts were sanded to almost smooth, and the shiplap got a light sanding. Move in the direction of the wood. Pass a second time with 180-220 grit sandpaper for a smooth finish.
Step 2
Clean up any dust from sanding using a vacuum and a damp paper towel to get any fine particles. Allow to dry.
Step 3
Prime with KILZ PREMIUM Primer to block any tannin stains and best prepare the surface for paint
This is the part I’m really excited about. I wanted a way to prime the cedar wood without the tannins coming through and without harmful toxic fumes (small children live here, folks), and thankfully, KILZ PREMIUM Primer came to the rescue. It is very low VOC and low odor! I could paint with the baby around and not worry. I wish I knew about this product before we painted the shiplap in the kitchen. We used a regular oil-based primer and I was a complete wreck worrying about the fumes for a week. We left the house for a few days, too, just to be on the safe side.
Not with KILZ PREMIUM Primer, though. This stuff worked wonders!
I ended up doing three coats of KILZ PREMIUM Primer to be extra safe (two coats probably would’ve sufficed).
Step 4
Paint primed wood with KILZ COMPLETE COAT Paint & Primer In One in Swiss Coffee. It’s my absolute favorite shade of white and is the trim color in our whole house.
Now the fun part!
How To Paint Fireplace Tile
Materials:
- 100-150 grit sandpaper – optional
- Non-detergent soap or TSP
- Paper towels
- Paint brush
- Painters’ tape
- Drop cloth
- Can key
- Paint stick
- Paint tray
- KILZ 2 LATEX Primer
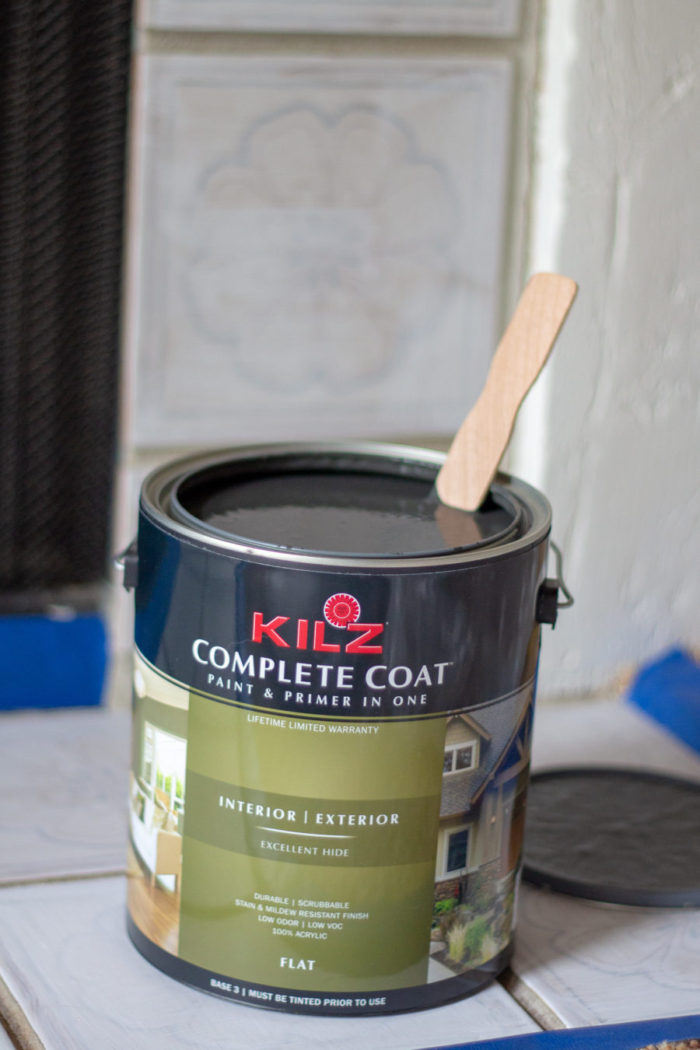
- KILZ COMPLETE COAT Paint & Primer In One – I used Toasted Poppyseed
Directions:
Step 1 (Optional)
Sand tiles to help roughen them up and allow paint to stick better. Some say it is not necessary, but I wanted to make sure the paint adhered well.
Save This Recipe
Step 2
Vacuum up any dust.
Step 3
Wash tile with non-detergent soap and water or TSP. Wipe with water and allow to air dry.
Step 4
Tape off areas you don’t want to accidentally paint.
Pro tip: If your fireplace is surrounded by carpet, gently press the carpet away from tile and cover with tape. Then, tuck tape along tile line.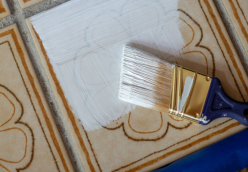
Step 5
Prime the tiles with KILZ 2 LATEX Primer. You choose whether the grout gets painted. I wanted an authentic tile look, so I chose to carefully paint the tiles and not the grout lines. Allow the primer to dry for 1-2 hours.

Step 6
After the primer is dried and right before you paint the tiles, wipe tiles off with a clean, dry towel just to make sure there is no dust or particles on the tiles. Especially if you have a hairy husky… ahem.
Pro tip: Use a short-handled brush to give you more control when painting. Also, I found it easier to create crisp, straight lines when my brush had a fair amount of paint on it.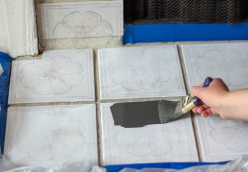
Step 7
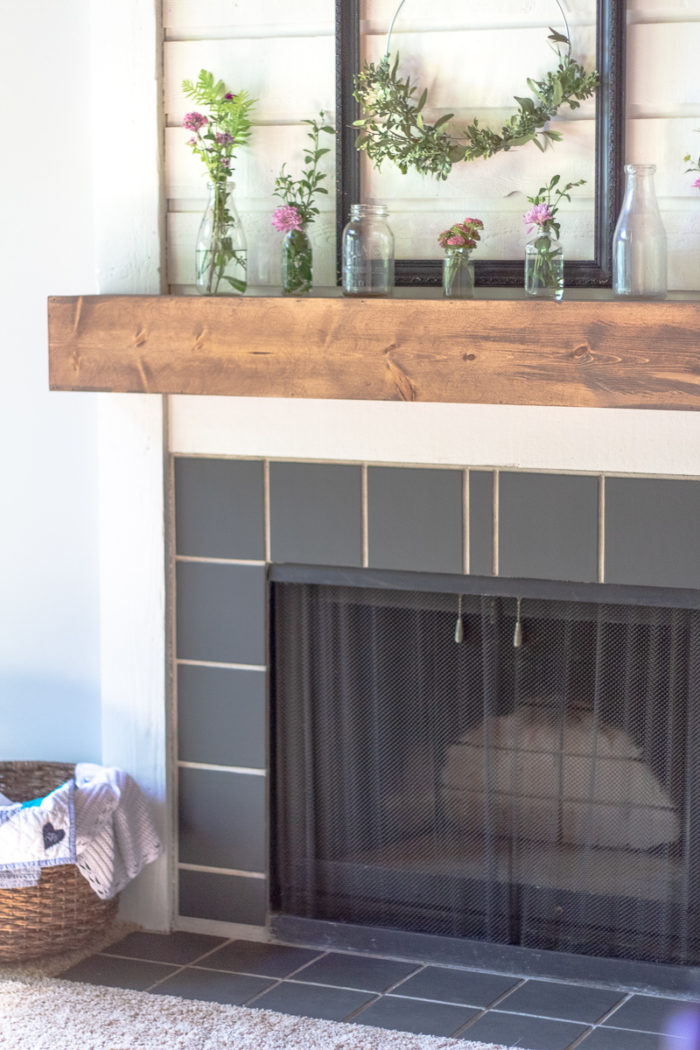
Paint the tiles using KILZ COMPLETE COAT Paint & Primer In One – Toasted Poppyseed in flat. To go for a concrete tile look I opted for a flat sheen, but you could also use satin. Allow to dry.
Apply second coat, if necessary.
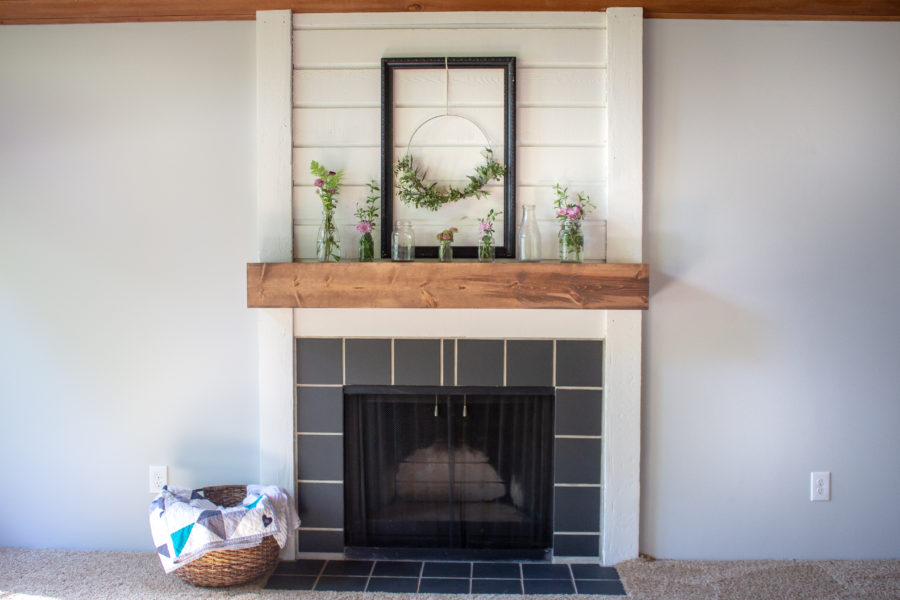
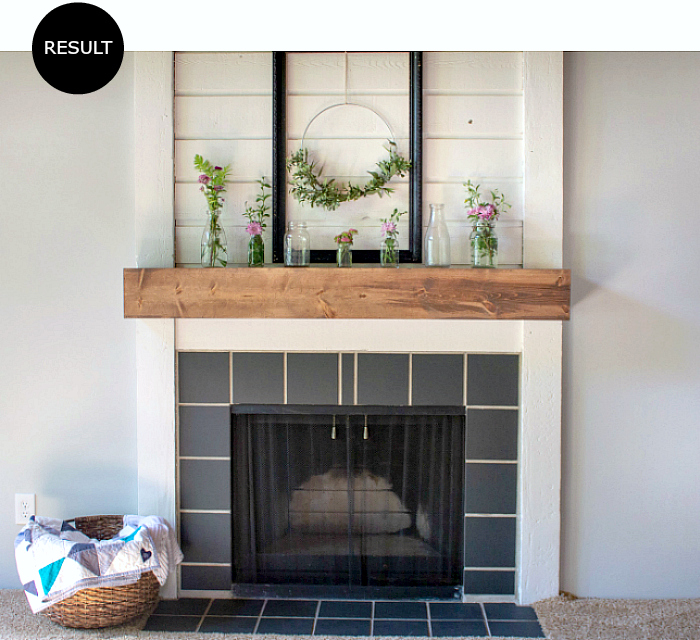
To give it even more pop, we built a wood mantel to go with it. That DIY will come shortly.
Stare at the amazing transformation.

I can’t believe how gorgeous this came out and it didn’t cost much at all. A fireplace renovation could easily cost thousands of dollars, but this one cost less than $100, and now I have lots of supplies for other projects around the house. I only needed a quart of the Toasted Poppyseed, but bought a gallon, just in case. Same with the Swiss Coffee, but we still have lots of trim and doors to paint… eventually.


So, if your fireplace really needs a face-lift, but you don’t have a ton to spend, lots of elbow grease and some paint could give your space a whole new look!

Thank you, KILZ, for sponsoring this post and transforming our formal living room!
To help you create a beautiful space, I’m giving away a $100 Walmart® gift card to one lucky winner so you can pick up your own KILZ COMPLETE COAT Paint & Primer in One.
To enter: Comment below on how you would use KILZ to transform your space. One lucky winner will be entered for a chance to win $100 gift card to Walmart..
a Rafflecopter giveaway
Those vintage tiles had so much character and it’s really a travesty that you painted them black. Honestly, your fireplace looked better before.
Why thank you! What a kind and helpful comment.
Hi! Did sealing the paint this time around help with the scuffs? Ours is near a high traffic area.
Yes! It hasn’t gotten a scratch on it since sealing. I will say it did take a while and a good amount of wear for it to chip the first time. The sealer does seem to make it more durable though.
Hi! I did the same type of thing to my fireplace tile, but noticed the paint scratches and can be scratched off quite easily. (even after sanding/priming). Did you put any clear seal coat after painting to protect the paint? If so, what would you recommend for a matte look?
Hey Jared. So after over a year and a half the tile has gotten some scratches I’m currently in the process of retouching it and plan to put a clear mat water-based polyurethane over it this time. Hope that helps.
How did you make the mantel? Do you have a tutorial on that?
Hey Brandy, sure do! It is really simple. Check out the tutorial here: https://ablossominglife.com/how-to-build-a-fireplace-mantel/
Two Questions – why did you prime with Kiltz primer first when the Complete Coat paint and primer is also a primer? i am trying to save time so if that would work ok, please let me know!
second question – how did you manage to keep the paint from getting into the grout? i can paint carefully but wanted to know if you put some kind of sealer in the grout to keep it from absorbing any paint?
I used primer since I was painting tile and wanted to make sure it had a really good grip. For the painting, I painted super carefully and made sure not to get any in the grout. A steady hand it really helpful for this, and my favorite short handled brush helps. You probably could seal the grout though to help this. You could always paint the grout too.
How is the floor tile holding up with traffic?
It has a few scuffs on it because someone put a chair on it, sat on the chair, and then scooted the chair on the tiles… But I just touched it up and it’s good to go. Totally worth it painting it.
Thanks for listing out the materials and doing a step by step instructions on this! My husband and I started renovating our home last week and we’re redoing the paint of our house. Really helpful!
Did you use the electric sander on the fireplace tiles?
Yes I did. But you could probably use a hand one also.
I wonder if this will work on kit hen tile backsplash as well.
Hi, is the kilz heat safe for the fireplace? Thanks!
Hey Jen, it is not. Since it is on the outside of the fireplace it won’t get hot enough to effect it. There is specialty paint if you wanted to paint the inside of a fireplace.
Love your transformation!!