How To Build A Fireplace Mantel – Easy DIY
This post may contain affiliate links. Read disclosure policy.
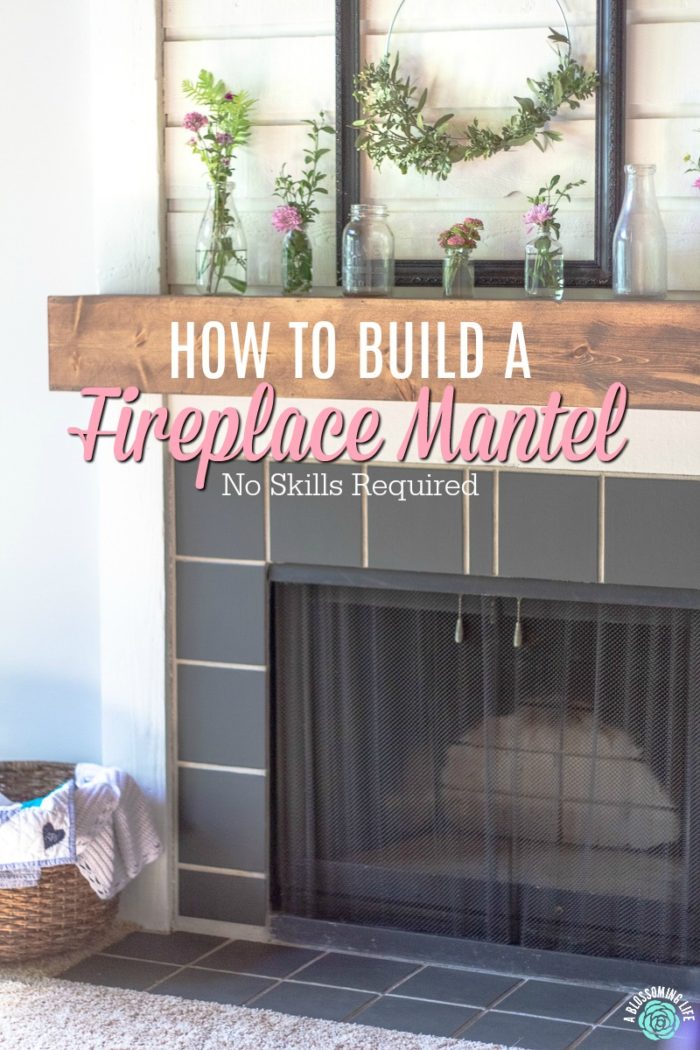
Check out this easy, step-by-step tutorial on how to build a fireplace mantel. It is so easy I could do it, which means you can do it too. Follow my steps below to make your own simple DIY Fireplace Mantel.
Supplies you will need: 1×10 (or 1×8), 2×4, nail gun or finishing nails, drill, screws, miter saw, circular saw, wood glue, and stain.
This post was updated July 2019
This house is really starting to come together and feel like home. Moving in, nothing about the house was our style. Slowly, but surely we are updating each room. The living room has been a super fun project and has really started to come together.
Did y’all see our crazy fireplace reveal on the blog a few weeks ago?
It turned out amazing! Nothing like some paint and elbow grease to really transform a space.
While we were painting the tile and surround, I kept thinking it needed something else – it was needing a fireplace mantel. So my husband called a few friends to see if they could help out, but they were all busy and said it would be harder than I thought.
Challenge accepted.
When someone tells me I can’t do something, it really makes me want to prove them wrong, so I told my husband I was going to do build the fireplace mantel myself.
He also had some hesitation, but also being the supporting husband he is, he went with it and got me the supplies I needed. That, and he didn’t want to do it so he gladly accepted my offer to do it.
Abby, my also very determined friend, offered to help (like always… she’s awesome).
So in about 2 hours I went from never using a saw in my life to building this awesome DIY fireplace mantel and also teaching you how to build a fireplace mantel. Boom.
Just goes to show that you can do anything if you put your mind to it. No special talents here, except maybe a ridiculous amount of stubbornness.
Fireplace Mantel Building Tips
- Measure twice, cut once.
- Something may always be wonky, so keep with it and be patient.
- Having an extra set of hands is really helpful.
- Every fireplace is a little different, so use this as a guide on how to build a fireplace mantel.
The following are affiliate links. We are a participant in the Amazon Services LLC Associates Program, an affiliate advertising program designed to provide a means for us to earn fees by linking to Amazon.com and affiliated sites.
DIY Fireplace Mantel Supplies:
3 – 1×10 (This is what I used – But if I were to do it again I would do the front piece a 1×10 and the top and bottom pieces 1x8s)
1 – 2×4 slightly smaller than the length of the fireplace mantel
Nail gun – or you could do it by hand with finishing nails
Drill and screws
Miter Saw (we have one like this)
Need more home decor inspiration? Check these ideas out!
- Farmhouse Girl’s Room Reveal for less than $100
- Quick Entryway Refresh – With Video Tutorial
- Kitchen Renovation Reveal
- Open Shelves and How To Style Them
- Easy DIY Blanket Ladder – Simple Home Decor Project
How To Build A Fireplace Mantel
Most of these step-by-step pictures were taken with my broken iPhone camera. You’re welcome. Still, you should be able to get the concept on how to build a fireplace mantel.
Step 1: Measure And Cut Fireplace Mantel Wood.
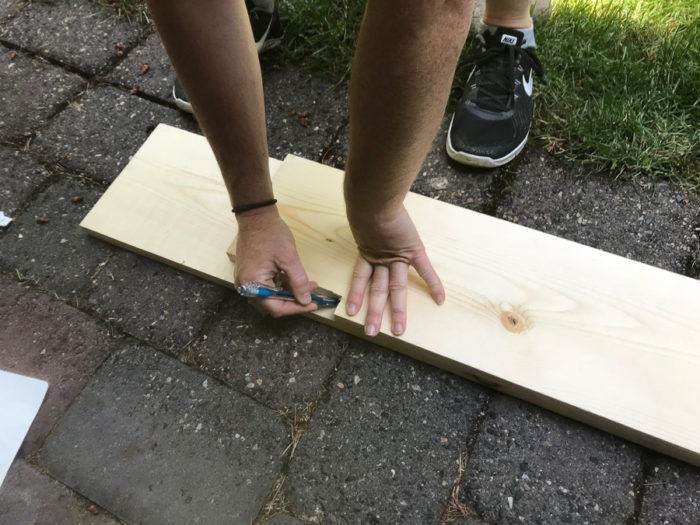
- Take measurements across the fireplace and write how long you would like the mantel to stretch along the fireplace.
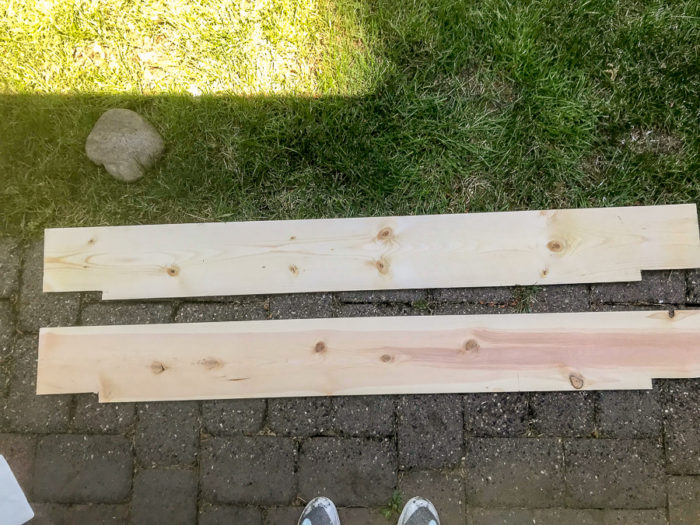
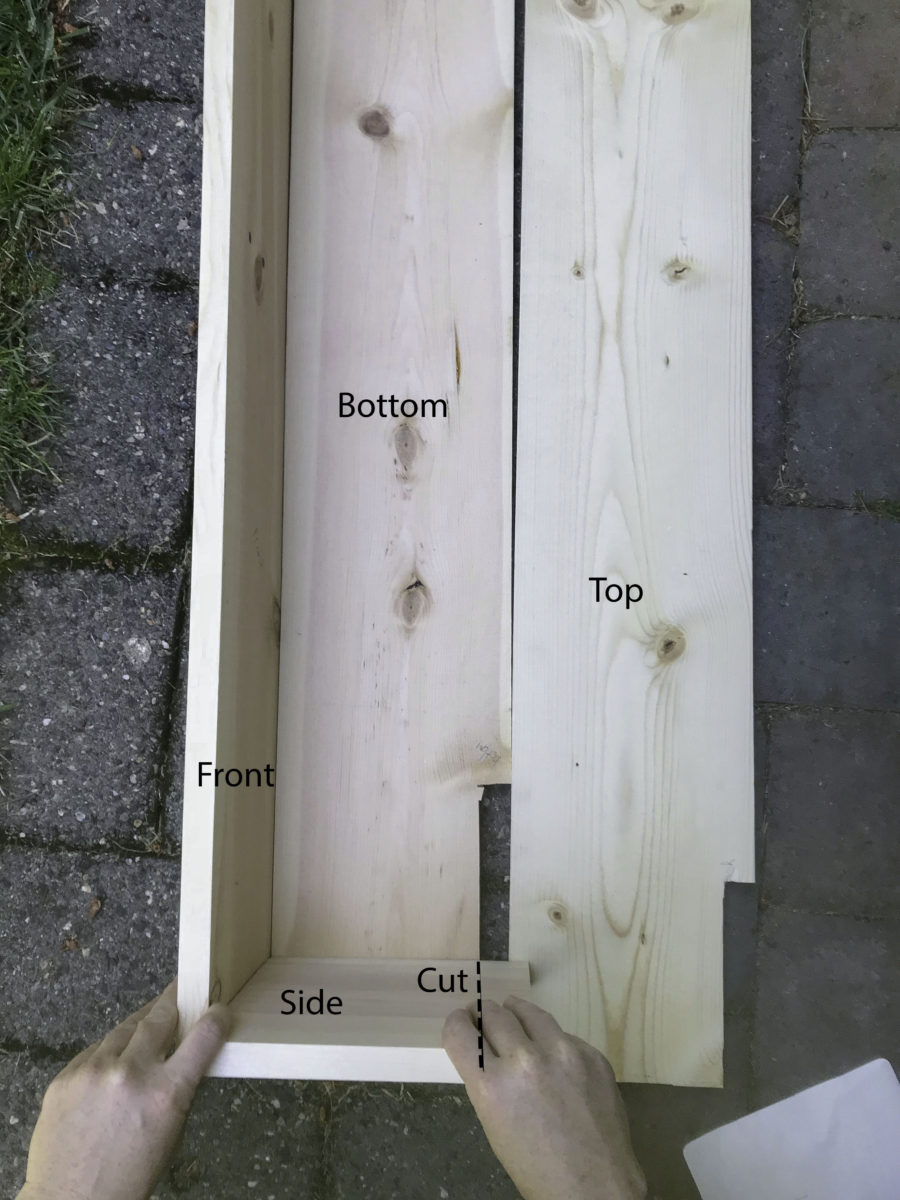
- Cut your 1x10s according to that length. Measure twice, cut once, my friends. Our fireplace had wood that came out a bit farther towards the edges, so we cut out notches to accommodate that.
Step 2: Nail Boards Together
- Lay one board onto a table and place the second (mantel front) up against the board, making sure they line up flush at the ends.
- Nail into place (you could put a line of wood glue for more support).
Step 3: Cut End Piece
- This part is a little tricky. Using some scrap from the cut 1×10, cut a piece of wood that will fit inside the mantel.
- So measure the widths of the inside edge and cut to your desired size. This is really important to have perfectly straight so the top board lays nice and flush.
Step 4: Nail Top Piece
Place the top 1×10 on top and nail into place.
Step 5: Dry Fit Into Place
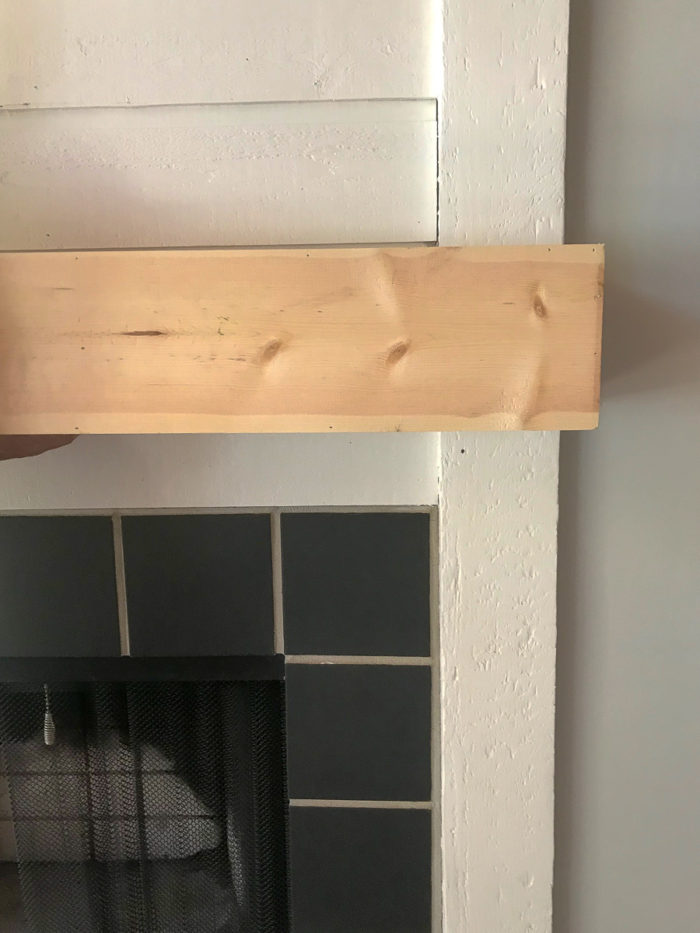
- Check to make sure it fit correctly before staining by placing the mantel on top by holding it up to see if everything fits the way it is supposed to.
- Make any adjustments you need.
Step 6: Sand and Stain
- Give it a quick sanding with 150-180 grit sandpaper and stain with your favorite color stain and allow to dry.
- If you want to build a rustic fireplace mantel or give it the look of reclaimed wood, then you could rough it up some by banging it with a hammer or chains, or put a few nail holes in it. Whatever your heart desires.
Step 7: (optional): Cover Up the Seams
You could cover up the end seams with a piece of wood veneer overlay and then stain it to make it look like one solid piece of wood. I skipped this step cause I ran out of time.
Step 8: How To Hang DIY Fireplace Mantel on Fireplace
- Cut your 2×4 slightly smaller than the mantel.
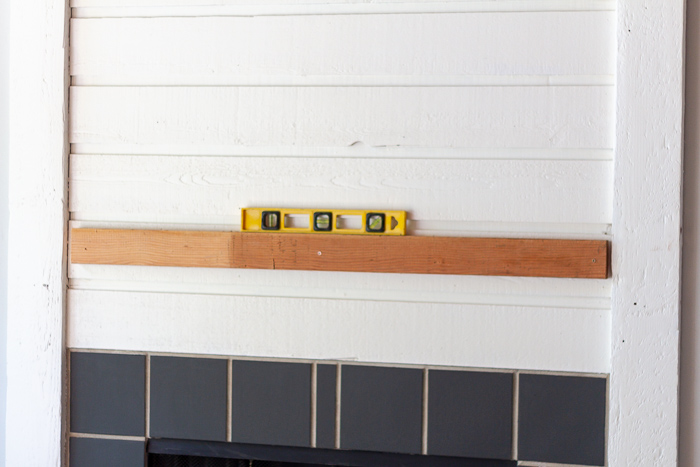
- Find studs, make sure the 2×4 is level, and screw it onto the wall where you want to hang the mantel (make sure you take into consideration that the mantel will hang about an inch higher than where the 2×4 ends).
- Place your new mantel on top of the 2×4, letting it rest on it.
- Screw the mantel into the 2x4s. Ta daaa! Done.
- We also did put some screws on the bottom of the mantel into the wall just to give it extra strength, but it is probably not necessary.
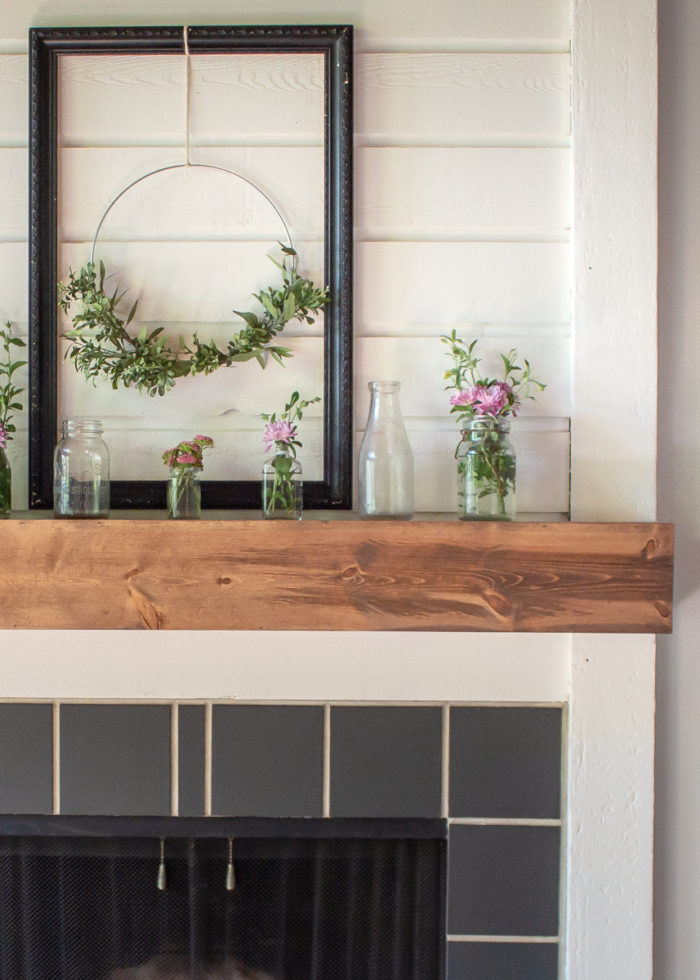
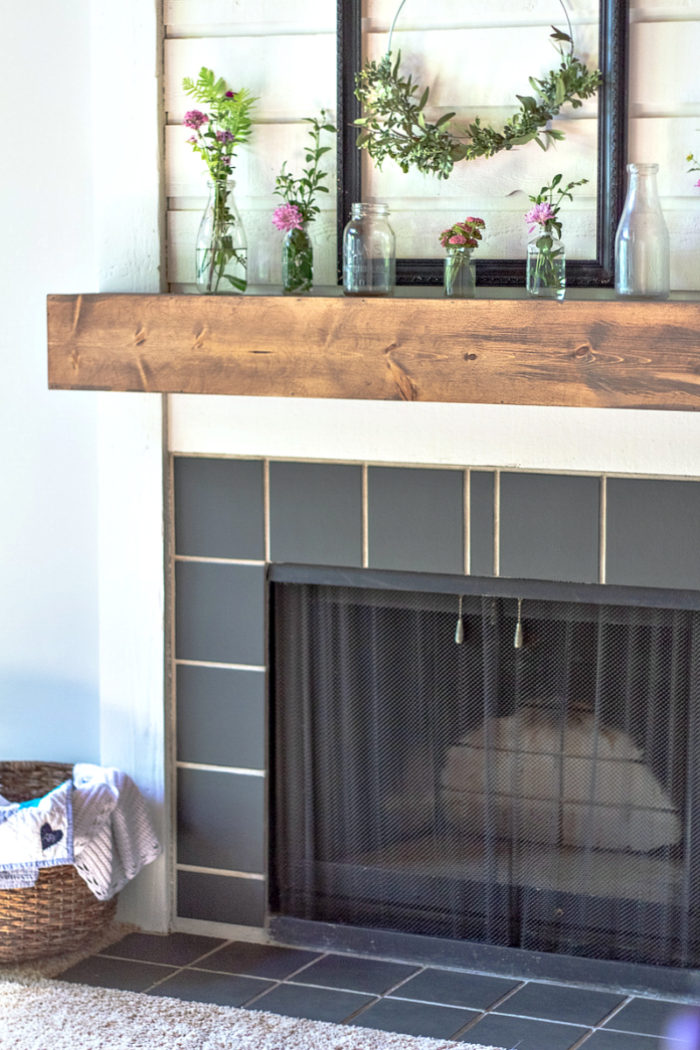
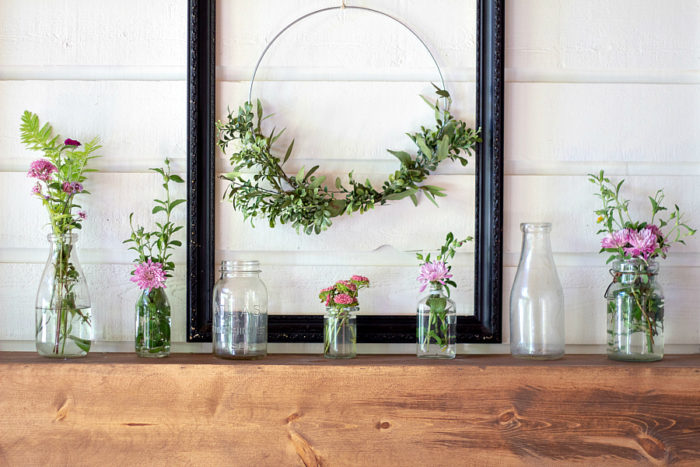
Decorate it: I just used a collection of antique bottles and a DIY minimal wreath to decorate it. Since then it has changed a bit.
I seriously love how it turned out and it has completely changed the look of this room. Now, if only we could muster up some time and energy to finishing painting the rest of the room. Maybe next weekend.
Do you think you can try to make your own DIY fireplace mantel?


It’s easy to spend too much money on refacing and replacing your fireplace mantel.
The article inspired me to make my own fireplace mantel. I used the rule of measuring twice and cutting once. ;O)
Great article, thanks!
Hi there! What species of wood did you use?
Hey! Pine!
What brand of stain did you use. Looking for special walnut. My wife finally approves of your color choice. Desperate to find it. Did you buy it at Home Depot or Lowe’s?
Sorry it took be a bit to respond. I believe it’s as Miniwax from Home Depot.
Do you have instructions on how to build the beautiful rustic white fireplace surround?
I do not I’m sorry Morgane. It was actually original to the house and I painted the cedar ship lap white in this tutorial: https://ablossominglife.com/how-to-paint-fireplace-tile-diy-fireplace-makeover/
I think it would be fairly simple using wood boards to create the ship lap look.
What color stain is this???
I believe it’s special walnut!