DIY Shim Headboard
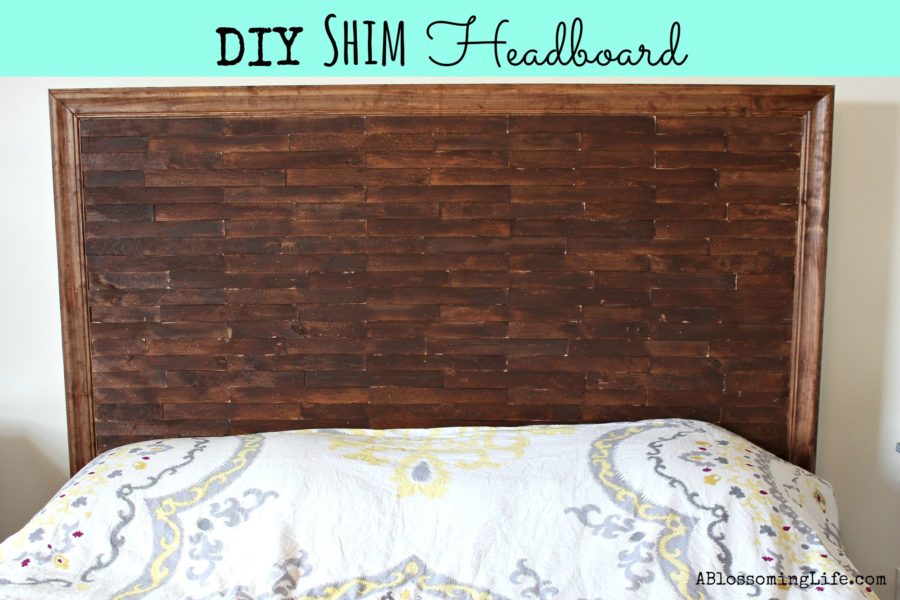
Ahhh I am finally done with the headboard! Let me first just say that I am not a super handy person! But I was very determined to do this! The hubs and I are trying to redo our bedroom for next to nothing and the best way to get a headboard for cheap is to build one yourself or redo an old one. Well we didn’t own a headboard already and I couldn’t find one that I liked, so build is what happened. I didn’t just want a “typical” head board and the inspiration for this creation came from this Shim Artwork!
DIY Shim Headboard
Materials:
- Plywood cut to size: I used cheap roofing plywood
- 2x4s
- Moulding
- Shims: I bought 4 packs of the large 42 pack of shims
- Screws: 8 to screw the plywood to the 2×4. 4 to screw the headboard to the bed.
- Drill
- Nails: Finishing nails to nail the moulding and the shims, if you do not have a brad nailer.
- Stain: I used chestnut
FYI if you buy your materials from Home Depot or Lowes they will cut the wood to size for you! Which is great if you don’t own an electric saw like myself!
Step 1: Measure measure measure. Measure how big you want your headboard. Measure the width of your bed frame where you will be attaching the wood. Measure how high you want your headboard to be. The plywood was cut 35″ tall and 64″ wide giving 2″ of extra wood on each side. Then the two 2x4s were cut 53″ long.
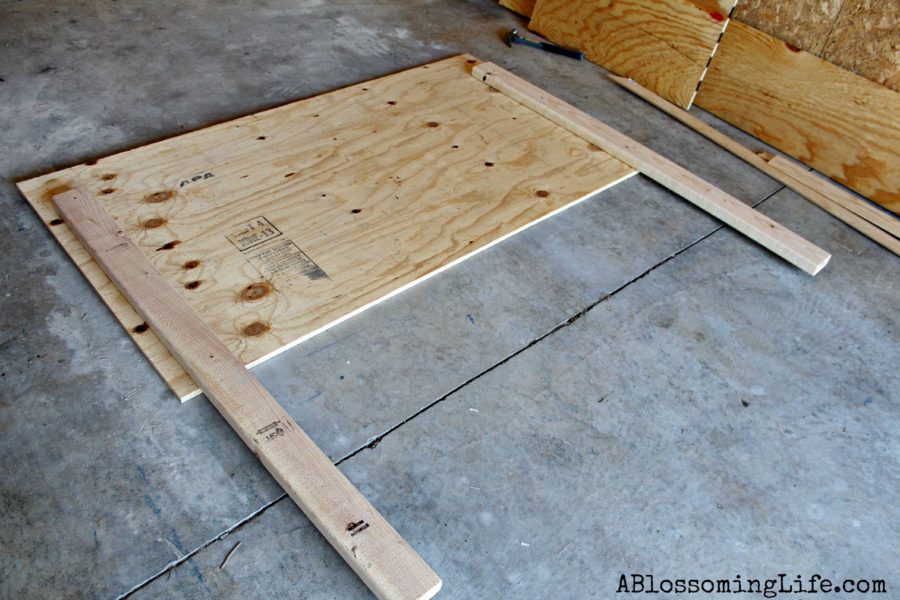
Step 2: Place the 2x4s on the board and measure the distance between the 2x4s to make sure it matches the distance between the bed frame where you will be attaching them. So since our bed was 60″ and we added 2″ to each side I place the boards 2″ from the edge. Also make sure the 2x4s are the same length at the bottom so one side isn’t higher then the other. I hammered the 2x4s with 2 nails on each side just to keep it in place to screw it in on the other side.
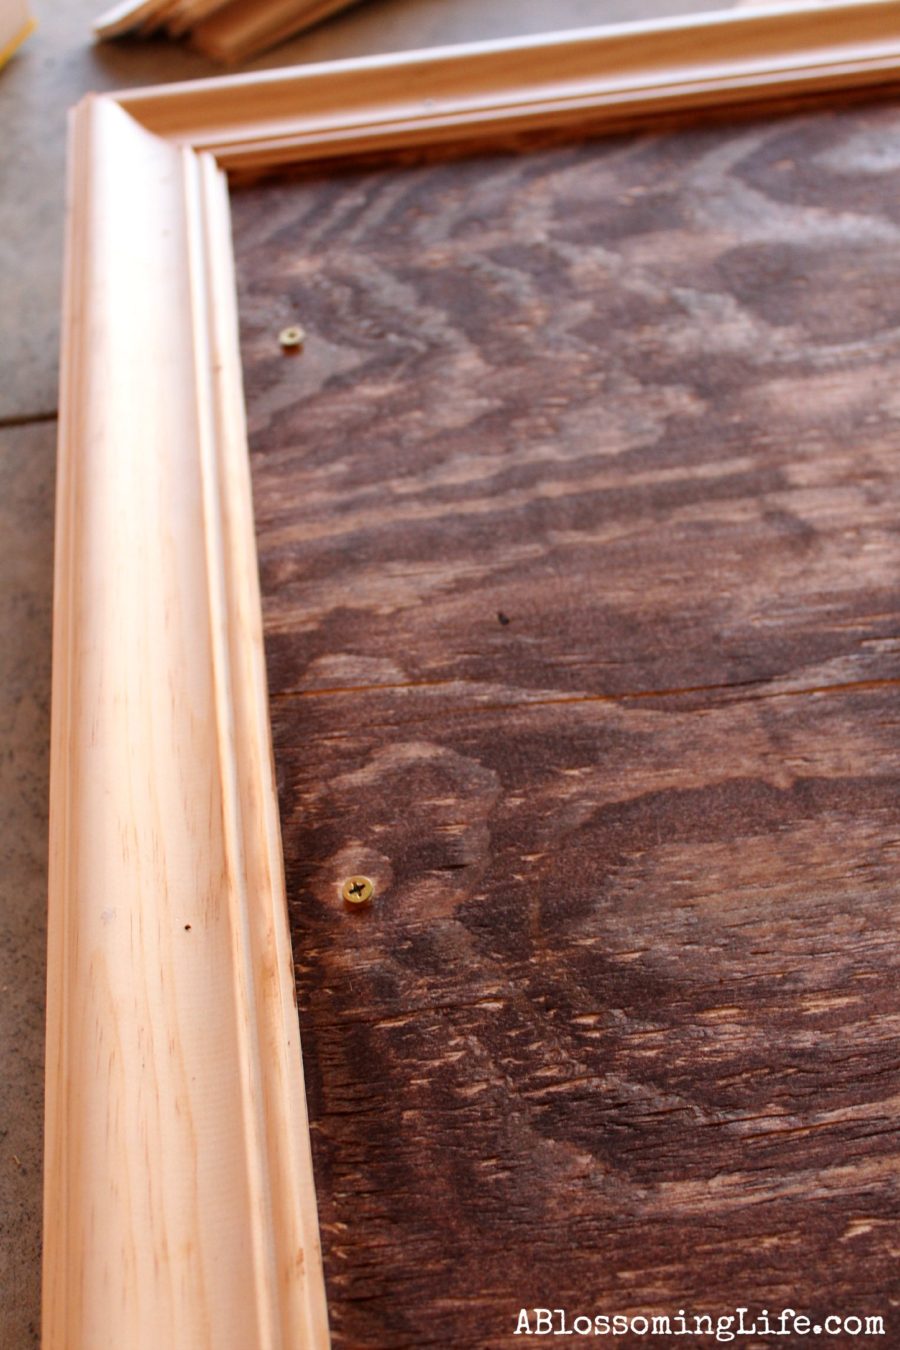
Step 3: Flip the board over. Screw the board to the 2x4s. To make sure it was secure I screwed each 2×4 in 4 times. Nail moulding, cut to size with 45 degree angles (like a picture frame), with finishing nails or a nail gun. Stain the back board and mounding.
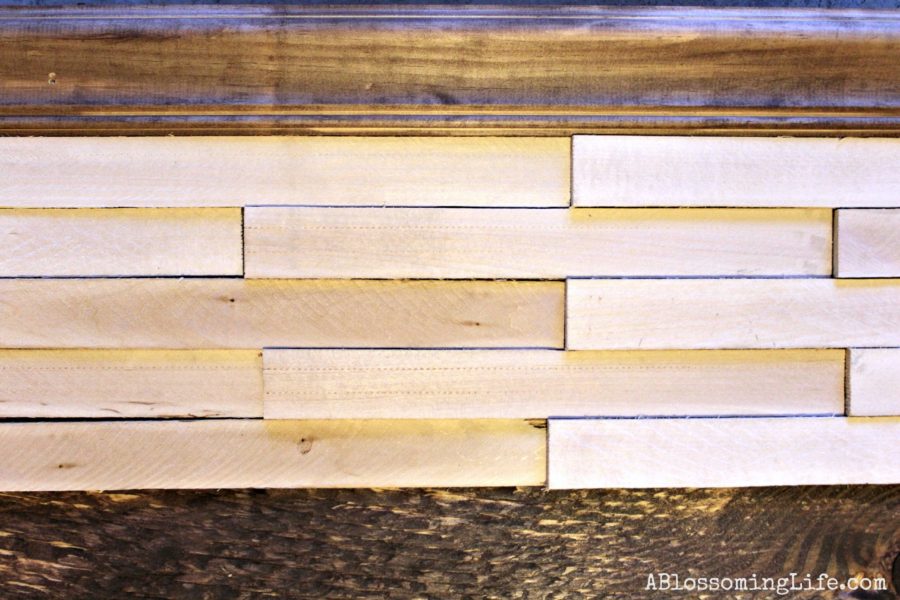
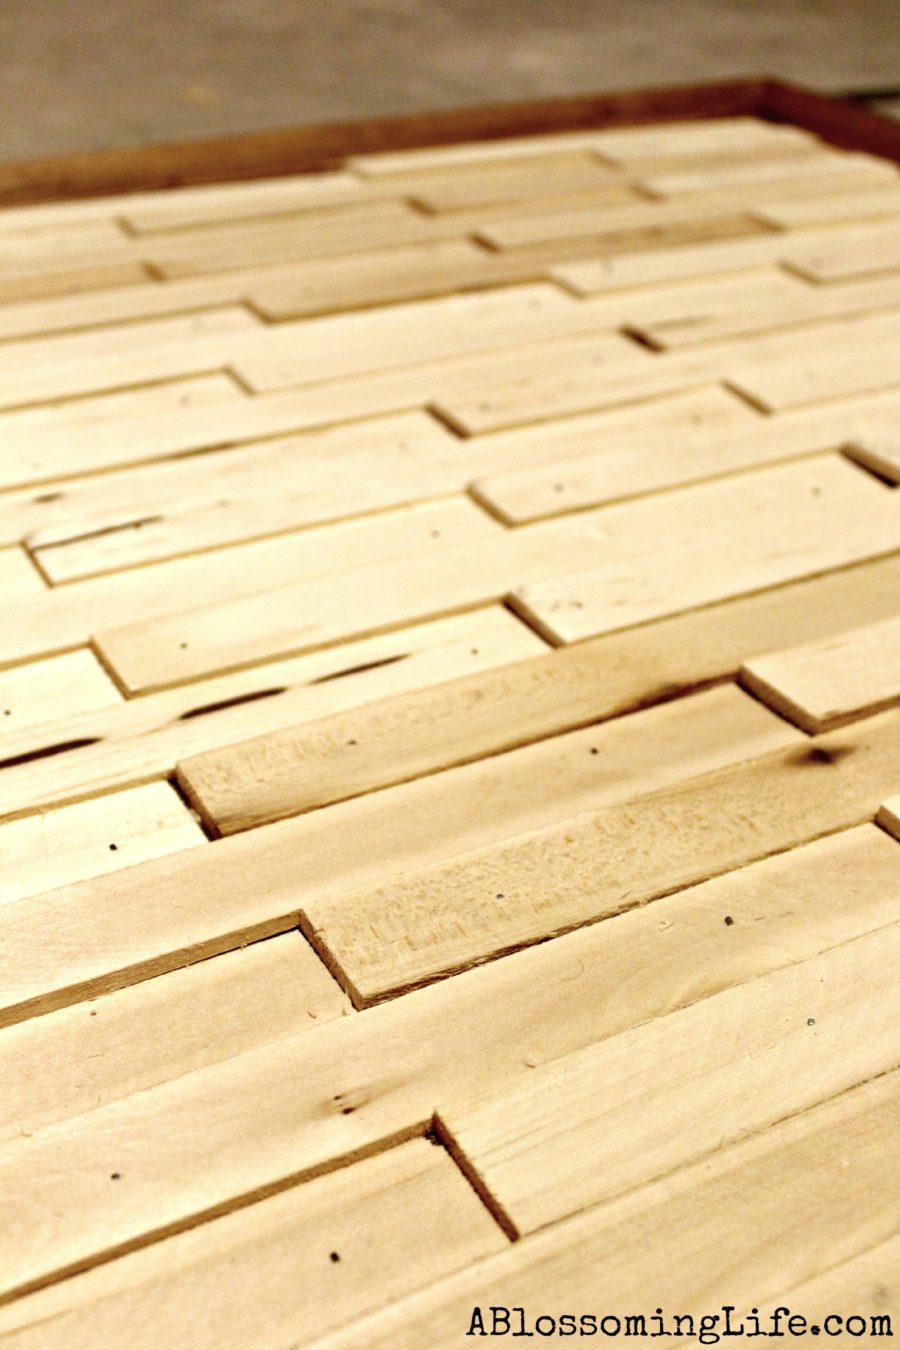
Step 4: I originally started using liquid nails to hold the shims in place, but this did not work. So I borrowed a friends brad gun and nailed them all in place. Hammering any of the brads that didn’t go all the way through. I also staggered the shims like brick to give it more texture, and cut the shims for each end using a small hand saw.
Step 5: Stain the wood. I applied two coats and then waited at least a day to put the headboard up. Lastly, attach the headboard to the bed frame by pre-drilling holes and using screws and nuts. Done! Phew!
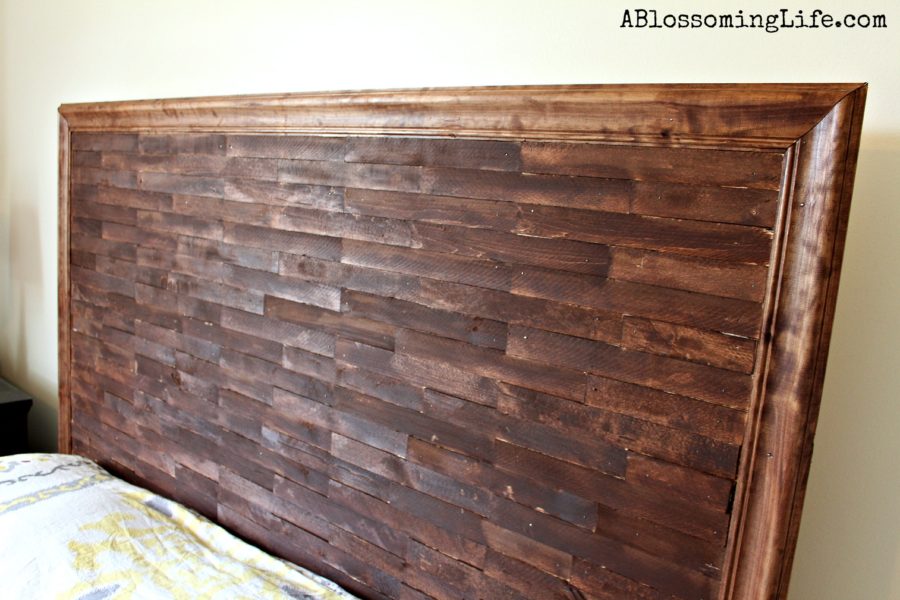
This was a labor of love since I started without the right tools and certain things not working … aka liquid nails. The total makeover cost me $70 dollars which isn’t too shabby! Your probably wondering why there are no pillows on the bed yet?? Well I haven’t gotten that far yet and thats another blog post 🙂
What do you think? Crazy headboard?
I party here…
I love it and think it looks great – might even try it for my guest room!! Thanks for the idea!
Thank Alison! Glad I could inspire you 🙂
Looks good!!! Love the rustic feel it brings…and the prize!
This turned out great! Plus the fact you made it for so cheap makes it even better!
LOVE THIS AMY! Nick and I are always on the hunt for HGTV-esqe things we can make and/or buy! I think we will try doing this together for a couple of date nights!
Thanks Devin! This would be a great date nights project! Hope you two are doing well!
Great headboard! 🙂 I’m working on a shim project next month for our bathroom, so it’s great to see how you approached this material for your headboard. 🙂
Nice job! It came out awesome!
It’s so beautiful, and high end! I love it! We’re in pretty desperate need of a headboard and I want this one!
XO
Thanks Corinna! That is so sweet! You should totally try to make it 🙂
Beautiful idea! I’d love for you to link up to The DIYers:
now that is neat!
Wow!! Really super-cool! You did an awesome job and I’m sharing your post on my FB page this evening!
Cher
Thanks Cher really appreciate it!
It’s gorgeous, Amy! And I wanted you to know that you were featured at Give Me the Goods this week… Thanks so much for linking up!
Rachel @ Maison de Pax
Very cool project…beautifully done! I featured it today from last weeks Whimsy Wednesday Link Party! http://bit.ly/146ZWOP
Thanks Susan for the feature! I really appreciate it!
I have a sweet spot for wood shims and this project is awesome! Pinned 🙂
-Katie @ Upcycled Treasures
I like the idea that you use wood in creating a DIY headboard. It looks simple yet classy and elegant. Thank you for sharing this one, it is a great inspiration.
This looks great! What size bed did you makenthis headboard for i have a full just wanted to know if i needed to use these exact measurements
It is for a queen bed! Hope yours turn out great!