How To Make Beeswax Wraps
This post may contain affiliate links. Read disclosure policy.
Learn how to make beeswax wraps as a sustainable, reusable food wrap and solution to plastic wrap. All you need are a few materials to make beeswax fabric.
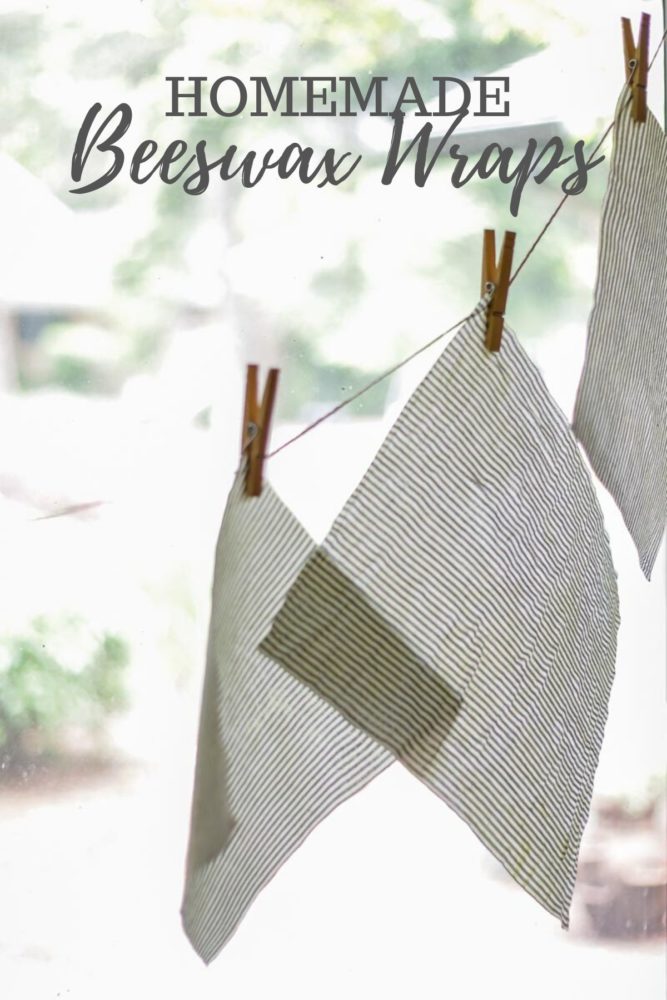
Today I am excited to have Jerica from Sustain, Create and Flow to show us this fun and sustainable DIY project! I can’t wait to try this! Such a smart idea! Thanks, Jerica, for sharing it with us today!
Finally!
A waterproof, sustainable, and reusable food wrap solution to plastic cling wrap and sandwich bags.
Using a cookie sheet, beeswax, and scrap fabric, you can easily make your own beeswax fabric in your oven.
Of my latest DIYs, beeswax wraps are one of my absolute favorites.
This is a brilliant solution for transporting and storing food, and it’s my preferred solution in my quest to ditch plastic and find practical, sustainable and reusable solutions that also fit into my budget.
While finding these solutions is not always easy, making these beeswax wraps is. I promise.
As a backyard beekeeper, I am blessed with some very beautiful and fragrant beeswax that my husband and I ethically harvest from our boys.
I am constantly tinkering with the wax, finding new ways to utilize this magical and earthly gift!
I like to imagine the early settlers and pioneers treating their fabrics with beeswax as they set out into the wilderness. (Especially where I live, in the damp, but beautiful, Pacific Northwest.)
As an alternative to the popular polyethylene laminate (PUL) and other chemically-altered, waterproof materials, beeswax-coated fabric is easy to make, smells delightful, and is long lasting and natural; something I feel good about providing for my family.
Tips For Making Beeswax Wraps:
- I found that spreading the beeswax over the fabric worked best while the cookie sheet was still in the oven. I worked rapidly, as this cools quite quickly.
- Beeswax melts at 147 degrees F and is flammable, so it’s highly recommended to heed the low oven temperature!
- Thinner fabrics work better. With one of my first attempts, I used flannel, and the wax wasn’t up for spreading. (The end result was still great, however.)
- Cover the cookie sheet with tin foil or parchment paper for easier cleanup.
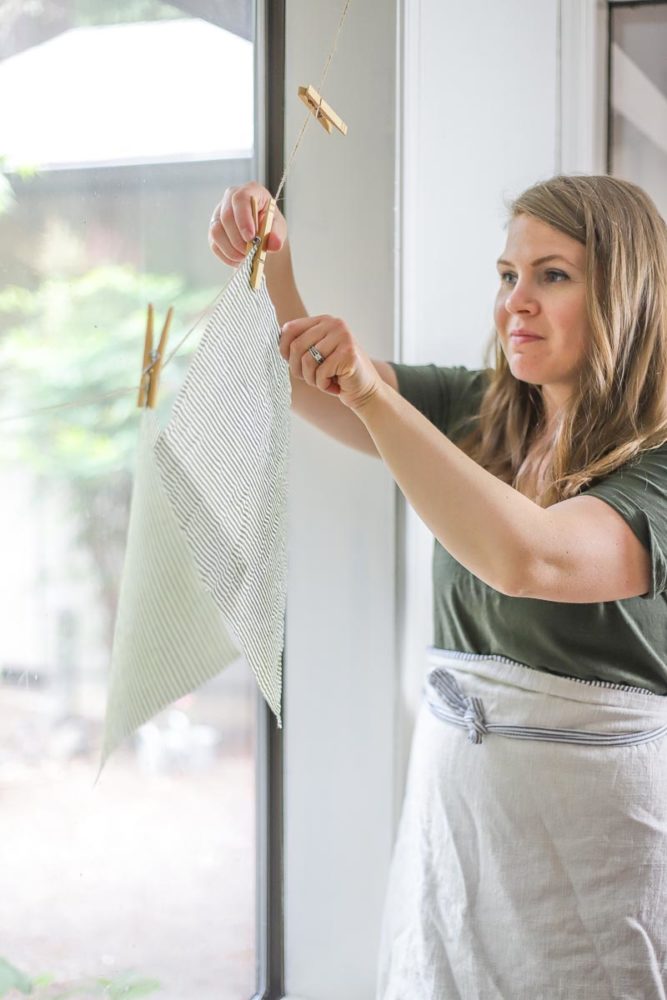
- You will need a place to hang the fabric to cool. I tied a piece of string between two cupboards in the kitchen.
- You could also do this with an iron, which I’ve found to be slightly easier. Find method 2 below.
The following are affiliate links. We are a participant in the Amazon Services LLC Associates Program, an affiliate advertising program designed to provide a means for us to earn fees by linking to Amazon.com and affiliated sites.
Tools or materials you may need:
- Cookie sheet
- Grated beeswax or beeswax pastilles (or find them on Amazon)
- Parchment paper or tin foil. I prefer parchment paper, because it is a more sustainable material.
- A clean paint brush devoted solely to beeswax
- Fabric pieces the size of your cookie sheet (For your fabric, sheeting weight works well.)
- Iron – if using the iron method
Watch The Tutorial
How To Make Beeswax Wraps – Two Ways
Below are two different ways to make this beeswax cloth. The first method is in the oven; the second method is with an iron, which I find much easier and quicker.
Bees Wraps Method 1:
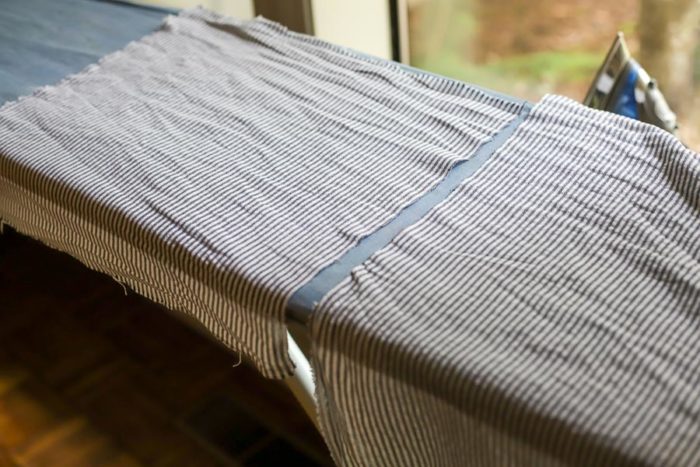
Wash and dry your fabric. Cut into desired size with fabric scissors. You may need to iron your fabric so it doesn’t have wrinkles.
Preheat your oven to warm or 150 degrees F, or the lowest setting possible.
Cover a cookie sheet with tin foil or parchment paper.
Place your fabric on your covered cookie sheet. I did mine on the back of the cookie sheet since I decided to cut my fabric slightly larger than the cookie sheet.
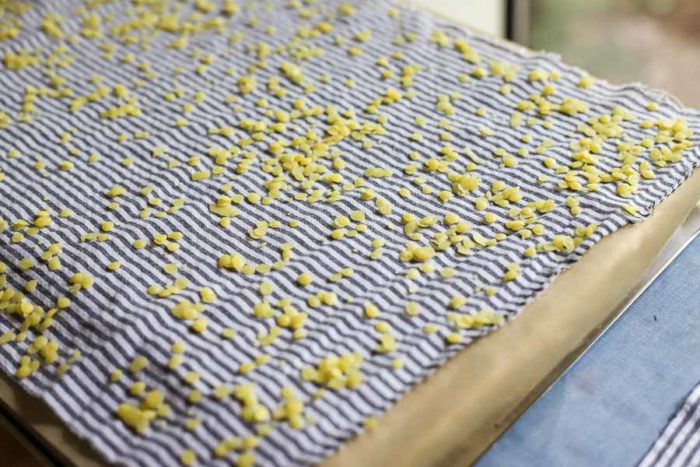
Using grated beeswax or beeswax pastilles, sprinkle beeswax on top of your fabric.
Place your cookie sheet into a preheated 150 degree Fahrenheit oven. Beeswax melts at 147 degrees F and is flammable, so it’s highly recommended to heed the low oven temperature!
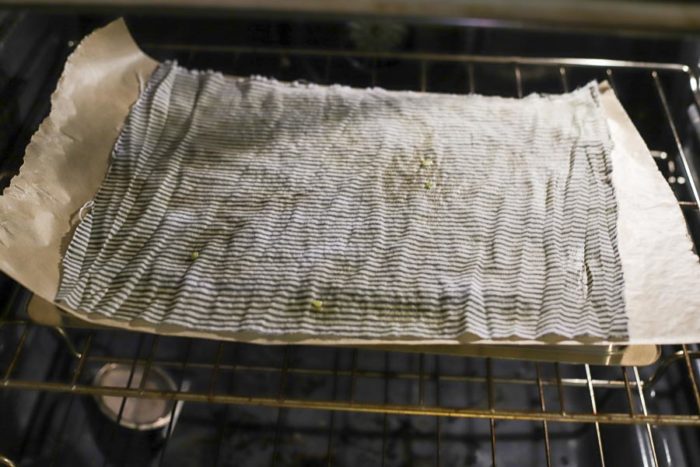
Allow the beeswax to melt. This takes approximately 8 minutes. The beeswax will begin to soak into the fabric.
Using your paintbrush, spread the wax evenly over the fabric. This step was much easier when I used a thinner fabric.
Save This Recipe
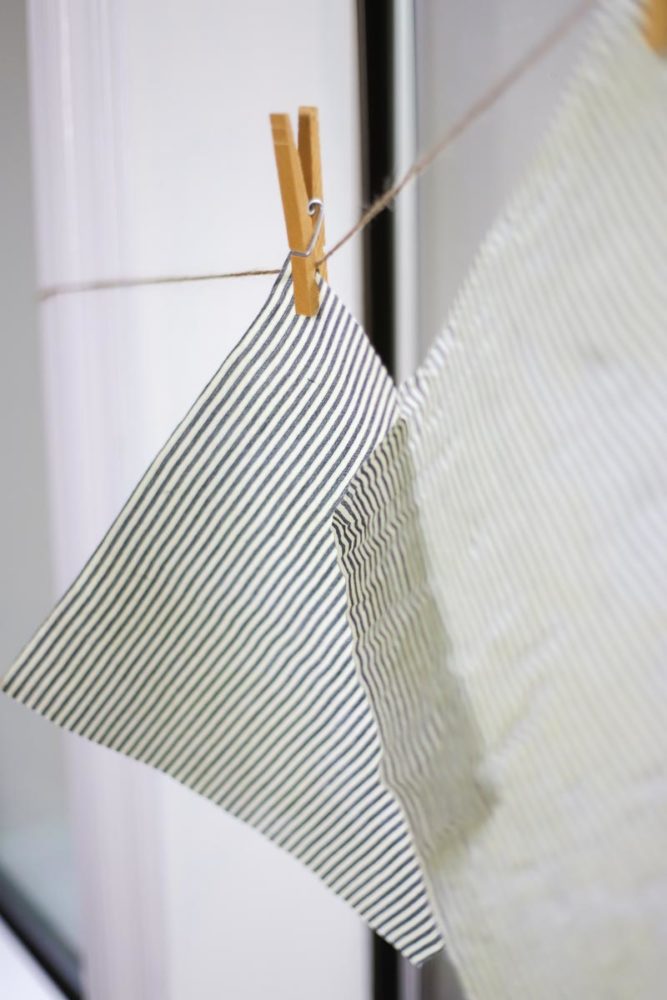
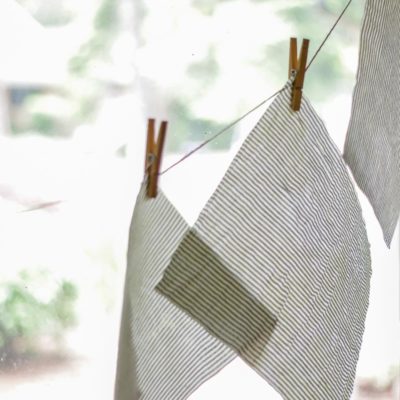
Hang the beeswax-coated fabric over your kitchen clothesline for a few minutes and allow it to cool.
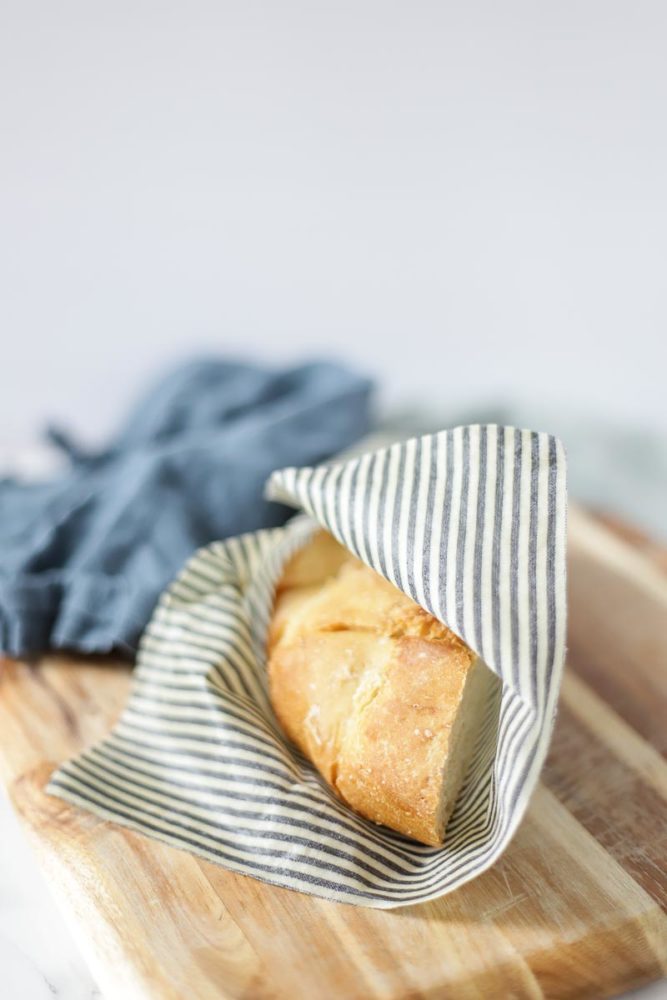
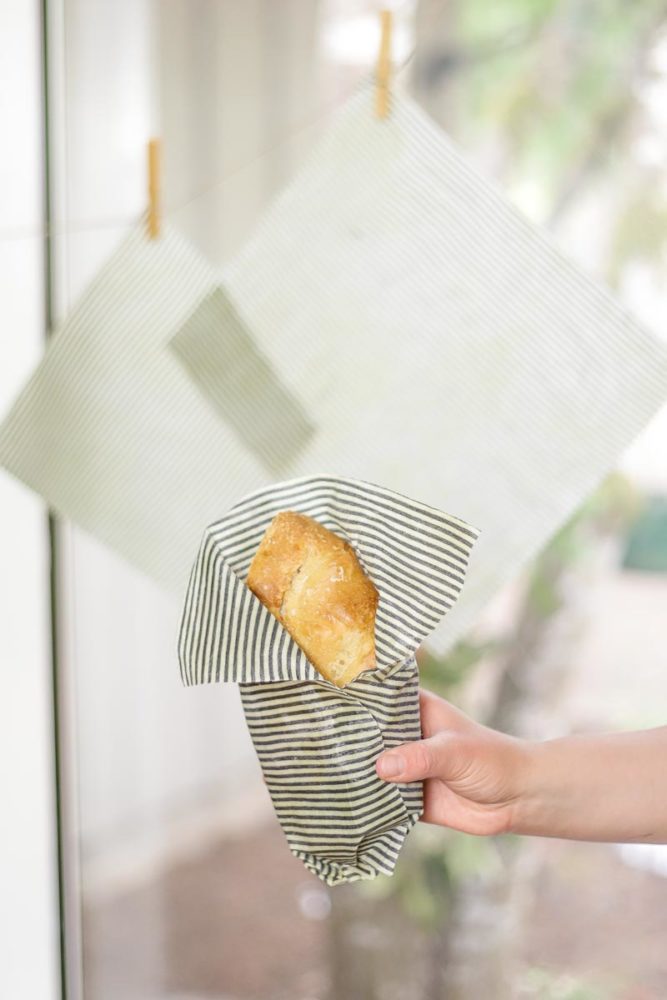
Once cooled, your beeswax fabric is ready to be used right away! I used mine to cover our bean leftovers.
The beeswax fabric holds it shape and can be smoothed flat easily. Store rolled or folded with your food wraps or containers for easy use.
Clean up is incredibly simple. Peel off your cookie sheet’s covering and recycle. Store your (dedicated) beeswax paintbrush for further use and touch ups.
Beeswax Wraps Method 2: With An Iron
Wash and dry fabric.
Heat iron on cotton setting.
Iron the fabric, if needed.
Cut out a piece of fabric slightly larger than the size of wrap you desire.
Place a piece of parchment paper that is bigger than your fabric down on a ironing board.
Place the fabric on top.

Sprinkle grated beeswax (or beeswax pellets) over the fabric evenly.
Take another piece of parchment paper, larger than the fabric, and place on top of the fabric and beeswax.
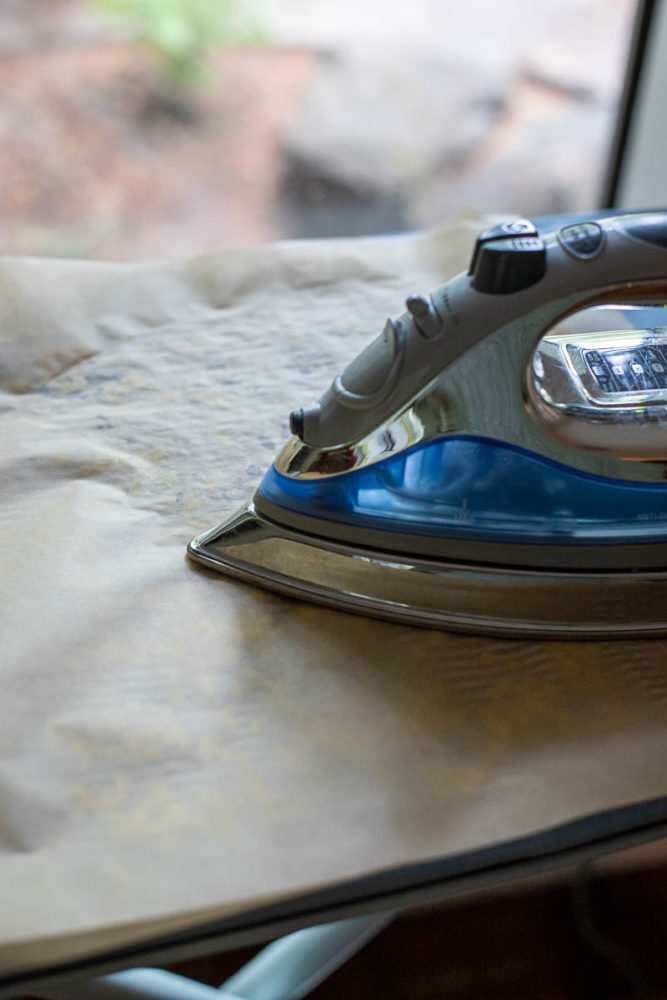
Place warm iron on top of the parchment paper, holding it in place for a few seconds until the beeswax melts into the fabric. Move iron over the fabric until all of the beeswax is melted.
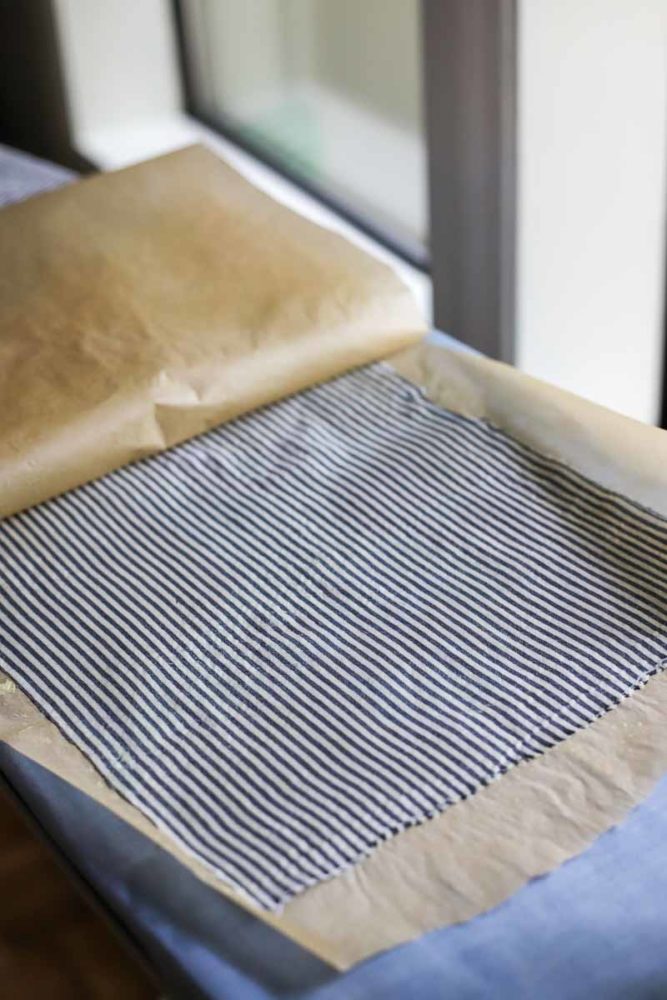
Pull up parchment paper and see if there are any spots that do not have any beeswax.
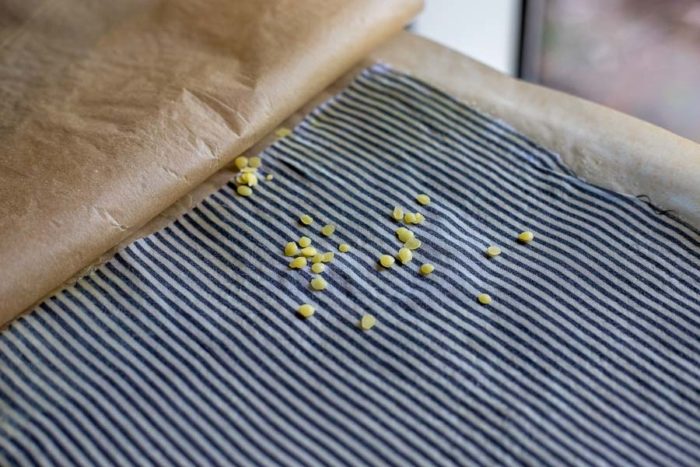
Sprinkle beeswax on bare spots, cover with the parchment paper, and then iron it again.
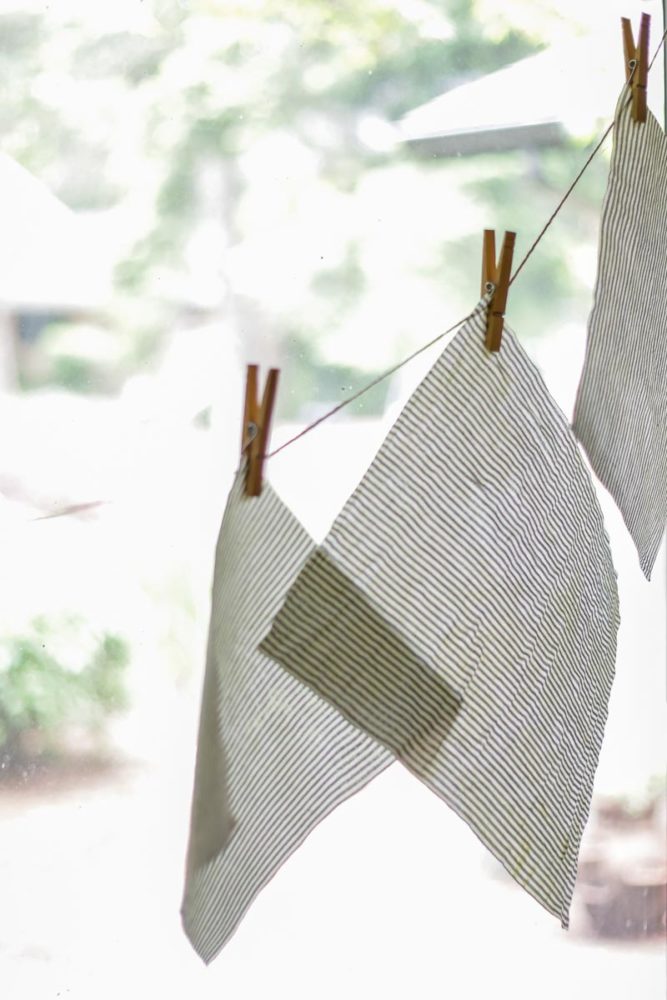
Pull the fabric off the parchment paper and hang to dry. It doesn’t take very long for the fabric to dry.
Caring For Your Beeswax Food Wrap:
- Spot clean with cool water. A mild soap can be used, but be certain it is alcohol-free. (Beeswax and tree resins are soluble in alcohol.)
- Avoid prolonged contact with greasy or oily foods.
- Since beeswax is natural, staining from pigmented foods is normal.
- Not for use in dishwasher, microwave, or with hot foods.
- Highly acidic foods, like pineapple, may eat the beeswax coating. It is best to put those foods in a bowl and cover, instead of wrapping the fabric directly around it.
- Beeswax is fluid resistant, but does not totally seal food, so bee creative in your uses for your new wonder-fabric!
FAQ
Do you need to wash fabric before making beeswax wraps?
Yes, I would recommend it. Many times, fabric can be sprayed with chemicals to keep it from wrinkling. Wash, dry, and iron, if needed.
How long do beeswax wraps last?
They will last up to a year with proper care and cleaning.
Beeswax fabric makes a great, reusable sandwich bag for school and work lunches, picnics and camping.
Find More Of My Favorite DIY And Sustainable Projects:
- DIY Unpaper Towels
- Homemade Baby Wipes
- Homemade All-Purpose Cleaner
- DIY Deodorant
- How To Make Shaker Cabinet Doors From Flat Paneled Doors
Tried this recipe and loved it? I would love if you would come back and give it 5 stars. Please and thank you!
Save This Recipe
Equipment
- Iron
- Parchment paper
- Scissors
Ingredients
- Beeswax
- Fabric
Instructions
Method 1:
- Wash and dry your fabric. Cut into desired size with fabric scissors. You may need to iron your fabric so it doesn’t have wrinkles.
- Preheat your oven to warm or 150 degrees F, or the lowest setting possible.
- Cover a cookie sheet with tin foil or parchment paper.
- Place your fabric on your covered cookie sheet.
- Using grated beeswax or beeswax pastilles, sprinkle beeswax on top of your fabric.
- Place your cookie sheet into a preheated 150 degree Fahrenheit oven or the lowest setting your oven has.
- Allow the beeswax to melt. This takes approximately 8 minutes. The beeswax will begin to soak into the fabric.
- Using your paintbrush or silicon spatula, spread the wax evenly over the fabric.
- Hang the beeswax-coated fabric over your kitchen clothesline for a few minutes and allow it to cool.
- Once cooled, your beeswax fabric is ready to be used right away!
Method 2:
- Wash and dry fabric.
- Heat iron on cotton setting.
- Iron the fabric, if needed.
- Iron the fabric, if needed.
- Cut out a piece of fabric slightly larger than the size of wrap you desire.
- Cut out a piece of fabric slightly larger than the size of wrap you desire.
- Place a piece of parchment paper that is bigger than your fabric down on a ironing board. Place the fabric on top.
- Sprinkle grated beeswax (or beeswax pellets) over the fabric evenly.
- Take another piece of parchment paper, larger than the fabric, and place on top of the fabric and beeswax.
- Place warm iron on top of the parchment paper, holding it in place for a few seconds until the beeswax melts into the fabric. Move iron over the fabric until all of the beeswax is melted.
- Pull up parchment paper and see if there are any spots that do not have any beeswax.
- Sprinkle beeswax on bare spots, cover with the parchment paper, and then iron it again.
- Pull the fabric off the parchment paper and hang to dry. It doesn’t take very long for the fabric to dry.
Notes
- I found that spreading the beeswax over the fabric worked best while the cookie sheet was still in the oven. I worked rapidly, as this cools quite quickly.
- Beeswax melts at 147 degrees F and is flammable, so it’s highly recommended to heed the low oven temperature!
- Thinner fabrics work better.
- Cover the cookie sheet with tin foil or parchment paper for easier cleanup.
- You will need a place to hang the fabric to cool. I tied a piece of string between two cupboards in the kitchen.
- I found method two much easier.
Jerica is a baby-wranglin’, slug-hunting, fair-weather fisherwoman, who knows how to have a good time! She enjoys her “new baby,” OK– almost toddler– and gardening with her family. At the urban homestead, the family cares for 6 chickens, 3 warre bee hives; and 3 domesticated, (well, sorta), pets.
This post was originally published in April 2013 and updated in June 2020.


hi there,
could this process make the material waterproof but still washable?
It’s not totally waterproof but you should be able to wash it with soap and cold water.
So as I began reading the immediate idea I got was a diaper cover for cloth diapering; since you have used this, sounds like for many things, how do you think it could hold up?
Of course considering the cloths have good absorbance it would be more, just in case.
Would be a great alternative to the PUL covers.
Anyway, thanks for sharing.
Super excited to make this! My brain is spinning with ideas. Thanks for sharing your brilliance!
I love the idea. But can it be washed in soapy water and still keep the beeswax. Sorry for the question but I never used beeswax so its really all new to me