DIY All Natural Pressed Powder Foundation
This post may contain affiliate links. Read disclosure policy.
This could possibly be the easiest tutorial ever! I love my DIY Natural Foundation, but I thought it would be great to have another option for this. And the loose powder can be a bit messy. Maybe it was just the jar it was in that made it so messy or maybe it is the extremely messy person using it…. Who knows! So it finally occurred to me that I could probably make my own pressed powder. Looking at an old store bought pressed powder foundation, I saw that it had jojoba oil in it and that was my ah ha moment!
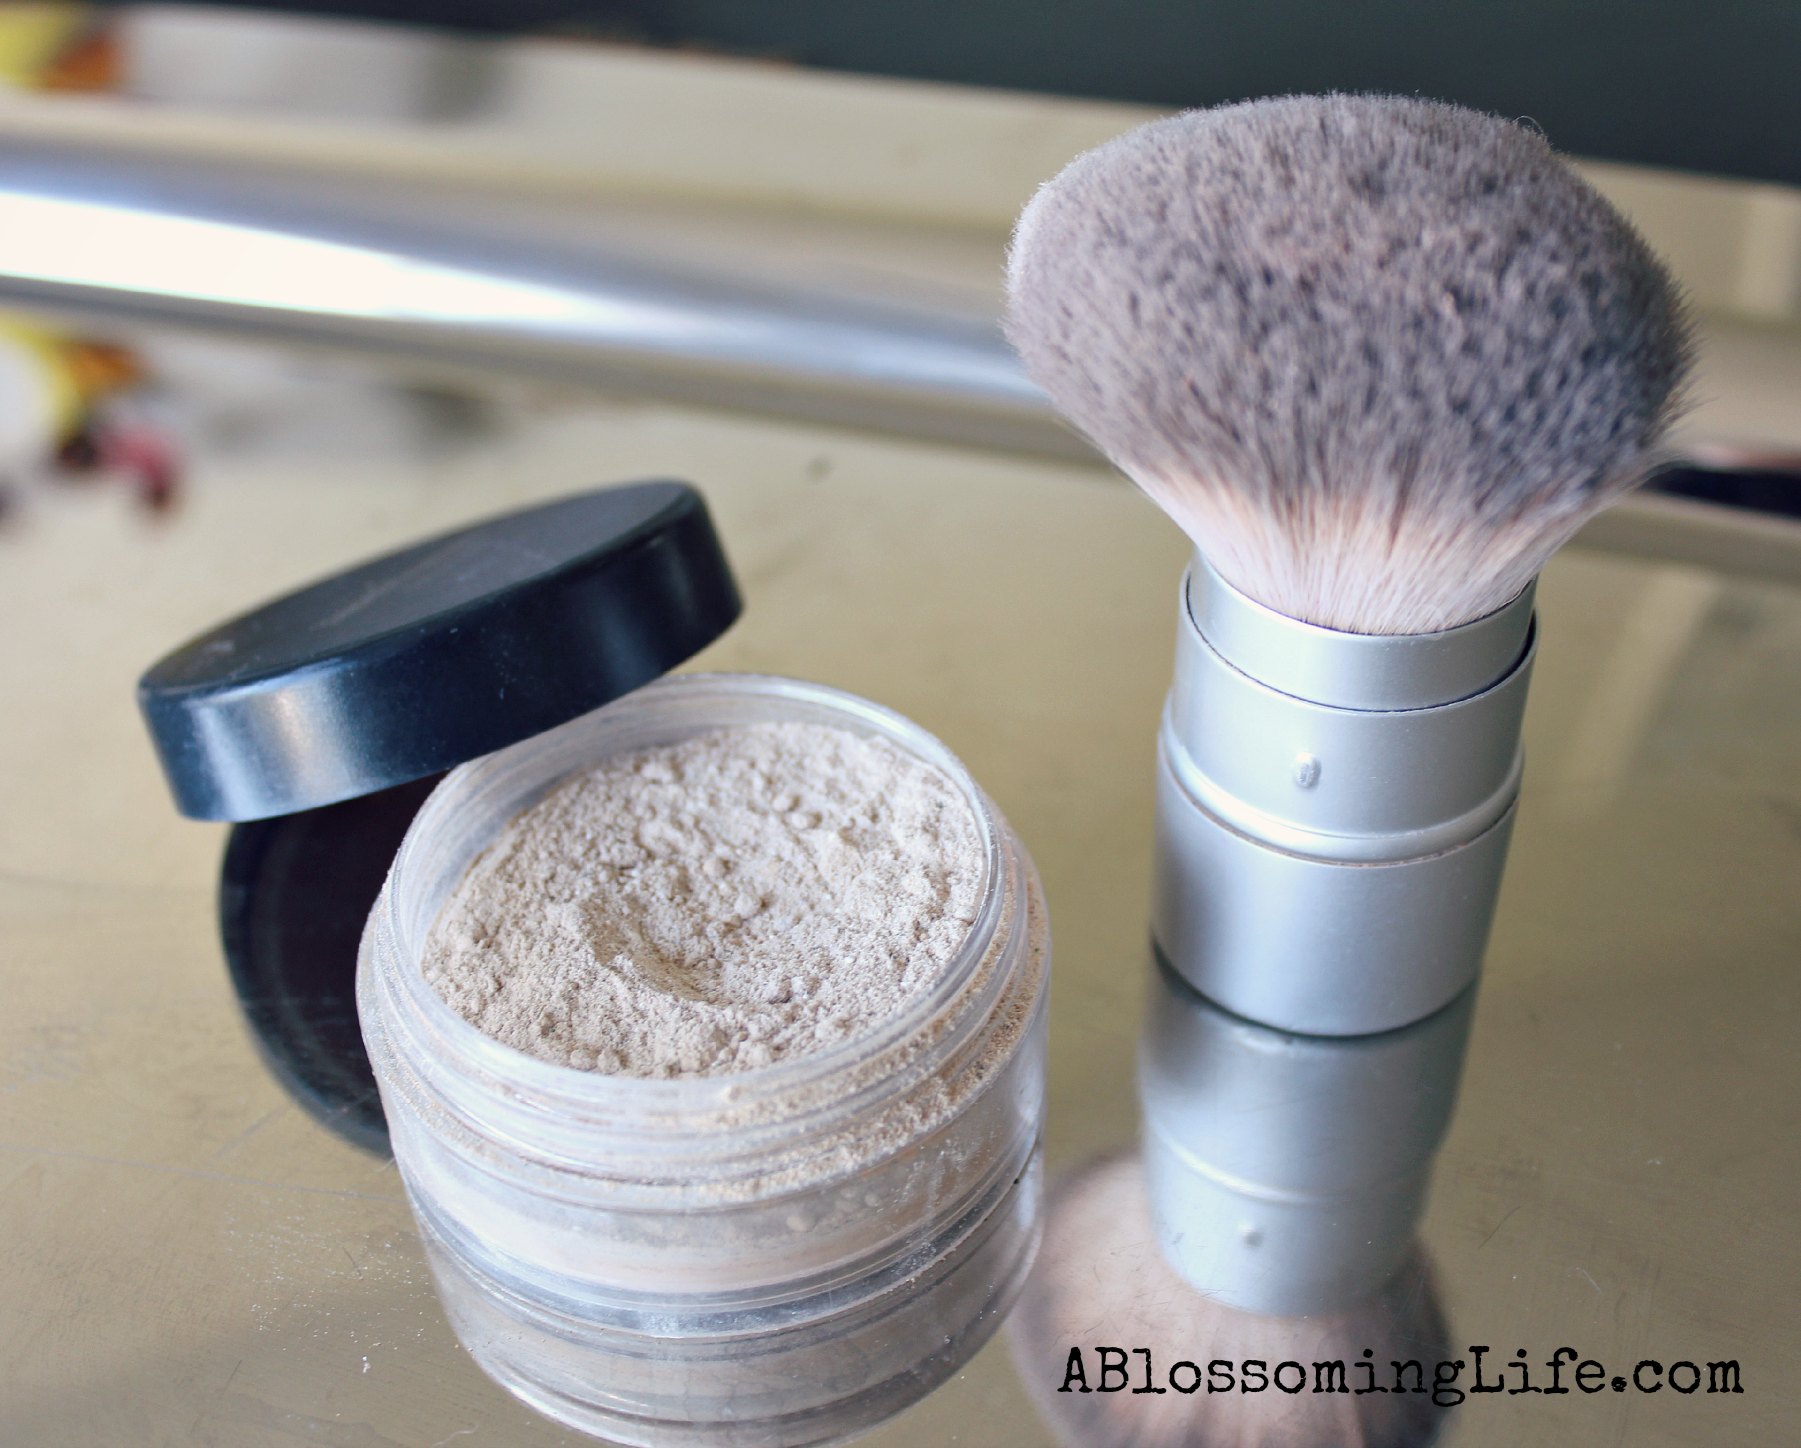
Start by making your own homemade powder foundation:
Ingredients depend on the color of your skin.
- Arrowroot powder (Like this one) or cornstarch (Like this one): this is a must for every skin type! Gives you that flawless look!
- Cocoa powder (Like this one): darkens and adds richness. I use a little bit of this even though I am super pasty white!
- Cinnamon (Like this one): same as coco powder
- Ginger: if you have yellow pigments in your skin like mwah!
- French green clay (Like this one) (optional): this is works great for people with more red pigments in the skin. Green cancels red!
- Bentonite clay (Like this kind): totally optional but has great benefits for your skin. If you use this ingredient do not mix metal.
Directions: In a small nonmetallic bowl add about 1 Tbs cornstarch. Depending on the color of your skin, start mixing in small amounts of the other ingredients until you get your perfect match. To figure out if you matched your skin tone, dip your finger in the powder, rub on the back of your hand, and go outside to see if it blends. If it doesn’t then add more ingredients and try again.
Save This Recipe
DIY Pressed Powder
You will need…
- Old powder foundation container- cleaned
- 2-3 Tbs of the natural powder foundation you created
- Jojoba or almond oil (other liquid oils may work but these are the ones I’ve tried
- Small bowl (non metallic if you used bentonite clay) and spoon
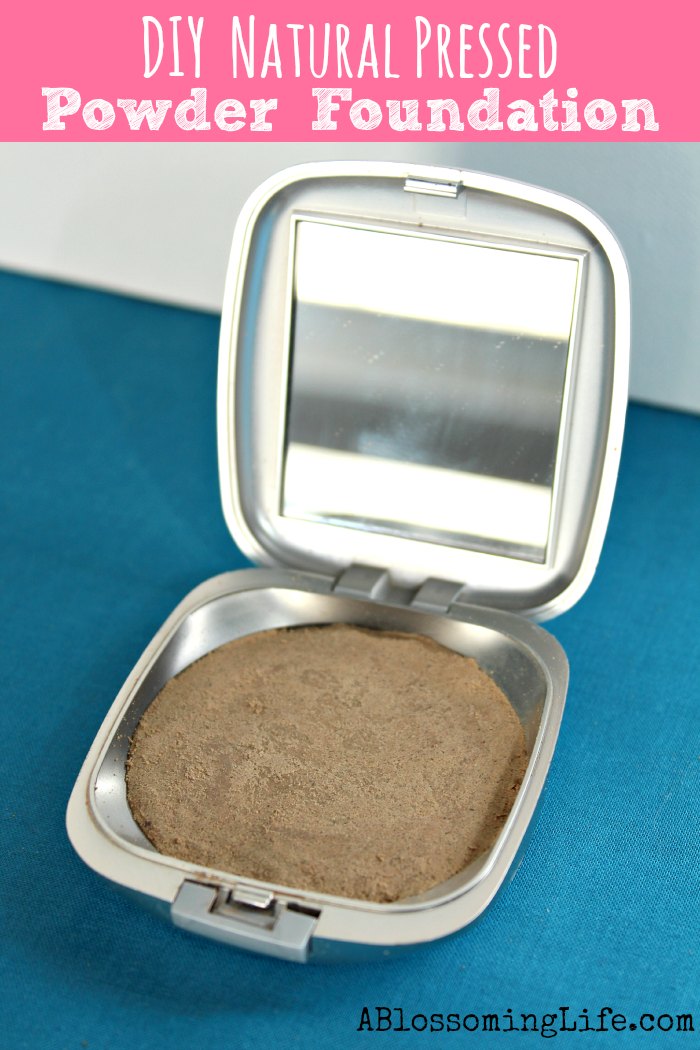
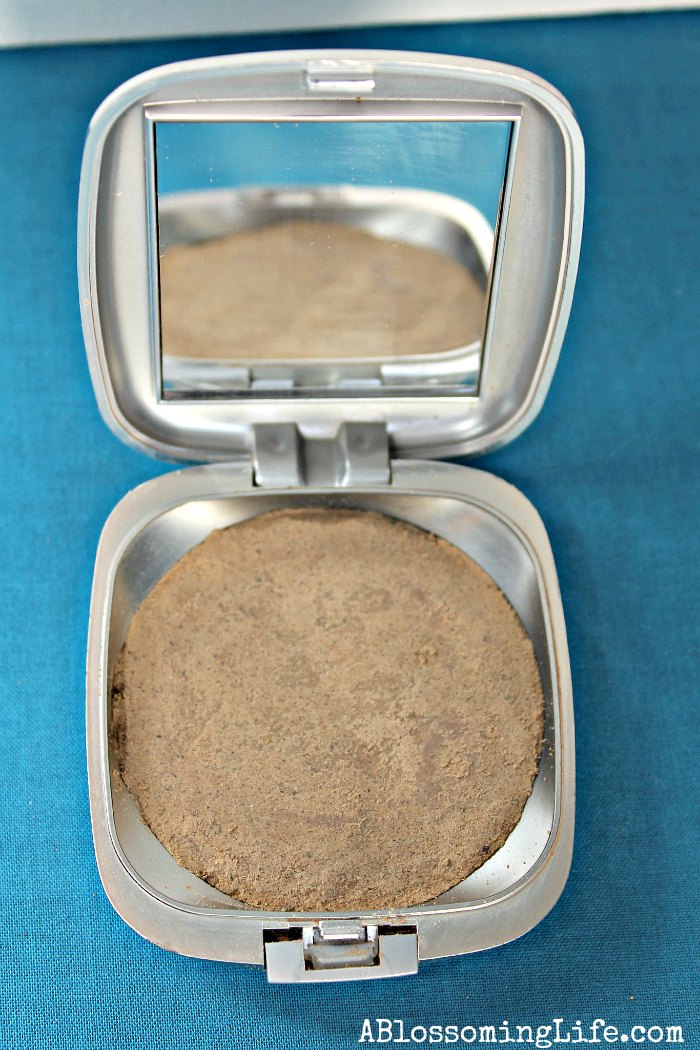
Directions: In a small bowl add in powder foundation. Next add oil 1/8 tsp at a time stirring until it starts to combine and stick together. I used about 3/8 tsp of oil with 2 heaping tbs or powder. You do not want your powder to be to oily but just enough to start sticking together. Place in an old foundation container and press down fairly hard until it is compact together and flat. To press it down I found it easiest to use the bottom of measuring cup. You could also lay down a paper towel and use your hand. Allow the powder to dry for 1-2 weeks by leaving it opened in a warm sunny spot.
To use: Apply like you would with a pressed powder with a brush or a sponge.
I love how this works and love that my counter stays much cleaner then with the loose powder! Plus, this makes it easier to travel with.
What’s your experience with natural foundation?
This post contains affiliate links which help support A Blossoming Life at no extra cost to you.


I use ground nutmeg instead of cinnamon in my my fair foundation. It adds just the right amount of brown to my arrowroot powder
I was just wondering can you do it without arrowroot?
Possibly, I have personally never tried it.
hi there. i saw your article online and i have seen others like this, but never really thought of making my own powder cuz of the cost or weird ingredients. just curious tho…is this recipe good for if you want an oil free powder for sensitive skin? my skin is combo and prone to dry spots in winter and a little oilier and prone to blemishes in warmer months. i would also like to see bout adding an SPF factor to this, but how would i do so? i wear a moisturizer, but if i forget to do that i always try to wear sunscreen/block. i would go for Physicians formula but they are rather pricey lol. any advice you can give would be great. thanks 🙂
Hello, thank you for the recipe! When you left the powder out to dry, did you leave the paper towel over? Im afraid if its exposed to the air that stuff might stick to it and it wont be as hygienic!
I’d be terrified to use cinnamon as a coloring agent — sounds like it would really irritate the skin! Either a brown clay or cocoa powder would be as weird a colorant as I’d dare. Really though, you can get cosmetic grade pigments (already powdered up super fine) for not that much money and without so many weird herbal side-effects.
yesss that its EXACTLY what I thought! Also cornstarch is very irritating as well.
I have very sensitive skin and this doesn’t irritate it at all. I don’t use very much cinnamon anyway.
With such a small amount, the cinnamon wouldn’t be irritating. And, the point is to use natural stuff. Pigments that you buy online are probably synthetic. Not sure though. As far as cornstarch, you could just use any kind of starch, like tapioca starch or even arrowroot powder. Make it your own and try it out. I’ve been making my own stuff for years now with great success!
I dont *plan* on sleeping with the powder on, but has anyone done this and had breakouts? Also, how is this loose powder blend around eye area — is it safe and not causing any issues with itch redness irritation etc? =) I have all the ingredients already and am gon a whip this up if it’s safe to use there (wherr i need it most =)
cinnamon isn’t safe around eyes, that’s for sure. cacao powder doesn’t irritate eyes. not sure about the other ingredients!
I’ve been using this for years without issue. I also don’t use much cinnamon either. You can always leave it out if you like.
Love the post I tried with rubbing alcohol but it kept cracking 🙁 could you also use grapeseed oil??
Hey I tried using rubbing alcohol but it kept cracking. Could you also use grape seed oil??
Is this full Coverage?
Can I use ground sage instead of wheat grass grounded?
you could try putting your powder i a coffee grinder and add a few drops of your oil, Buzz it up, then use Alcohol to make it into a paste. the Alcohol will evaporate much more quickly while still having the benefits of your oil
Coffee grinders have metal i think….be careful if using bentonite! =)
This is so awesome! I never knew you could make your own cosmetics! This is especially great when you’re on a budget! A couple of my friends started a lifestyle link party called Be.You.Tiful, it starts every Thursday at 7 p.m. I think you’d be the perfect fit for it because we focus on beauty, interior design, fashion, health, and anything that makes you feel inspired. Look forward to seeing you linking up!
I have liked the powder foundation so much that I have already made it three times. I have a much bigger jar for it so I have had no problems with it being messy. I tried also to make a pressed powder foundation of it, but I did not like it at all. It took a very long time to dry, it was too dark for my skin and I could not get an even layer of it on my skin. So, I´ll stick with the powder version.
Did you find that once the powder was fully dried, that too much ended up on your brush when using it? I’m curious because I REALLY want this to work. I Love DIY’s!
No I didn’t. I pressed it down really hard and when I use the brush I am gentle wiping it across. Let me know what you think!
I love this! A long time ago I broke my compact powder and used rubbing alcohol to press it back into the container. Worked like a charm. I like this idea better though. Thanks!
I love this way too