Homemade Marshmallows Recipe
This post may contain affiliate links. Read disclosure policy.

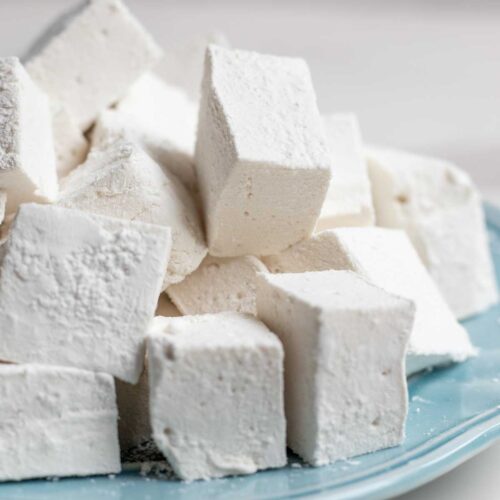
Learn how to make soft and fluffy homemade marshmallows using simple pantry ingredients. No corn syrup is needed, just pure cozy sweetness for your favorite fall and winter treats.

Are you looking for the perfect marshmallow recipe this fall? Then look no further. These delicious marshmallows are fluffy-sweet perfection.
Perfect for topping festive drinks like pumpkin spice hot chocolate, gingerbread hot chocolate, or eggnog latte, and perfect as a standalone sweet treat.
Seriously, this recipe will hit any sweet spot. They are so fun to make and you and your kids will not only love eating them, but your kiddos will love participating in the cutting process, especially if you use cookie cutters to make fun shapes.
My kids love cutting their marshmallows to look like little snowflakes.
This time of year just begs for a cup of hot cocoa topped with homemade marshmallows. Classic marshmallows, or even flavored marshmallows like these pumpkin spice marshmallows would meet the brief. Or homemade whipped cream. Mmmmm I love it all.
These marshmallows really are delicious, and they really are simple. You won’t regret making marshmallows from scratch because they taste so much better than ones you can buy at the store, and the ingredients are far superior.
My friend who had never made marshmallows before followed my recipe and got them right the first time. And so will you!
Recipe Highlights
Simple: there really isn’t anything daunting about this recipe, but it does take a bit of waiting.
Healthy-ish: Use organic sugar and maple syrup or honey, and skip the corn syrup and all the fillers in store-bought versions.
Fun and festive: is there anything more fun than topping hot cocoa with a snowflake, pumpkin, or heart shaped marshmallow?
Superior taste and texture: homemade marshmallows are softer and fluffier. They melt in your mouth.
Cost effective: A single batch costs less than brand name ones.
Ingredients
- Grass-fed gelatin powder: unflavored and preferably grass fed, this is the ingredient that will give your marshmallows their fluff and squish.
- Sugar: organic cane sugar is the base for these treats.
- Maple syrup or honey: both work great, but maple syrup give these a nice flavor for fall. Try them both ways!
Save This Recipe
Tools you will need to make homemade marshmallows:
- small saucepan
- candy thermometer
- stand mixer (or hand mixer)
- whisk attachment
- large bowl or bowl of a stand mixer
- silicone spatula
- 9×13 in baking pan
How to Make Healthy Homemade Marshmallows:
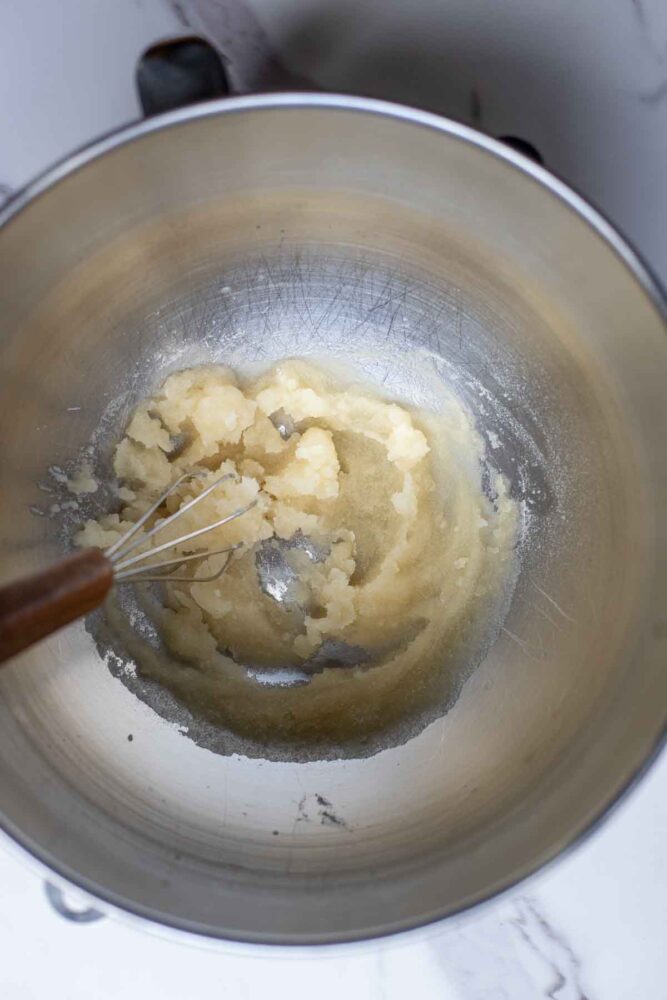
Step 1: Whisk 1/2 cup of cold water with all the gelatin in the bowl of the stand mixer. Allow the mixture to sit for 15 – 20 minutes. Start on step 2 while you wait.
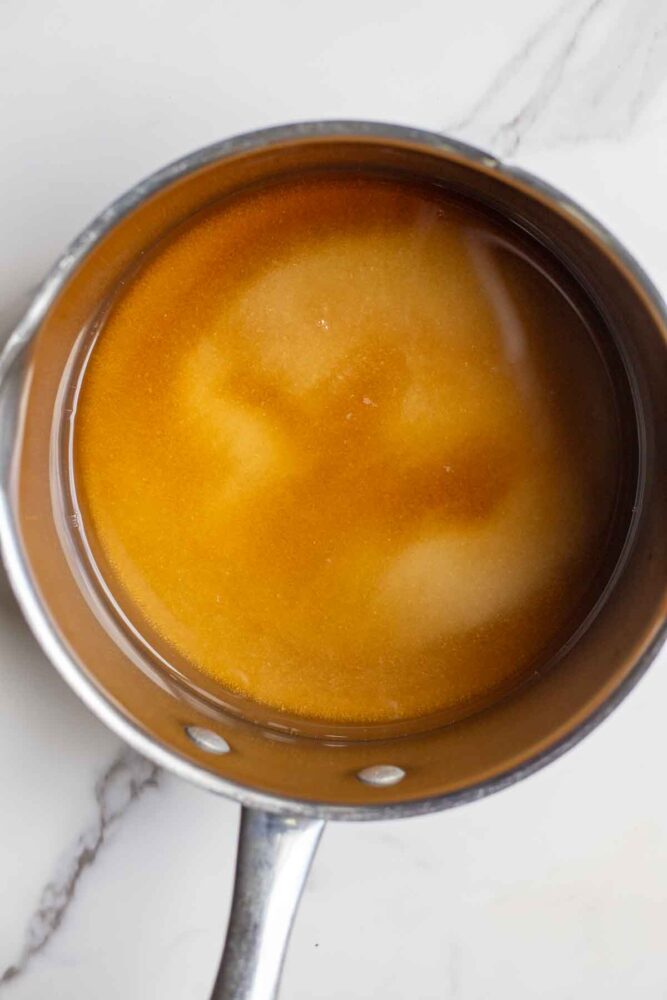
Step 2: Combine the sugar, maple syrup or honey, remaining water, and salt in a small saucepan over low heat. Make sure to stir until the sugar dissolves completely.
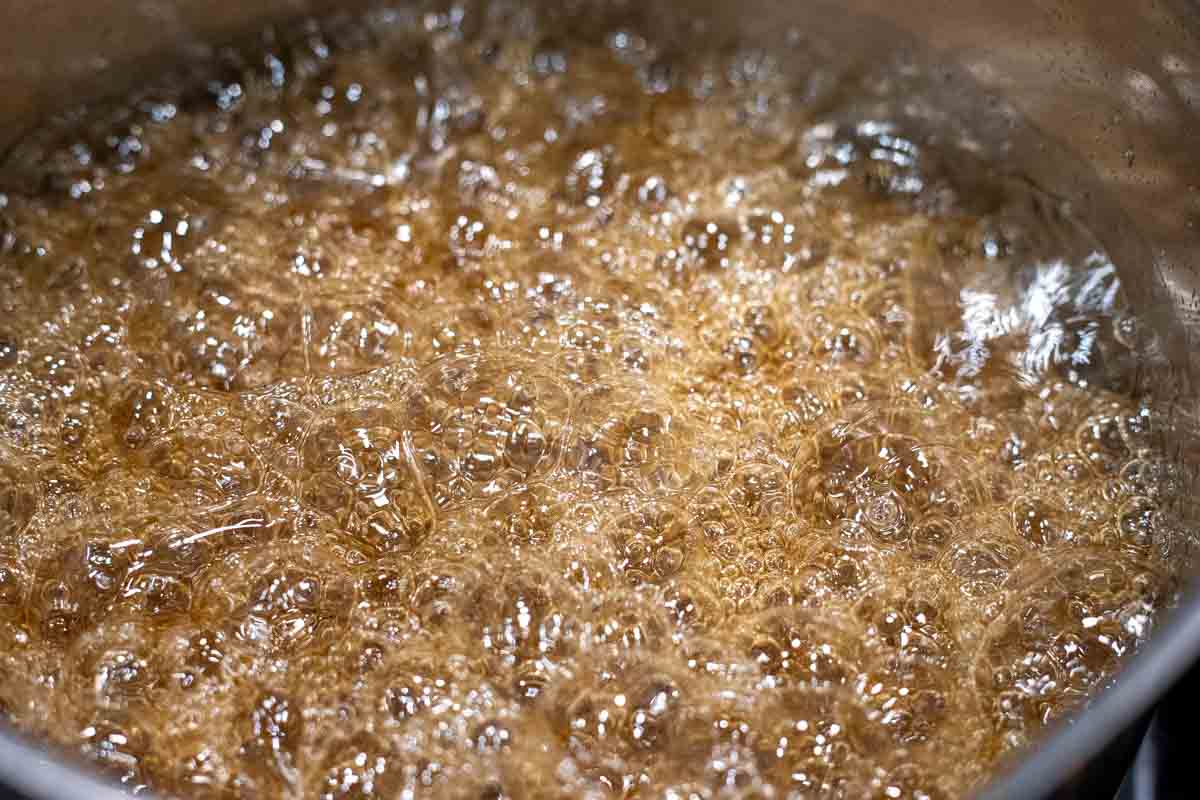
Step 3: Increase to medium high heat and cook the mixture without stirring until the temperature reaches 240 degrees, or soft-ball stage. Keep a close eye on the thermometer so you don’t accidentally overcook your mixture. Take off heat immediately.
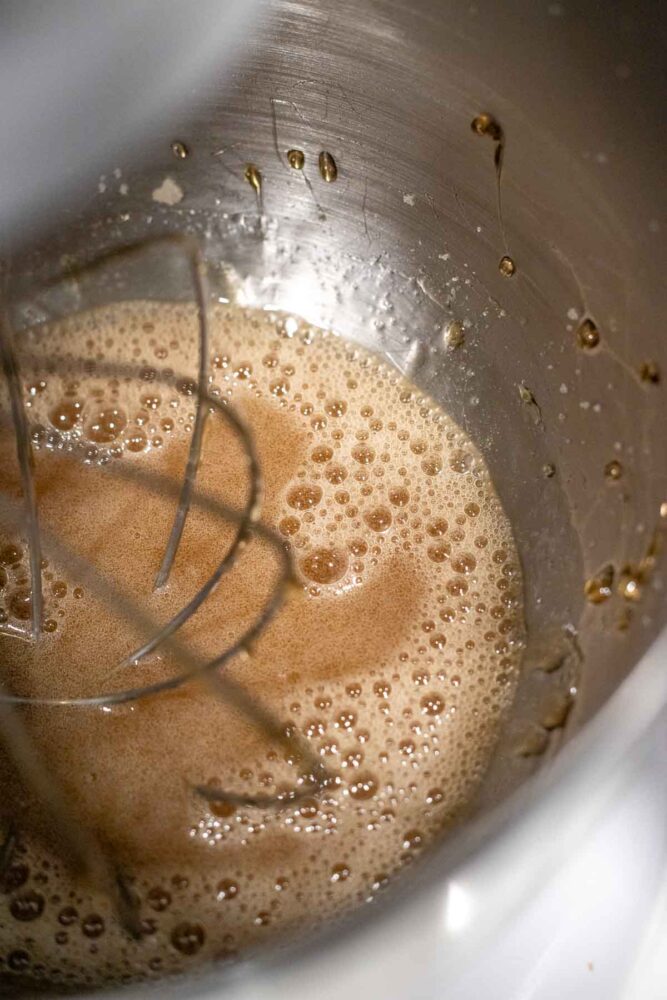
Step 4: Turn your stand mixer on low speed and slowly pour the hot sugar syrup into the softened gelatin mixture. Once combined, increase to high speed and beat for 8-10 minutes.
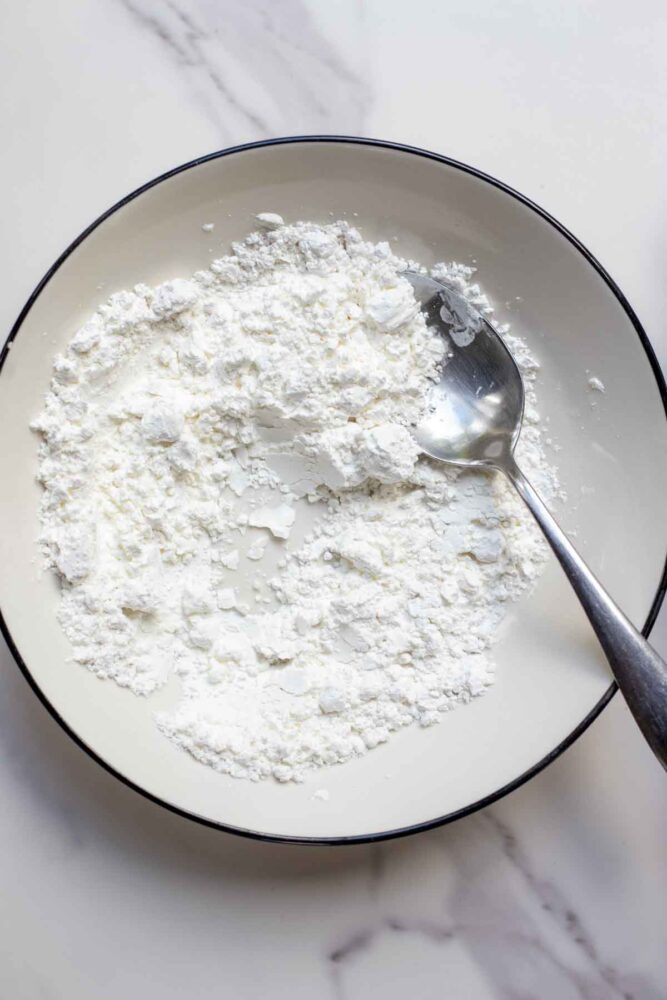
Step 5: Combine the powdered sugar and cornstarch.
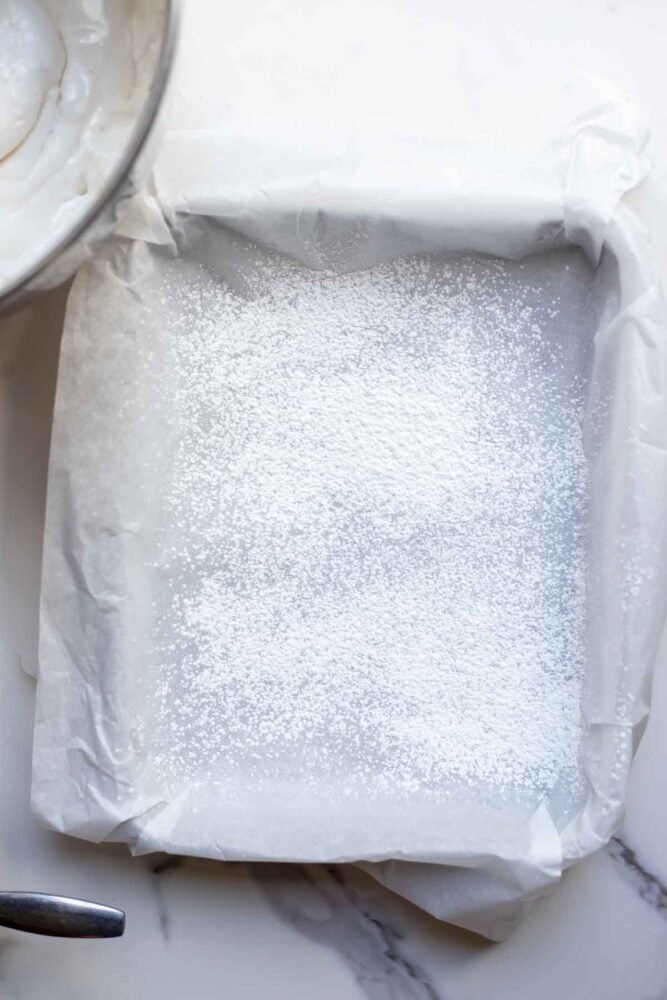
Step 6: While your marshmallow mixture is whipping, prepare your baking dish by generously greasing it with coconut oil or avocado oil or lining with parchment paper and sprinkling it with the powdered sugar and cornstarch mixture.
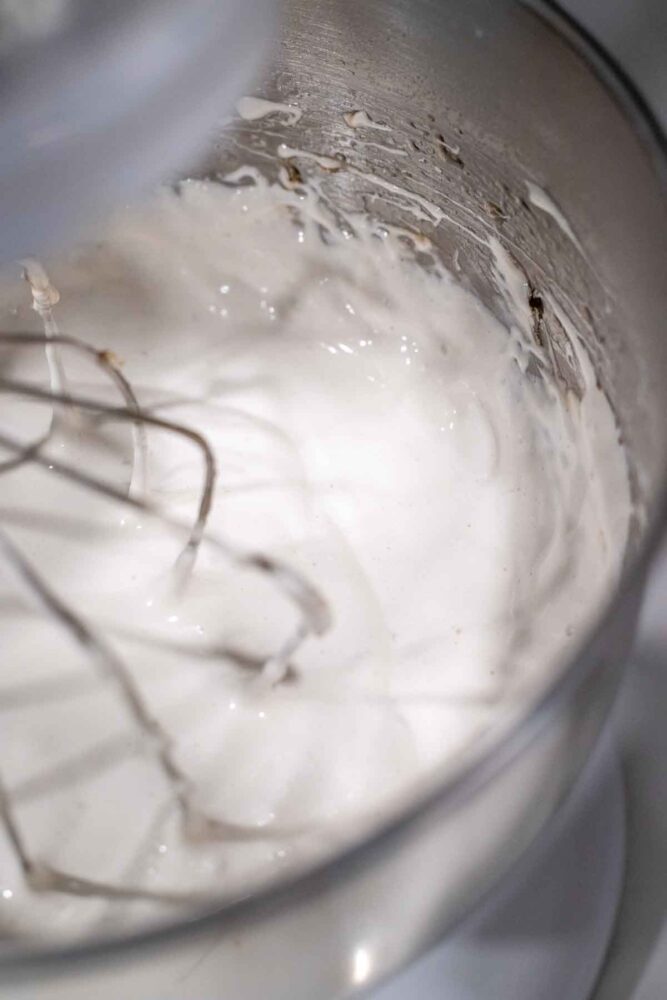
Step 7: When you have two minutes left of whipping time, add the vanilla. Continue whipping until your mixture is soft, glossy, and holds soft peaks.
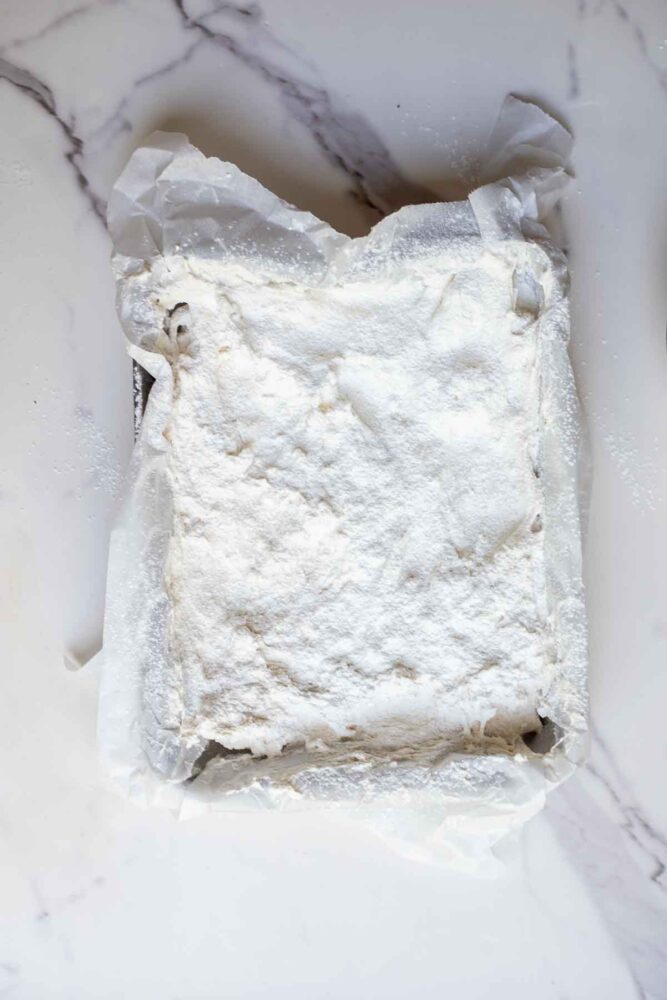
Step 8: When your marshmallow fluff is done whipping, pour it into the prepared pan and smooth it out flat with a silicone spatula. It will start to firm up right away, so work as quickly as possible. Let it sit at room temperature for 3 hours or overnight.
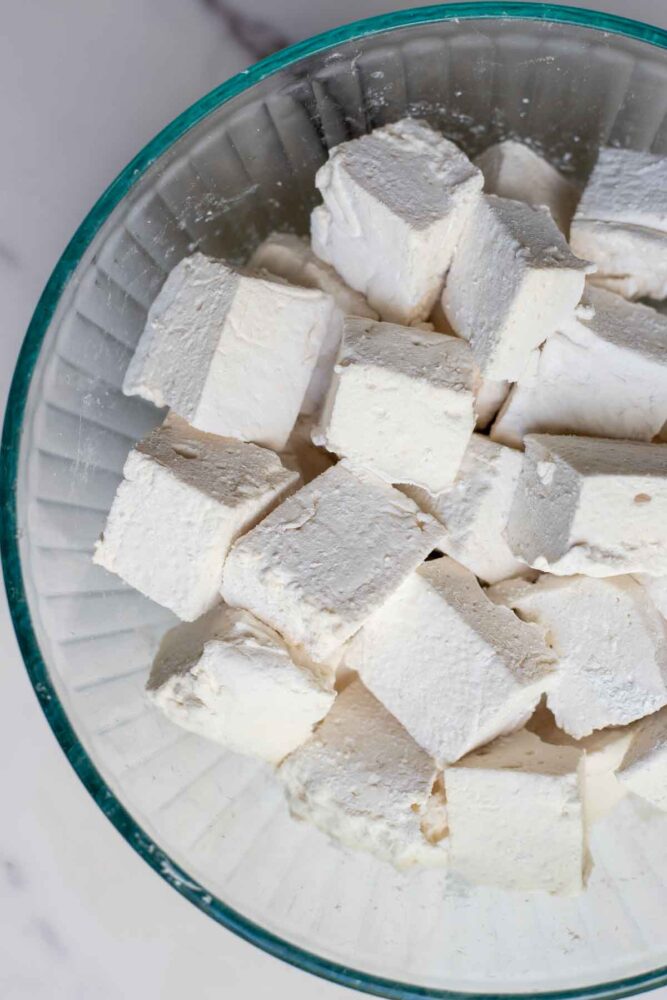
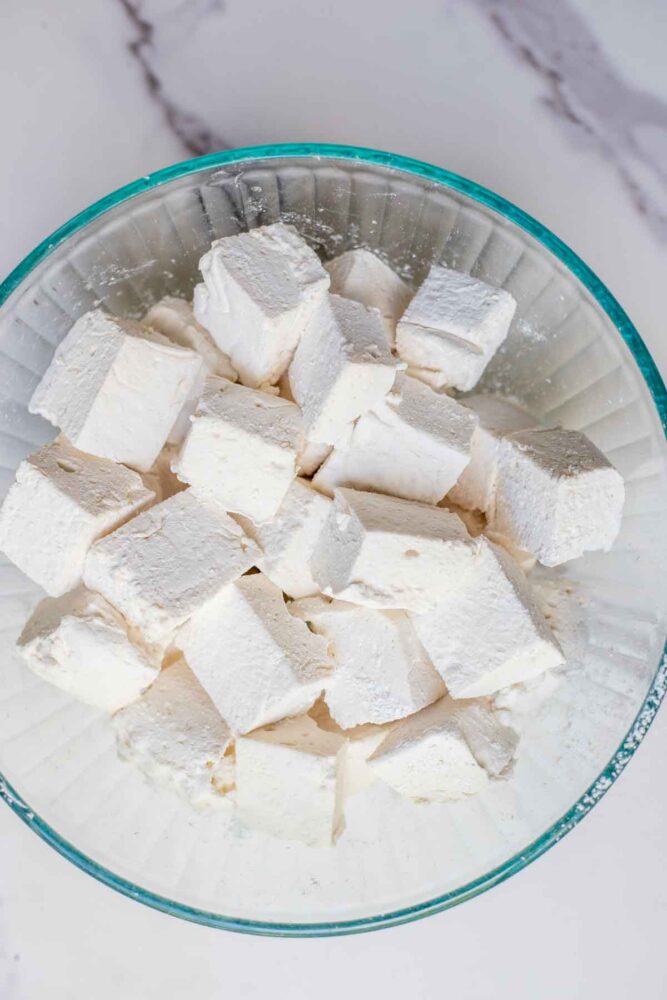
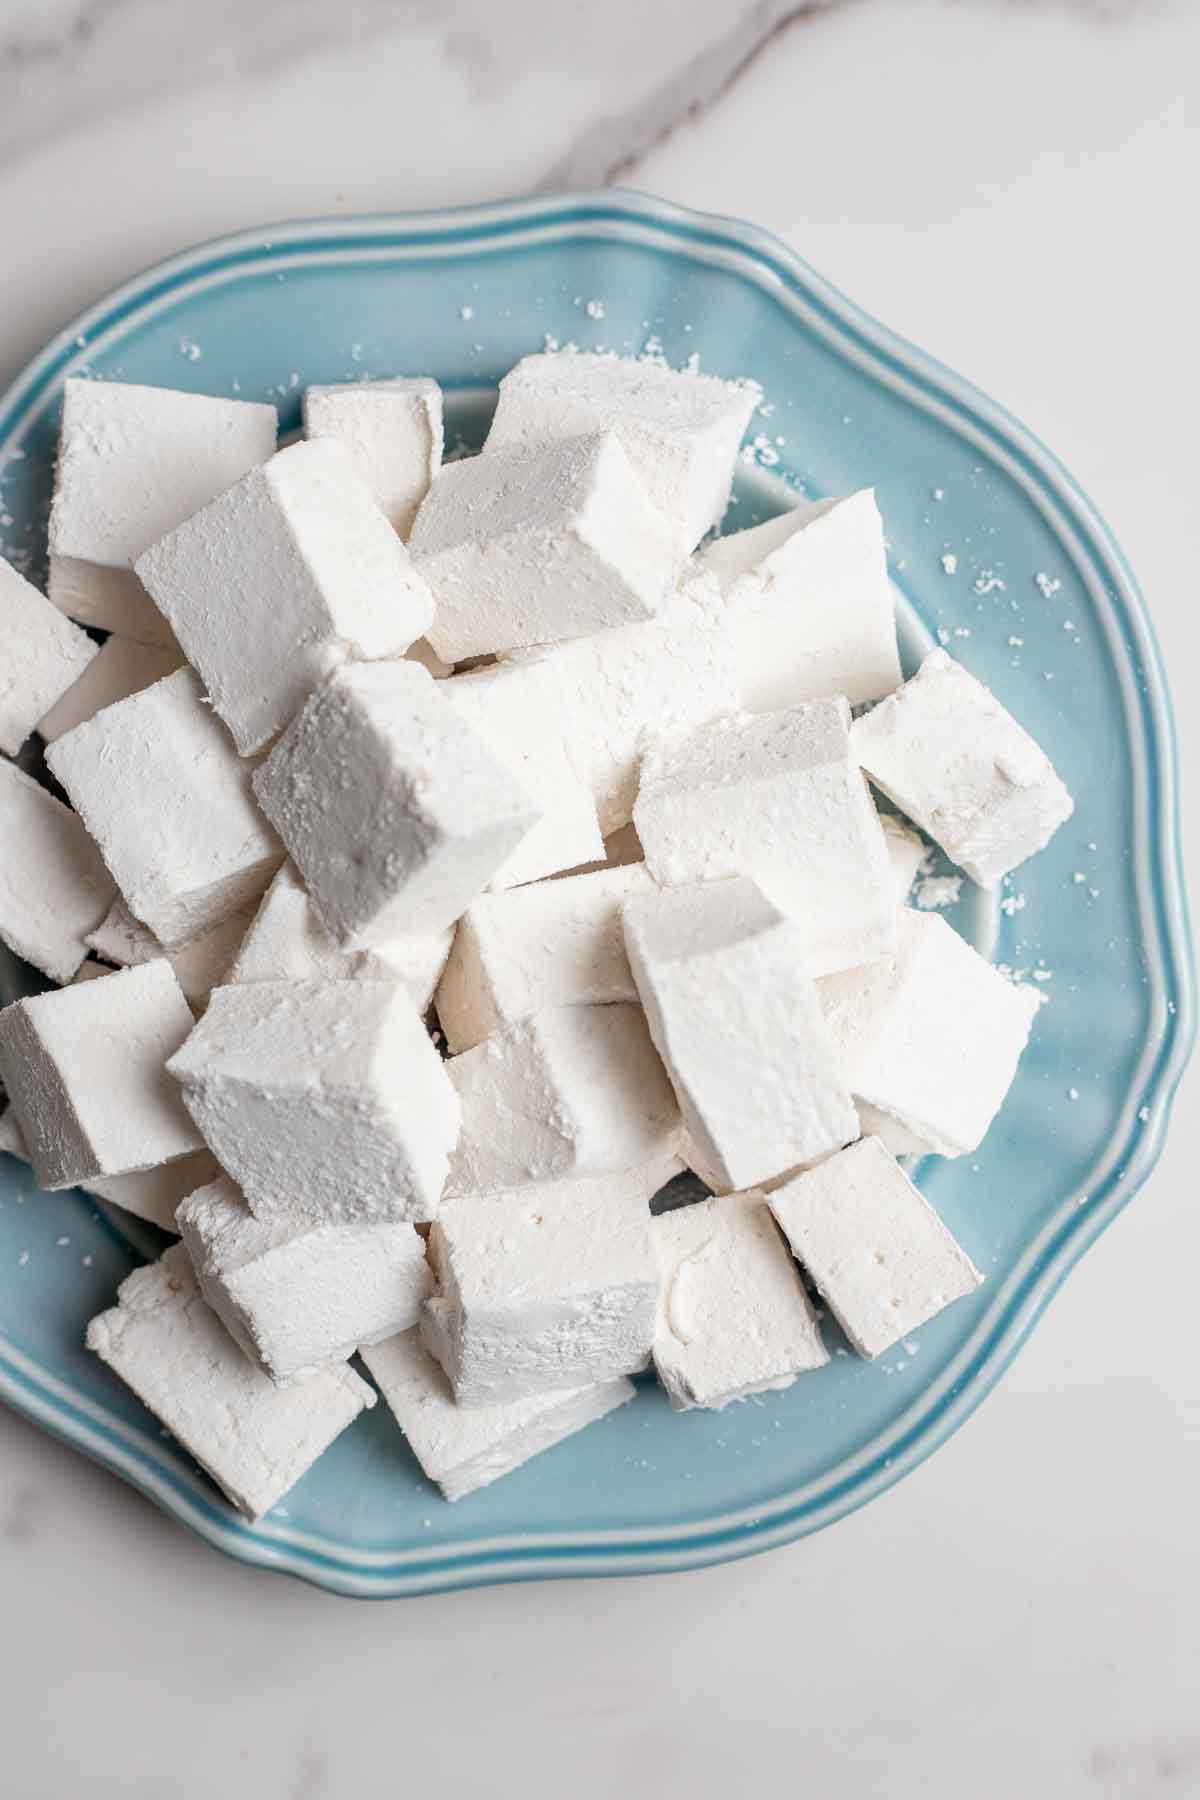
Step 9: Turn the marshmallows out onto a cutting board and cut them using a knife or cookie cutters. Break apart the cubes and roll in powdered sugar and cornstarch mix to keep it from sticking.
How to serve/use:
- Eat these fluffy delights on their own, or top cups of hot chocolate or coffee with them.
- Add them to a dessert charcuterie board.
- Pile them up in a mason jar, cellophane bag, or festive tin container, tie with a ribbon, and give them as a gift this Christmas.
Storage
- Store cut marshmallows in an airtight container for up to three weeks.
- Alternatively, wrap small clusters of marshmallows together in plastic wrap and store in a freezer safe bag for up to three months. Let them thaw at room temperature before use.
Tips
- To make thinner marshmallows, spread your mixture on a large baking sheet instead of a 9×13 pan.
- Not too much powdered sugar and corn starch is needed for coating. Try 2 Tablespoons of each to begin. That should be more than enough.
- Sprinkle some of the powder mixture on top of your marshmallows before dumping them onto the counter. Then sprinkle more on the bottom before cutting. This can help make nice cuts.
- For added flair, try making chocolate-dipped marshmallows! These homemade marshmallows dipped in white chocolate and coconut as so yummy.
- Try sprinkling your marshmallows with cinnamon or cocoa powder.
- Try these pumpkin spice marshmallows for a flavor twist.
FAQs
Unfortunately, probably not. High heat will cause these to melt. Good question.
Yes, arrowroot powder or tapioca starch for a corn free option.
It’s highly recommended. You’ll need to cook the sugar syrup to a specific temperature for the marshmallows to have the right texture.
Common causes could be that they were not cooked to the right temperature, there is too much moisture in the air or container where you store them, or they weren’t coated properly in the powdered sugar + cornstarch mixture.
The sugar may have crystallized due to stirring the sugar syrup mixture after it started boiling.
Yes, replace gelatin with agar-agar powder or pectin, though the texture will be firmer and less bouncy.
Let them set for at least 3 hours (or overnight), then dust your knife or cookie cutters with powdered sugar/cornstarch to prevent sticking.
Yes! Add dye-free food coloring at the end of whipping. Flavor extracts, like peppermint, can be added after the syrup has been mixed into the gelatin, but before whipping fully.
Like this recipe? Here are some more fall-inspired recipes we think you will love:
- Try these easy sourdough pumpkin muffins. Little hands love these.
- These sourdough apple scones with cinnamon glaze are delicious.
- These sourdough chocolate chip cookies are cozy and yummy all year long.
- This Paleo/Whole 30 approved healthy apple crisp recipe is so good you’ll want it for breakfast AND dessert.
If you try this Pear Sauce Recipe and love it, I would love if you could come back, comment on the post, and give it 5 stars! Please and thank you. Tag me on Instagram @ablossominglife.
Homemade Marshmallows
Save This Recipe
Equipment
Ingredients
- 3 tablespoons gelatin unflavored preferably grass fed
- 1 cup water cold and divided
- 1 cup sugar
- 1/2 cup honey
- 1/4 teaspoon salt
- 1 1/2 teaspoon vanilla extract
- 2 tablespoons powdered sugar for coating the marshmallows
- 2 tablespoons cornstarch for coating the marshmallows
Instructions
- Whisk 1/2 cup of cold water with all the gelatin in the bowl of the stand mixer. Allow the mixture to sit for 15 – 20 minutes. Start on step 2 while you wait.
- Combine the sugar, maple syrup or honey, remaining water, and salt in a small saucepan over low heat. Make sure to stir until the sugar dissolves completely.
- Increase to medium high heat and cook the mixture without stirring until the temperature reaches 240 degrees, or soft-ball stage. Keep a close eye on the thermometer so you don’t accidentally overcook your mixture. Take off heat immediately.
- Turn your stand mixer on low speed and slowly pour the hot sugar syrup into the softened gelatin mixture. Once combined, increase to high speed and beat for 8-10 minutes.
- Combine the powdered sugar and cornstarch.
- While your marshmallow mixture is whipping, prepare your baking dish by generously greasing it with coconut oil or avocado oil or lining it with parchment paper and sprinkling it with the powdered sugar and cornstarch mixture.
- When you have two minutes left of whipping time, add the vanilla. Continue whipping until your mixture is soft, glossy, and holds soft peaks.
- When your marshmallow fluff is done whipping, pour it into the prepared pan and smooth it out flat with a silicone spatula. It will start to firm up right away, so work as quickly as possible. Sprinkle the top with the powdered sugar and cornstarch mixture.
- Let it sit at room temperature for 2-4 hours or overnight.
- Turn the marshmallows out onto a cutting board. Top with more powdered sugar and cornstarch. Cut them using a knife or cookie cutters.
- Break apart the cubes and roll in powdered sugar and cornstarch mix to keep it from sticking.
Notes
- To make thinner marshmallows, spread your mixture on a large baking sheet instead of a 9×13 pan.
- Not too much powdered sugar and corn starch is needed for coating. Try 2 Tablespoons of each to begin. That should be more than enough.
- Sprinkle some of the powder mixture on top of your marshmallows before dumping them onto the counter. Then sprinkle more on the bottom before cutting. This can help make nice cuts.
One Comment