Salt Dough Ornaments Recipe
This post may contain affiliate links. Read disclosure policy.
This simple recipe for homemade salt dough ornaments makes for beautiful and inexpensive DIY Christmas decor. Completely customizable and a great project for kids, everyone will have so much fun creating their own ornaments.
What you will need: flour, salt, water, twine or ribbon, paints, glitter, whatever you fancy.

Back in the day, I used to make a lot of our own Christmas decor. I remember when we first got married, my husband had an all-commission sales job, and I was in full-time grad school.
Money was extremely tight, to say the least.
Always liking a good challenge, and decorating, I made all of our Christmas decorations that year.
Random sticks and wire? They turned into a star tree topper. Some leftover red fabric became a tree garland.
Our tree was free as a gift from our parents who found it on clearance for $30. Our apartment was very festive, and all that holiday cheer was very, very cheap.
Even though we have a little more wiggle room in our budget nowadays, we still use that very same star tree topper and red fabric garland.
I love the memories those things bring, and to see how far we have come. Plus, I’m still that same super cheap person. And why change something you love?
Some of the holiday things I still love to DIY are ornaments. These salt dough ornaments are such a fun project. My kids had so much fun making and creating their ornaments, and I love how customizable they are.
Tips For Making Salt Dough Ornaments:
- A straw works perfectly to create the holes. I used a metal straw, sticking it into the dough, then wiggling it around a bit. It’s also really fun to pop out the dough by blowing air through the straw. Especially if you blow it at your husband and get him in the booty.
- Use your imagination to create beautiful ornaments. Make trains, gingerbread men, stars, or trees. Add glitter and paint.
- Create photo ornaments by cutting out holes in the center to add a picture from behind.
- Have the kids help. Put some plastic down and allow them to make a mess creating their beautiful masterpieces.
The following are affiliate links. We are a participant in the Amazon Services LLC Associates Program, an affiliate advertising program designed to provide a means for us to earn fees by linking to Amazon.com and affiliated sites.
Tools you will need:
Rolling pin
Silicon spatula
Save This Recipe
Measuring cups – liquid measuring cups and dry.
Cookie cutter(s)
Straw – I like using a reusable metal straw.
Do you have to bake salt dough ornaments?
No. You can allow them to air dry for 5-7 days. I don’t have the patience for that, so I bake them and they are ready in a few hours.

How many years do these ornaments last?
They can last many, many years. I’ve heard of them lasting 30 plus years. That’s a lot of bang for your buck, if you ask me.
Do you need to seal salt dough ornaments?
Seal them to help them last longer. You can seal them with mod podge or clear glue. Do you have to? No. I like the raw, rustic look, so I’m not sealing the ones we do not paint.
Salt Dough Ornaments Video Tutorial
How To Make Salt Dough Ornaments
- If planning on baking them to dry more quickly, preheat your oven to 200°.
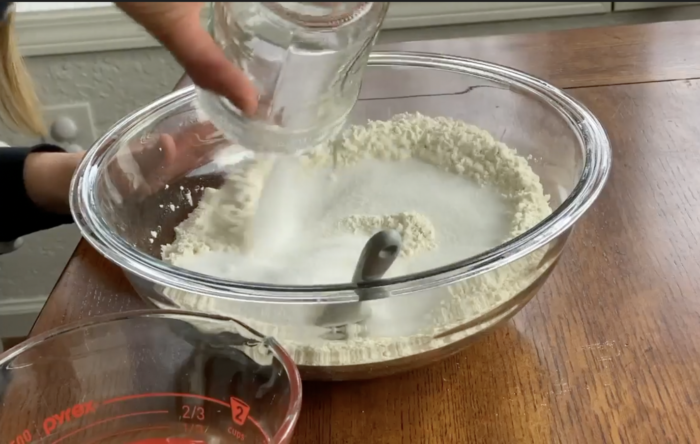
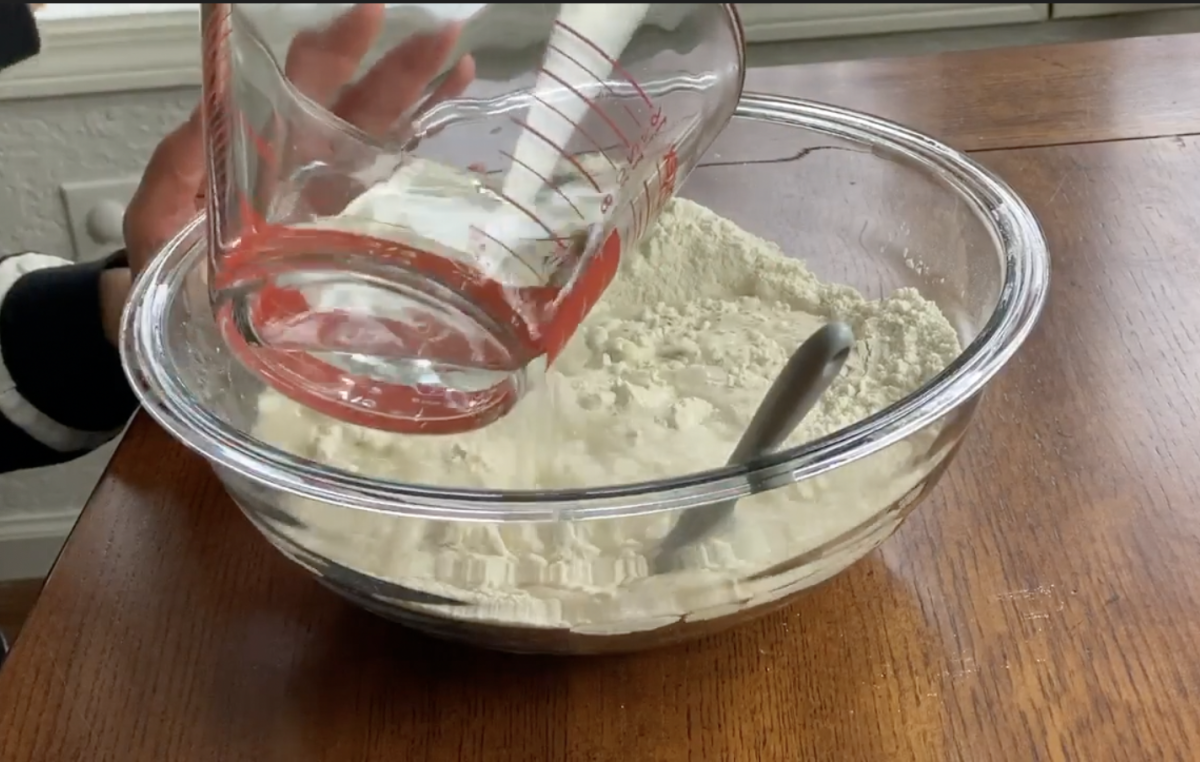
- In a bowl, add flour and salt. Stir.

- Add water and work the ingredients together. I start with a spoon, and eventually move to just my hands. Start with one cup of water and then add a little bit at a time until it forms a nice dough ball that isn’t too wet.
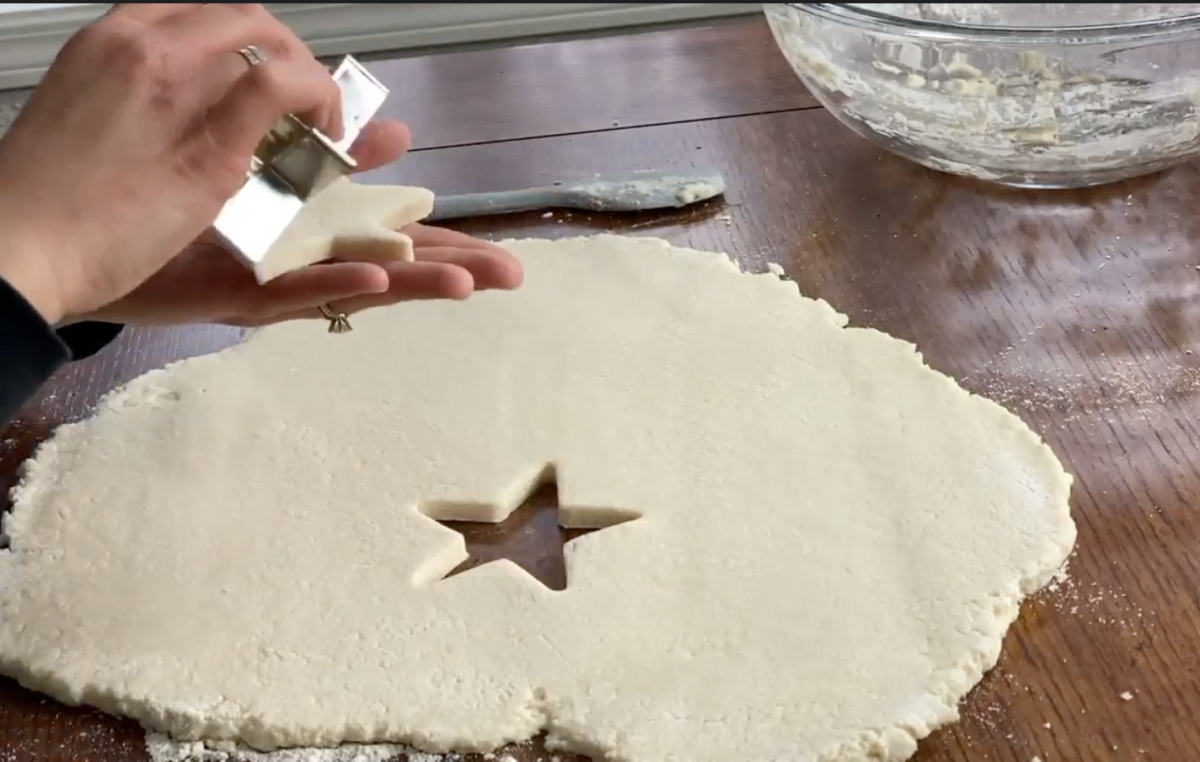
- Place dough on a floured surface and roll out to about 1/4 inch thick.
- Cut salt dough ornaments out using a cookie cutter, and place them on a parchment-lined cookie sheet or baking dish.
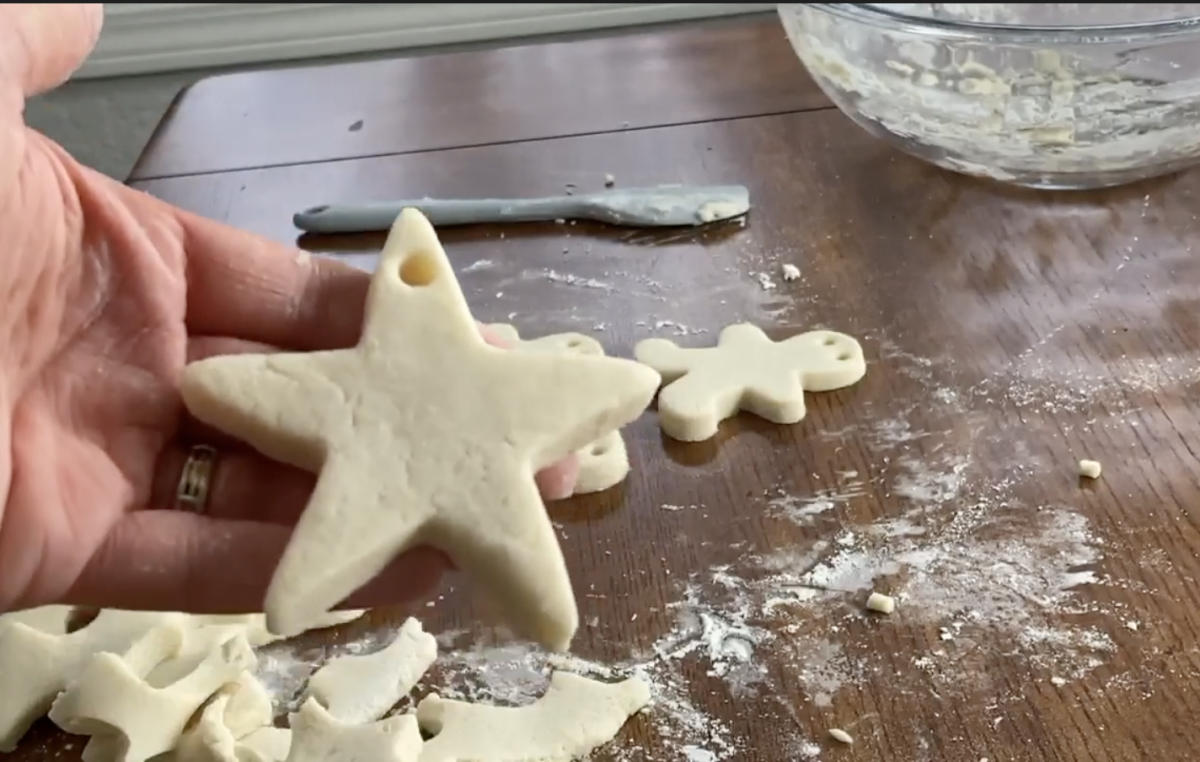
- Cut out holes with a straw so you can hang the ornament later, pressing the straw down where you would like, and then wiggling it around a little to make it a bit bigger. I like using a metal straw, because then it is easy to blow out the little piece of dough that gets stuck in the straw.

- Fix any areas that might have moved out of place when make the holes.
- Continue to cut out the ornaments, re-rolling out the dough, and cutting more until you’re completely out of dough.
- Bake ornaments for a few hours until completely dry. This could take 2-5 hours, depending on how thick the salt dough ornaments are and how wet the dough was.
- Once the salt dough ornaments are dry and cool enough to handle, you are free to decorate them as you desire. Paint, add sparkles, pretty ribbons, glue on some pom poms. You’re limited only by your imagination.

- Add to your tree. Marvel at your creativity and thriftiness.


To store: Wrap in tissue paper and store in a box. Ideally, you would use a plastic box to keep moisture out. We usually place them in a shoe box and then place them with the other ornaments in a big plastic storage container.
Find More Christmas Inspiration:
- DIY Christmas Wreath: Easy Step-By-Step Tutorial
- How to Get Your Kids Gifts for Free {Or Almost Free}
- DIY Minimalist Christmas Wreath
- DIY Leather Earrings – Easy Tutorial
- Peppermint Chia Sugar Scrub
Salt Dough Ornaments Recipe
If you try this recipe and love it, I would love if you could come back, comment on the post, and give it 5 stars! Please and thank you.

Save This Recipe
Ingredients
- 3 cups all purpose flour
- 1.5 cups salt
- 1.25 cups water
Instructions
- If planning on baking them to dry more quickly, preheat your oven to 200°.
- In a bowl, add flour and salt. Stir. Add water and work together. Start with one cup and then add a little bit at a time until it forms a nice dough ball that isn't too wet.
- Place dough on a flour surface and roll out to about 1/4 inch thick.
- Cut salt dough ornaments out using a cookie cutter, and place them on a parchment lined cookie sheet or baking dish.
- Cut out holes to hand the ornaments with a straw, pressing it down where you would like and then wiggling it around a little to make it a little bigger.
- Fix any areas that might have moved out of place when make the holes.
- Continue to cut out the ornaments, rerolling out the dough, and cutting more until completely out of dough.
- Bake for a few hours until completely dry. This could take 2-5 hours. Check every once in awhile to see if they are hard or if they still have some doughiness to them.
- Once the salt dough ornaments are dry, you are free to decorate them as you desire. Paint, add sparkles, pretty ribbons, glue on some pom poms.
- Add to your tree.
Notes
Pin It For Later

3 Comments